

In 2018, around 39.5 million people made purchases on Etsy.
That’s a huge number of people who are interested in buying unique handcrafted items! If you’re a crafter, you might be wondering how you can begin to sell crafts online.
It can seem a bit overwhelming at first, but building your own online craft business can be a very rewarding project!
To learn how to create your own online crafting store, check out our guide below!
Find a Place to Sell Crafts Online
The first thing you’ll need to do in order to get your online craft business off the ground is to find a place where you can easily sell your crafts once they’re created!
Etsy is probably the most popular choice for crafters. They do charge listing fees, but you’ll likely face this with any site that helps you run your store. If you’re looking for other options, you could try out Facebook Marketplace, iCraft, or Folksy.
If you want to avoid these listing fees, you can always build your own website. You will have to deal with other costs though, like the fee to keep the domain, as well as the general costs that come along with website building.
Build a Brand
Chances are, you have a niche as a crafter. Are you a knitter? Do you make sticker sheets? Capitalize on what you’re best at. You can always branch out later, but it’s best to start out with a very specific brand when you sell crafts online.
Establishing a brand will help you create a themed (online) storefront, and your customers will know where they can find crafts with your specific style.
This goes for your listings too. When you take photos and write descriptions, make sure they’re uniform and similar across the board. If you’re using any social media platforms to push your store, make sure your brand translates across your profiles and posts too!
Finalizing the Details
Once you’ve built up your online store, it’s time to focus on the details. How are you planning on shipping your products? Are you going to run sales or discount items during the holidays?
This is where building a business plan can come in handy. Make sure you’re prepared to take on the nitty-gritty details that come along with running your own business.
You will have to decide how much to price items so that you’re not only able to pay for your materials but also able to make a profit. Make sure you also account for startup costs, as well as how much it costs to list your products or run a personal website.
It’s important to keep track of your financial details. If you have anyone else working under you and helping you craft, you can use a website like PayStubCreator to provide them with their own financial records.
Researching your target demographic and tailoring your social media efforts and new products towards their interests is important as well. As your customer base changes, your products may need to adapt slightly as well.
Get Crafting
Many people decide to sell crafts online because they love crafting as a hobby. It’s important to recognize that running an online business is much more complex than that. However, once you gain some momentum, you can enjoy what you love doing while making some money along the way too!
For more crafting and DIY articles, check out the rest of our site!
 But there are a lot of pitfalls that will slow you down if you don’t pay attention.
 Image Credit:


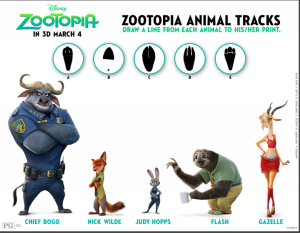 zootopia-pawprint
![Cinderella2015 Bluray small[10]](http://coriscozycorner.com/wp-content/uploads/2015/09/Cinderella2015-Bluray-small10.png)


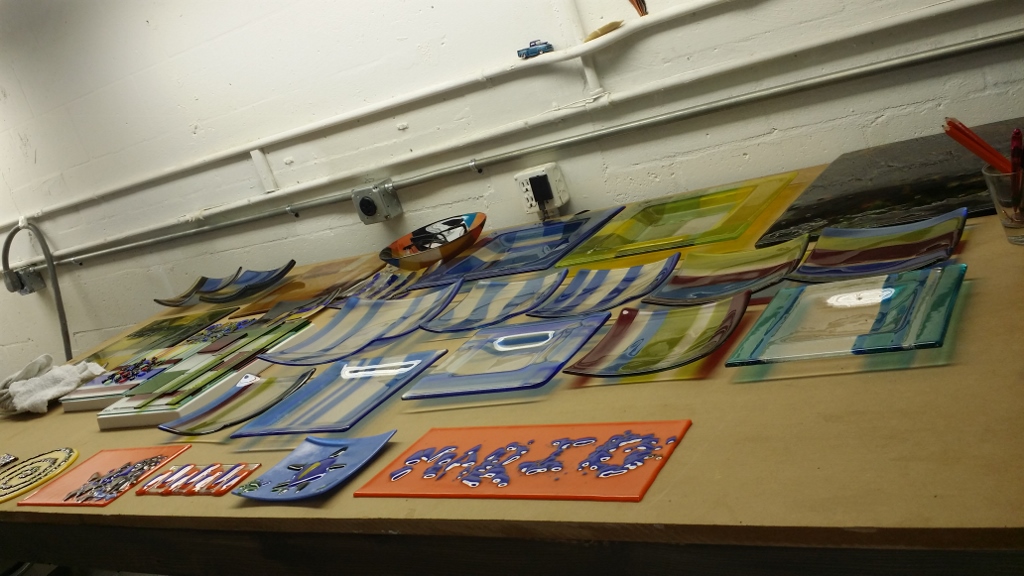 He showed the class examples of things he had made as well as examples made by other children.
 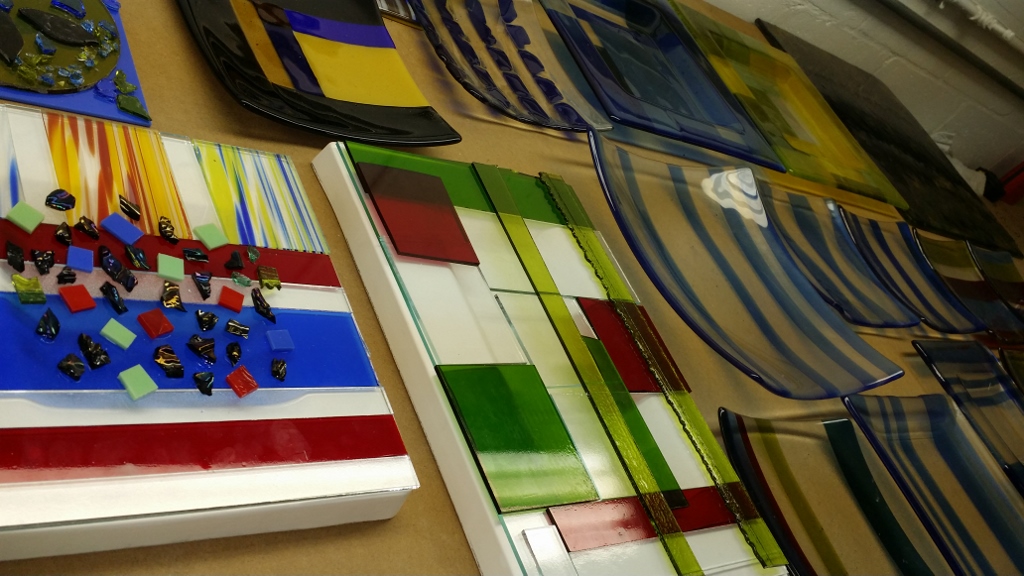 We all toured his studio where we learned how glass is broken, polished with a special machine, and also how it is melted in a kiln.
 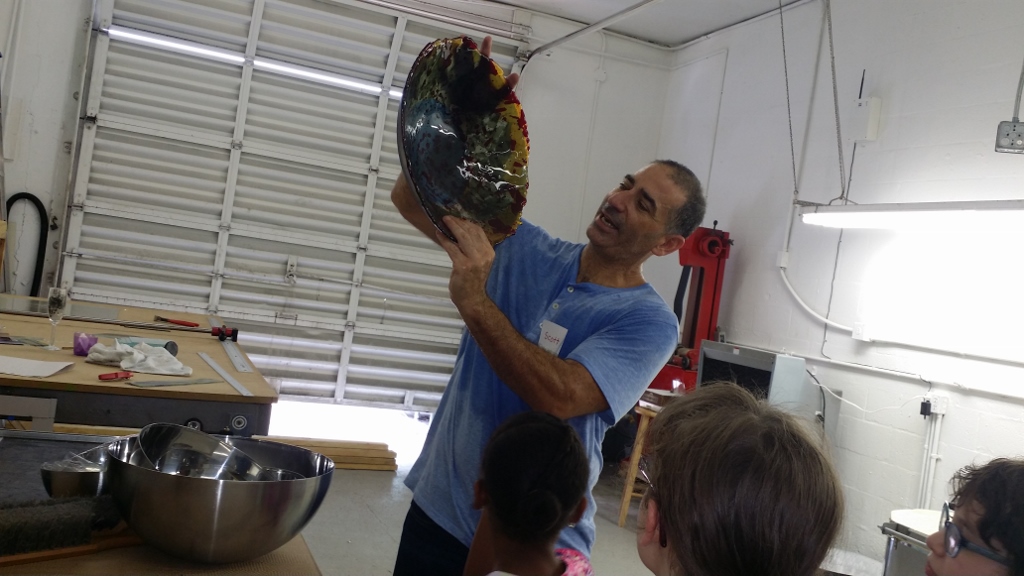 The kids were all fascinated and asked Scott lots of questions.
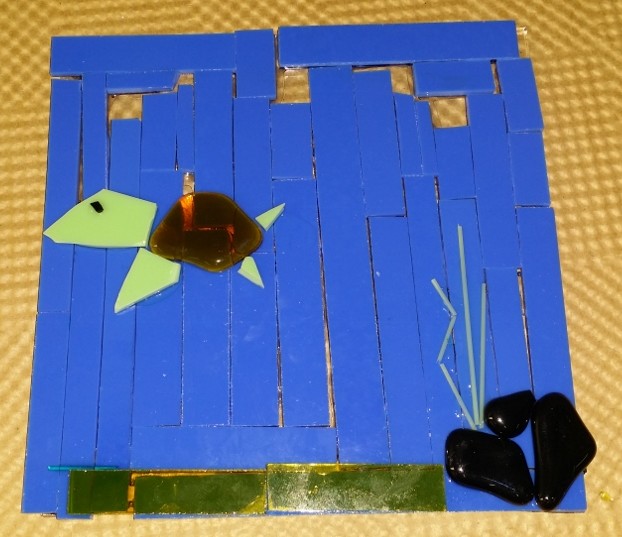
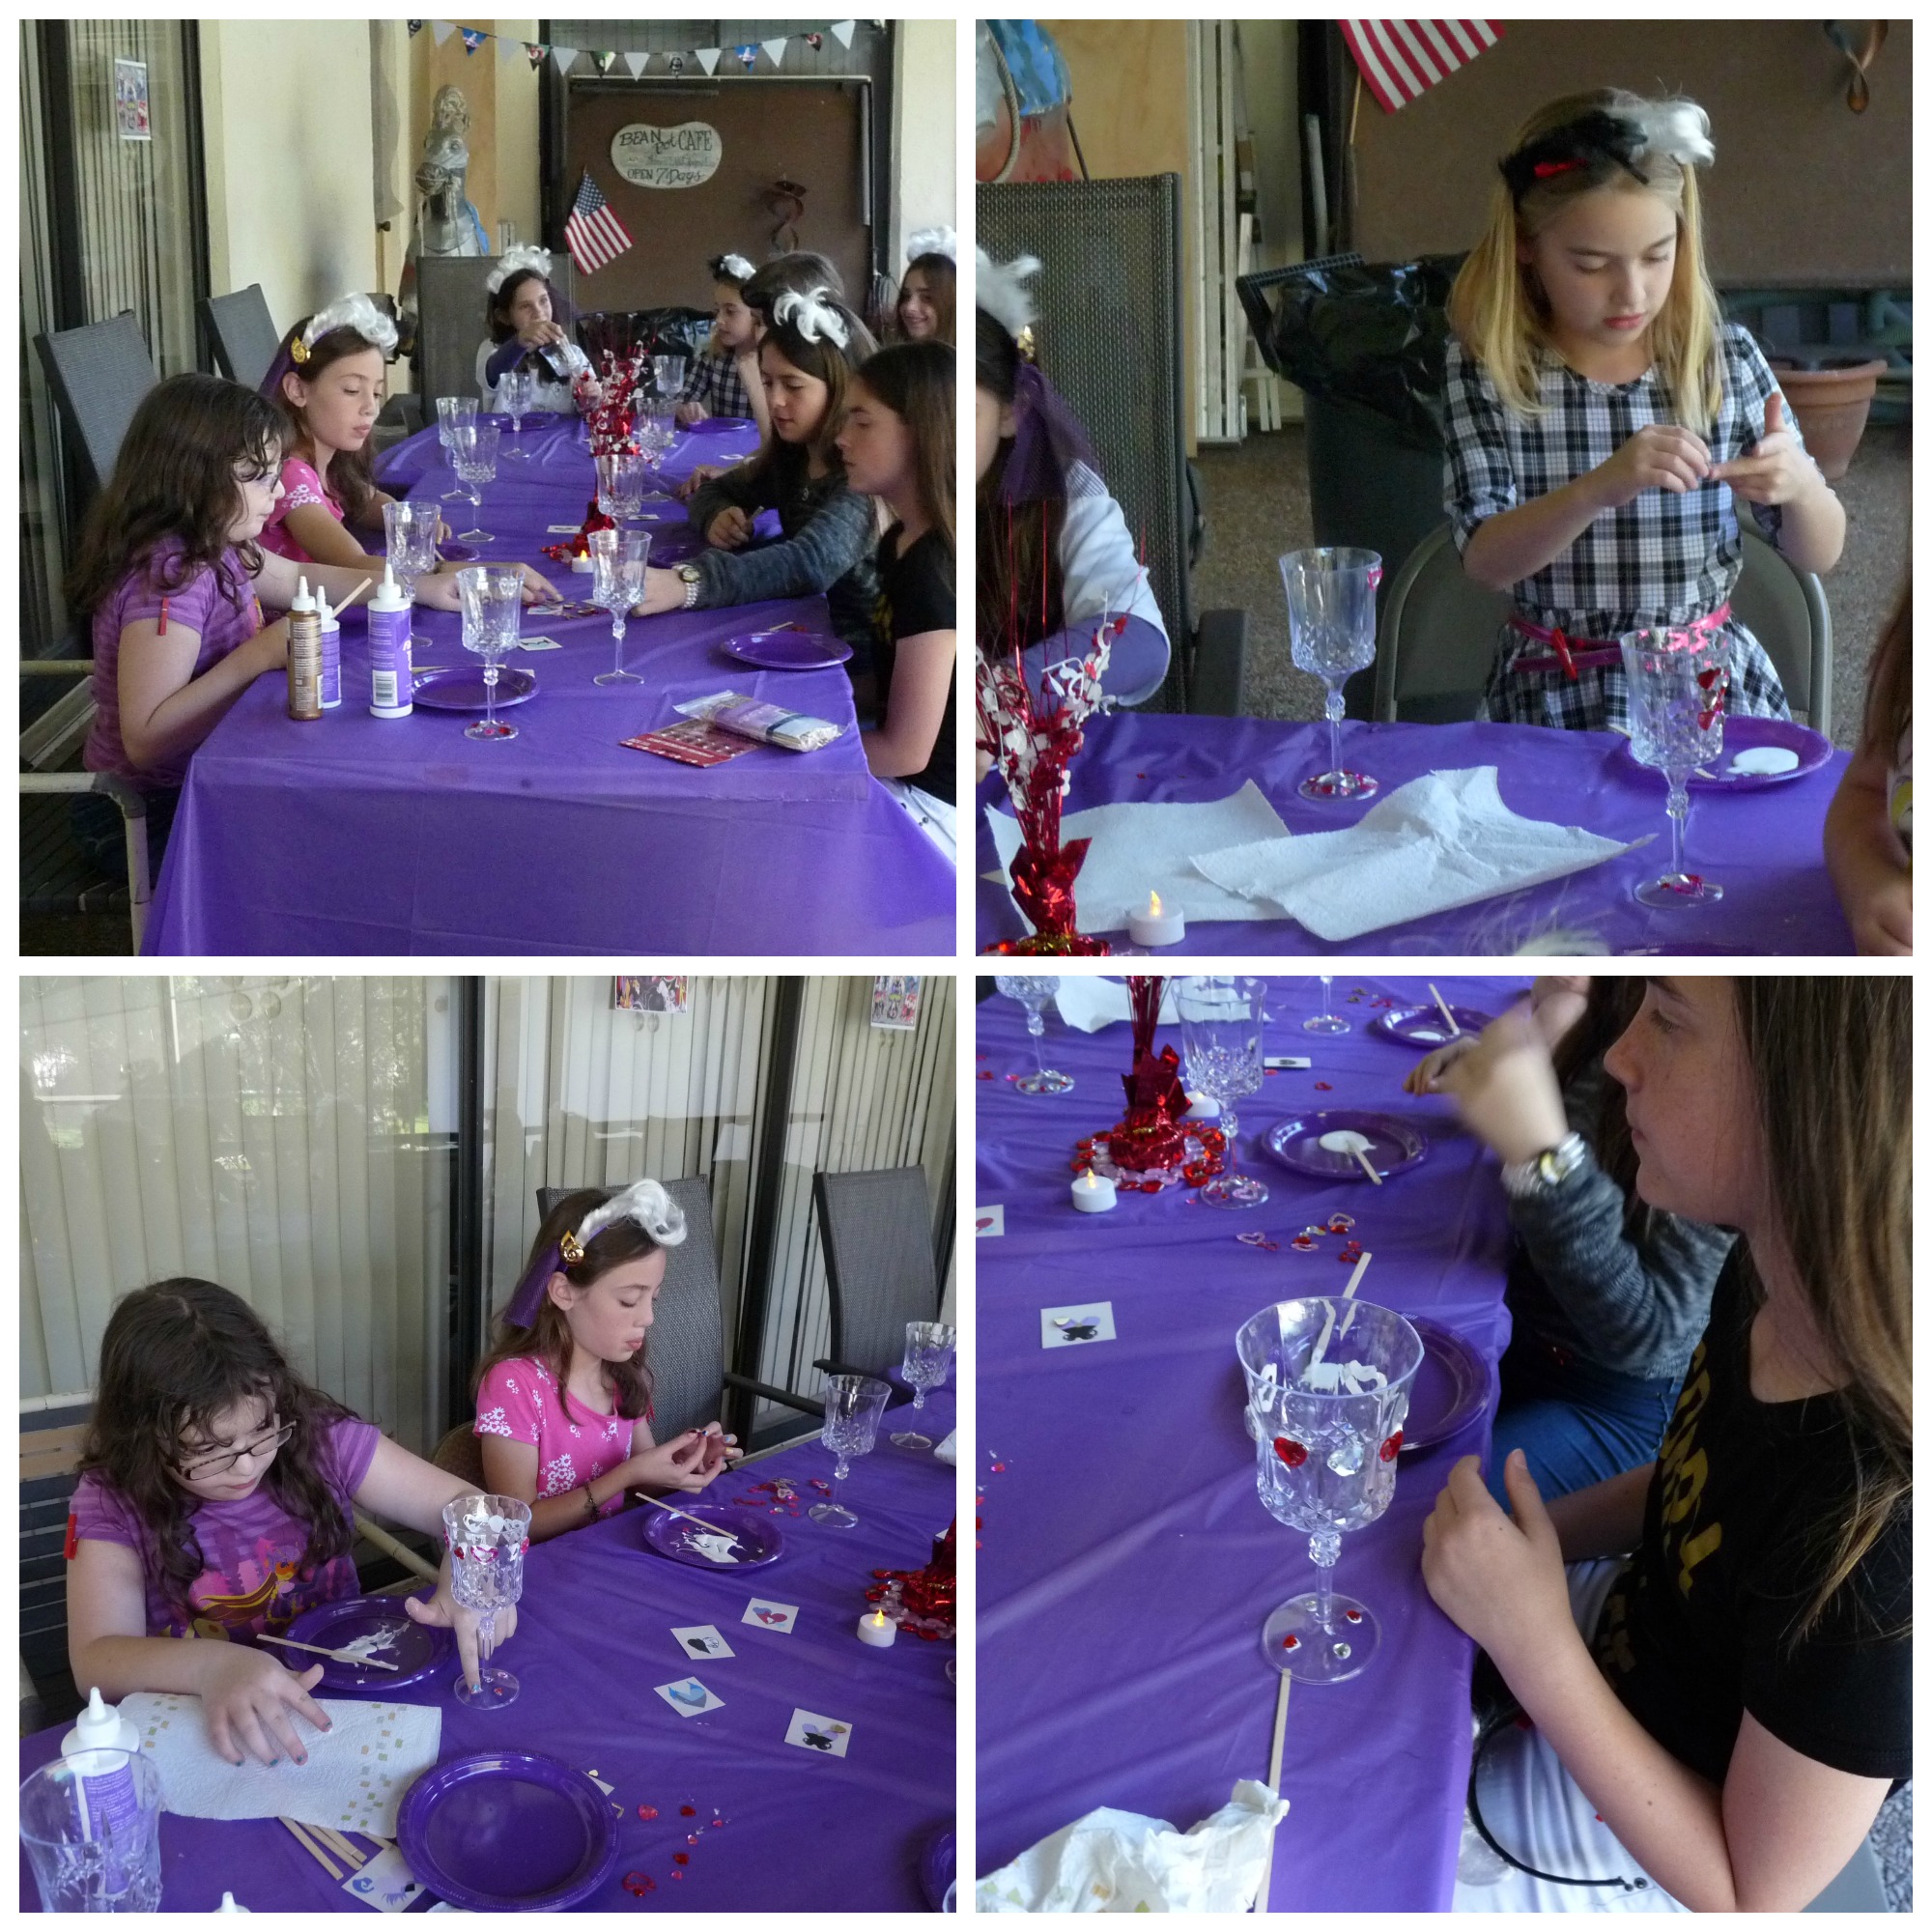
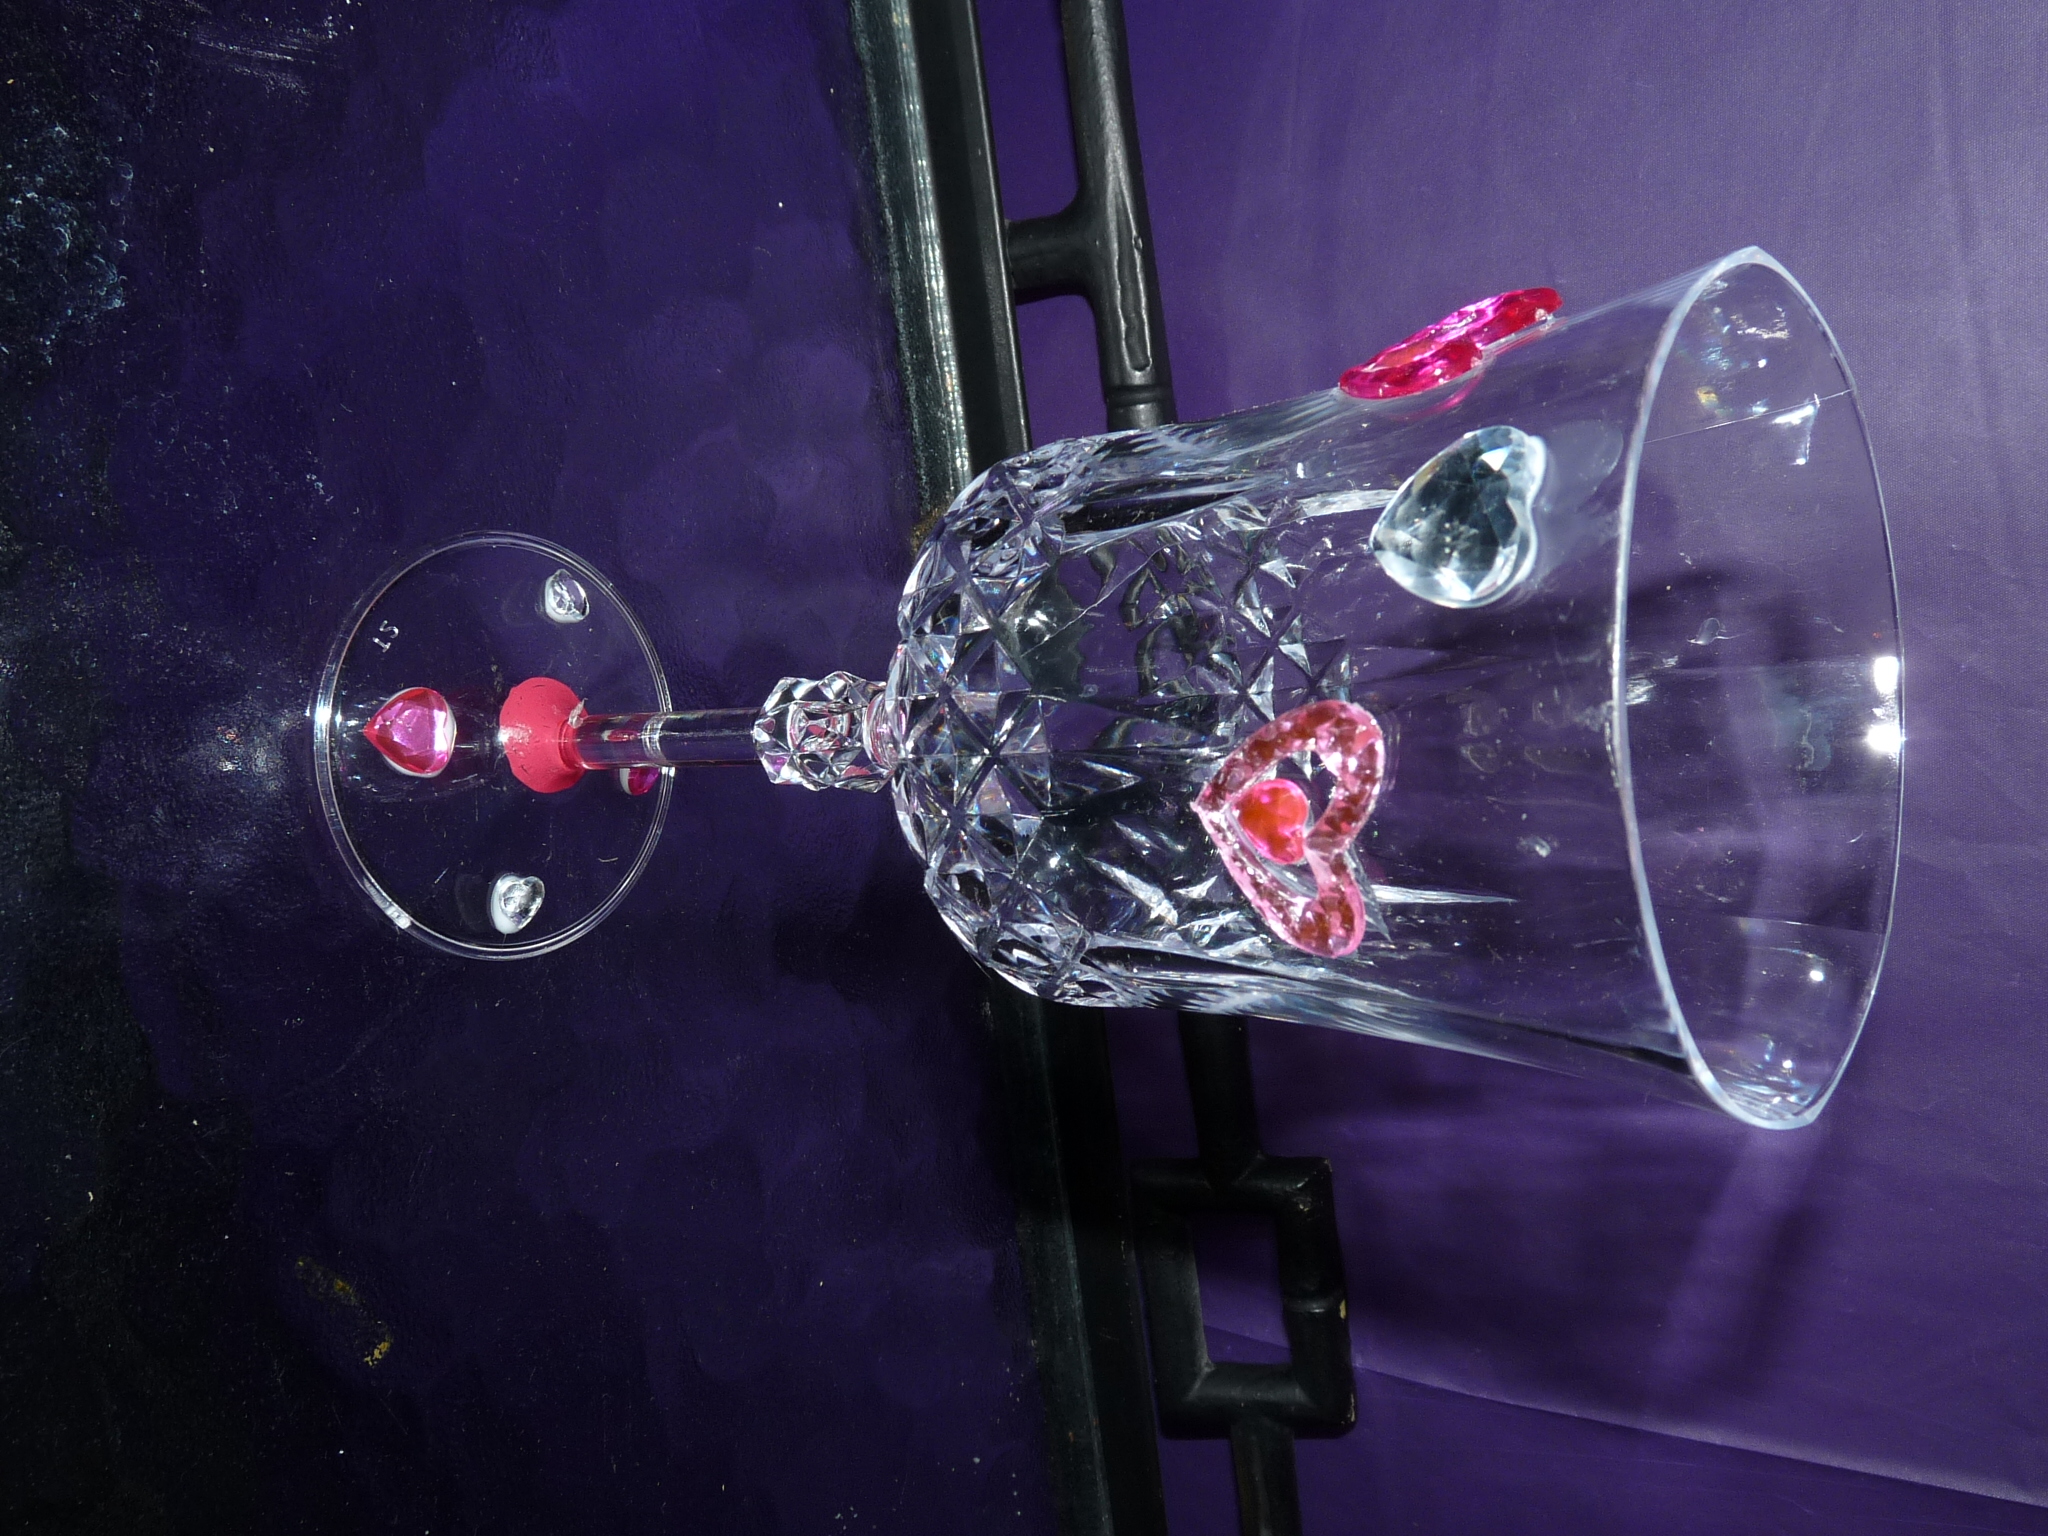
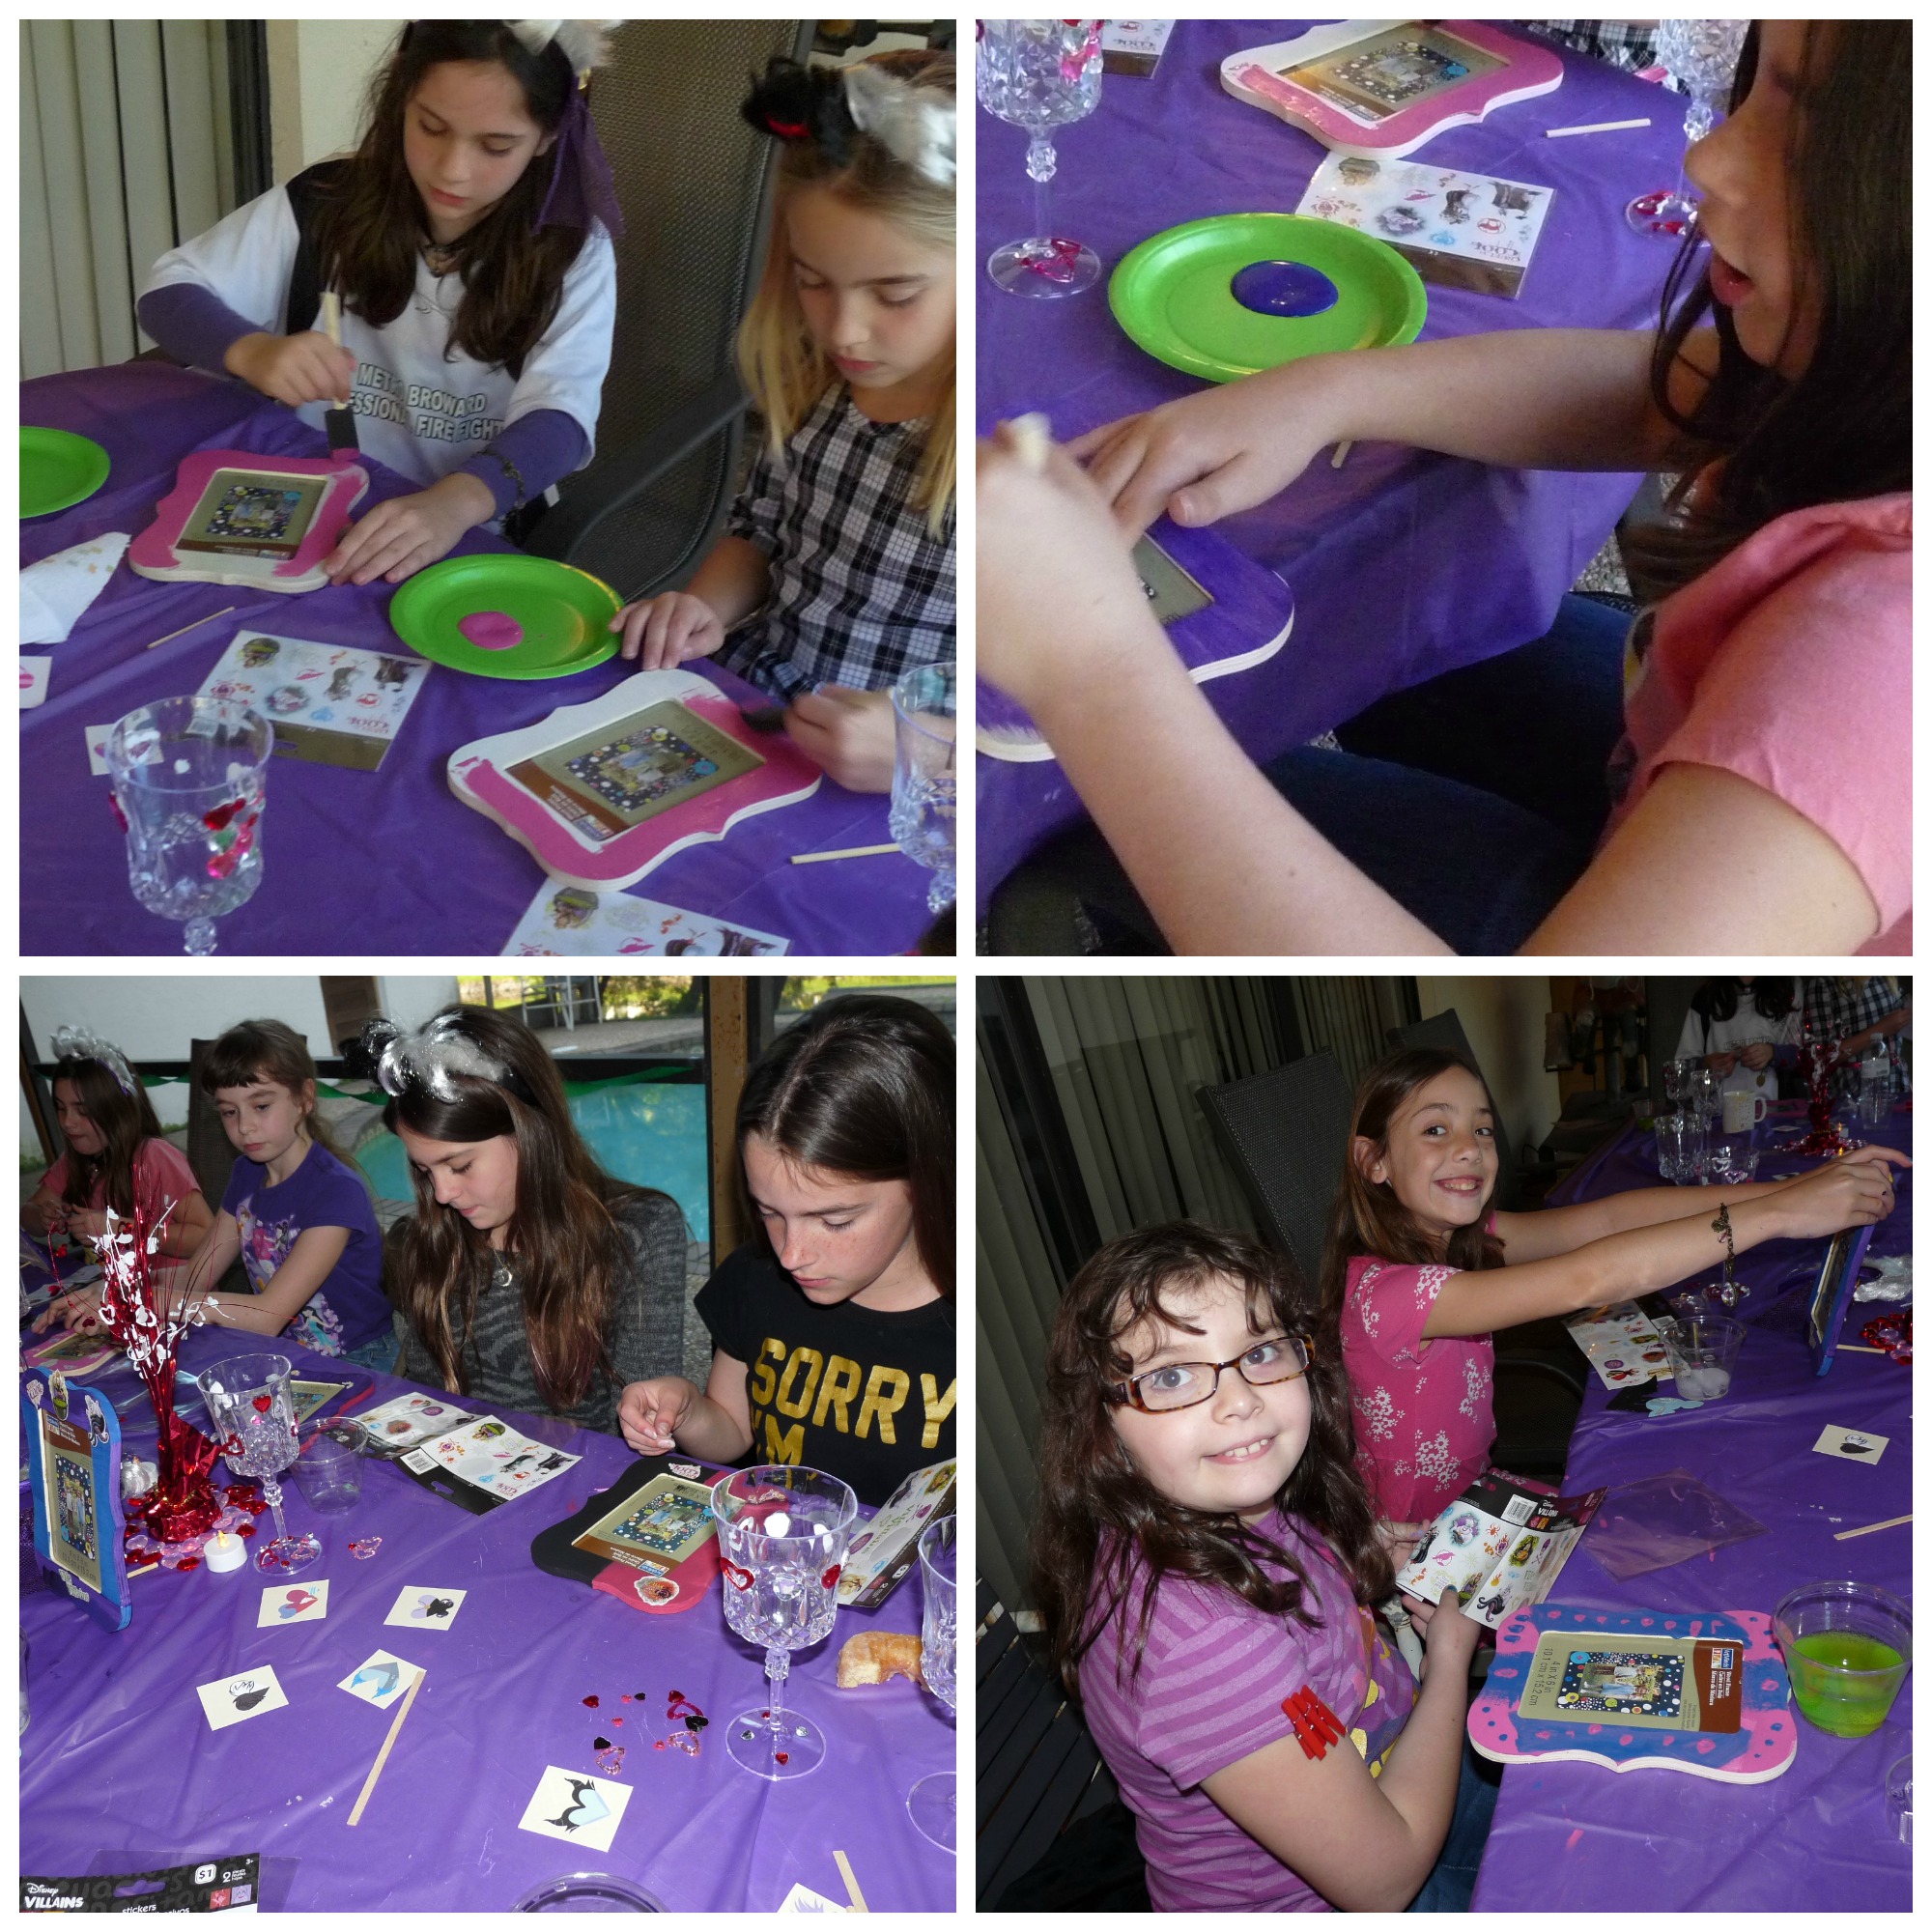
 To create the fused glass art the children are given a piece of glass to use as their “canvas” and a bunch of different pieces of glass to create their design with.
  The kids can design their artwork on paper first or just play around right on the piece of glass.
 Once they decide how they want their design to look they use special glue gel to place the small pieces of glass where they will be.
  After the pieces are finished and the children leave, Scott puts the pieces in the kiln, does his magic, and the pieces are ready for to be picked up a few days later.


 BANG Glass also produces custom fused glass dinnerware, bars, tables, sinks wall panels and lighting fixtures. Scott does some amazing work so if you are looking for some fused glass for your home or office, check it it out. For more information and class schedule, visit
  My girls and I love crafting. When we’re looking for ideas, one of the places I discovered to look is
 2. Test the envelope triangle on the corner of the pages of your book to make sure it fits.
 4. Cut out the image.
 5. Put glue on the envelope and glue the image down.
 6. Put the bookmark on the corner of the pages you wish to mark.


 Here are the
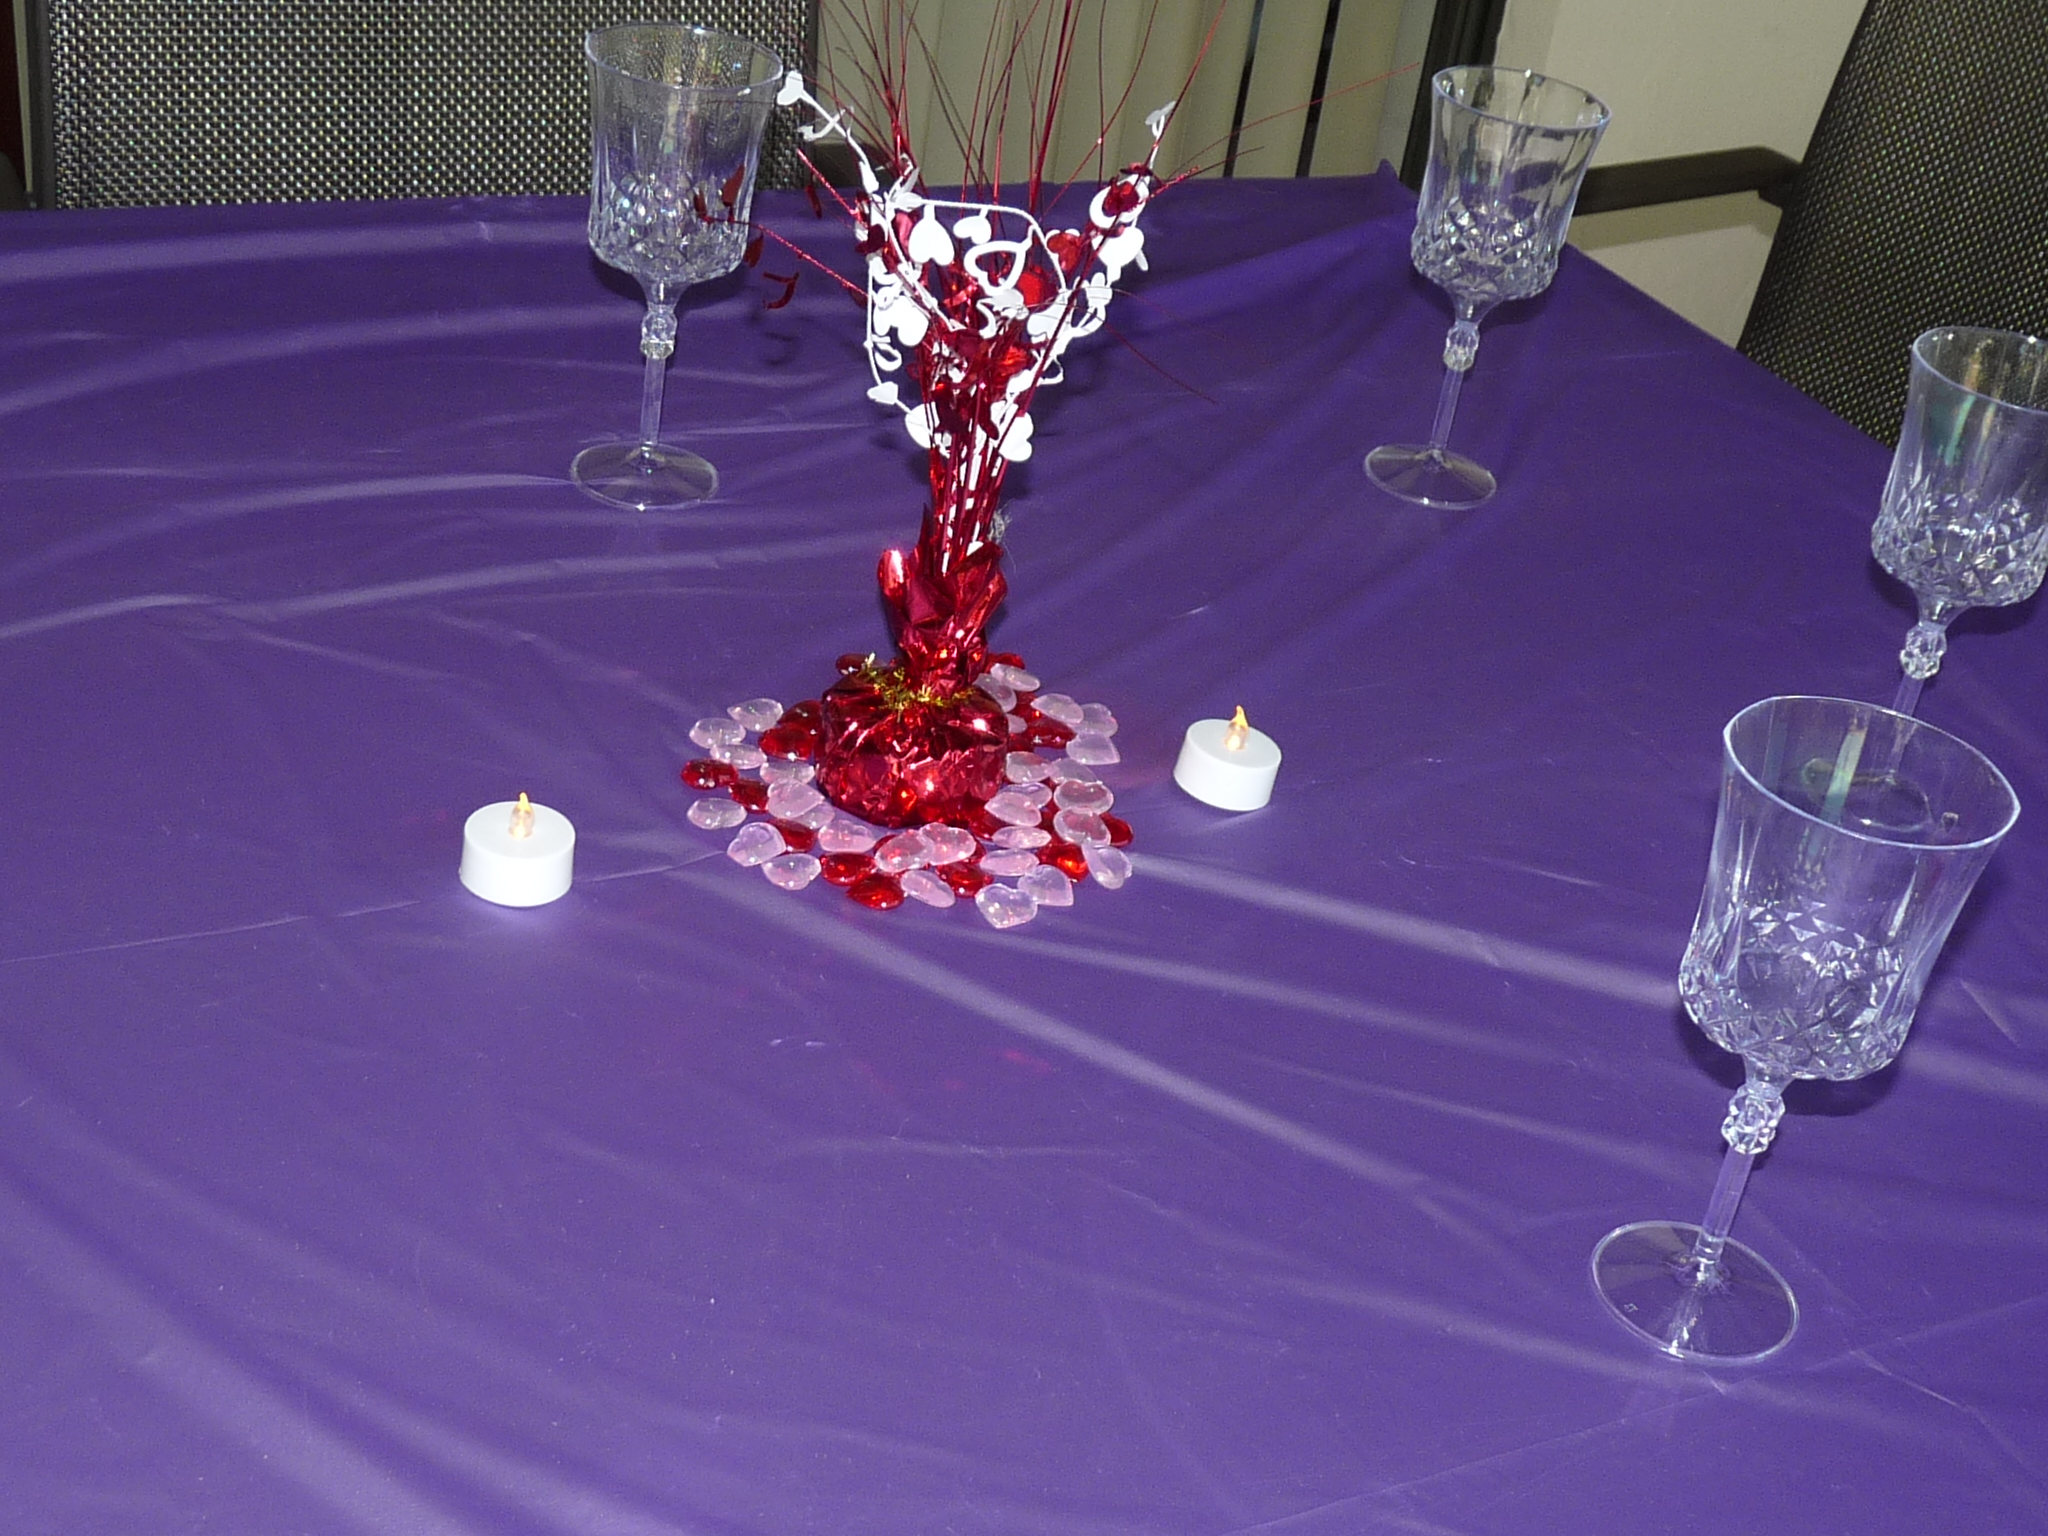
  For the magic mirror pictured below I bought an inexpensive silver charger plate at Michael’s (it was on sale for under $3 I believe). I printed a picture of the magic mirror from Snow White and taped it to the center of the plate. It looked great, only cost a few dollars, and since I only taped the picture on I can reuse it for something else.
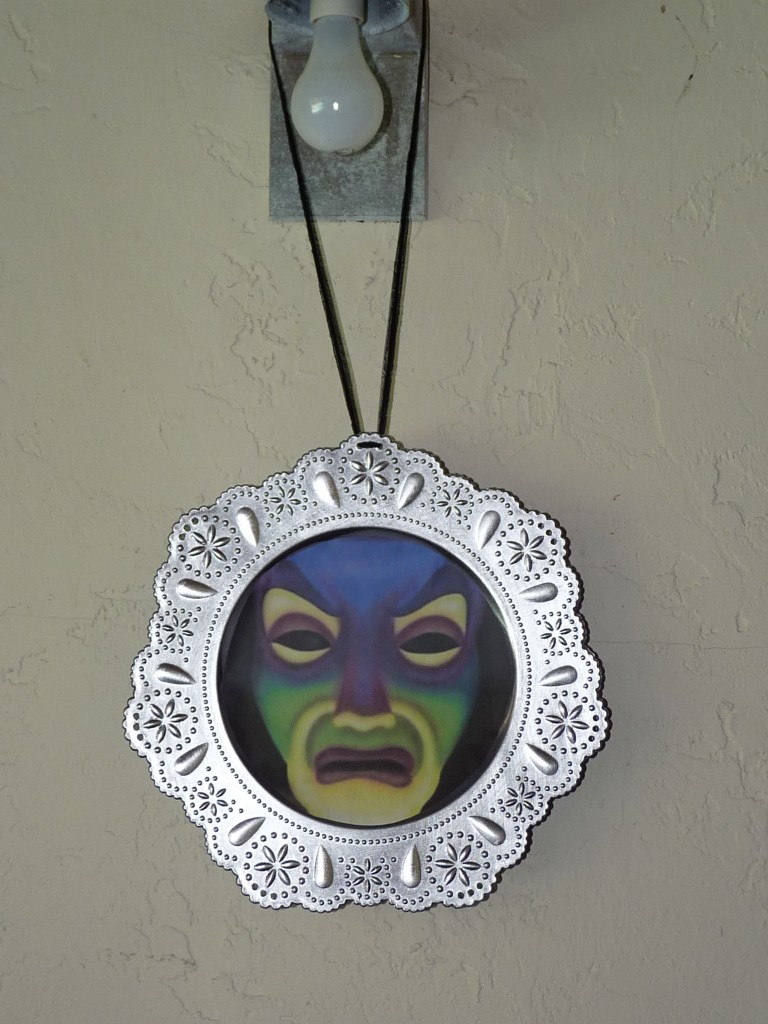


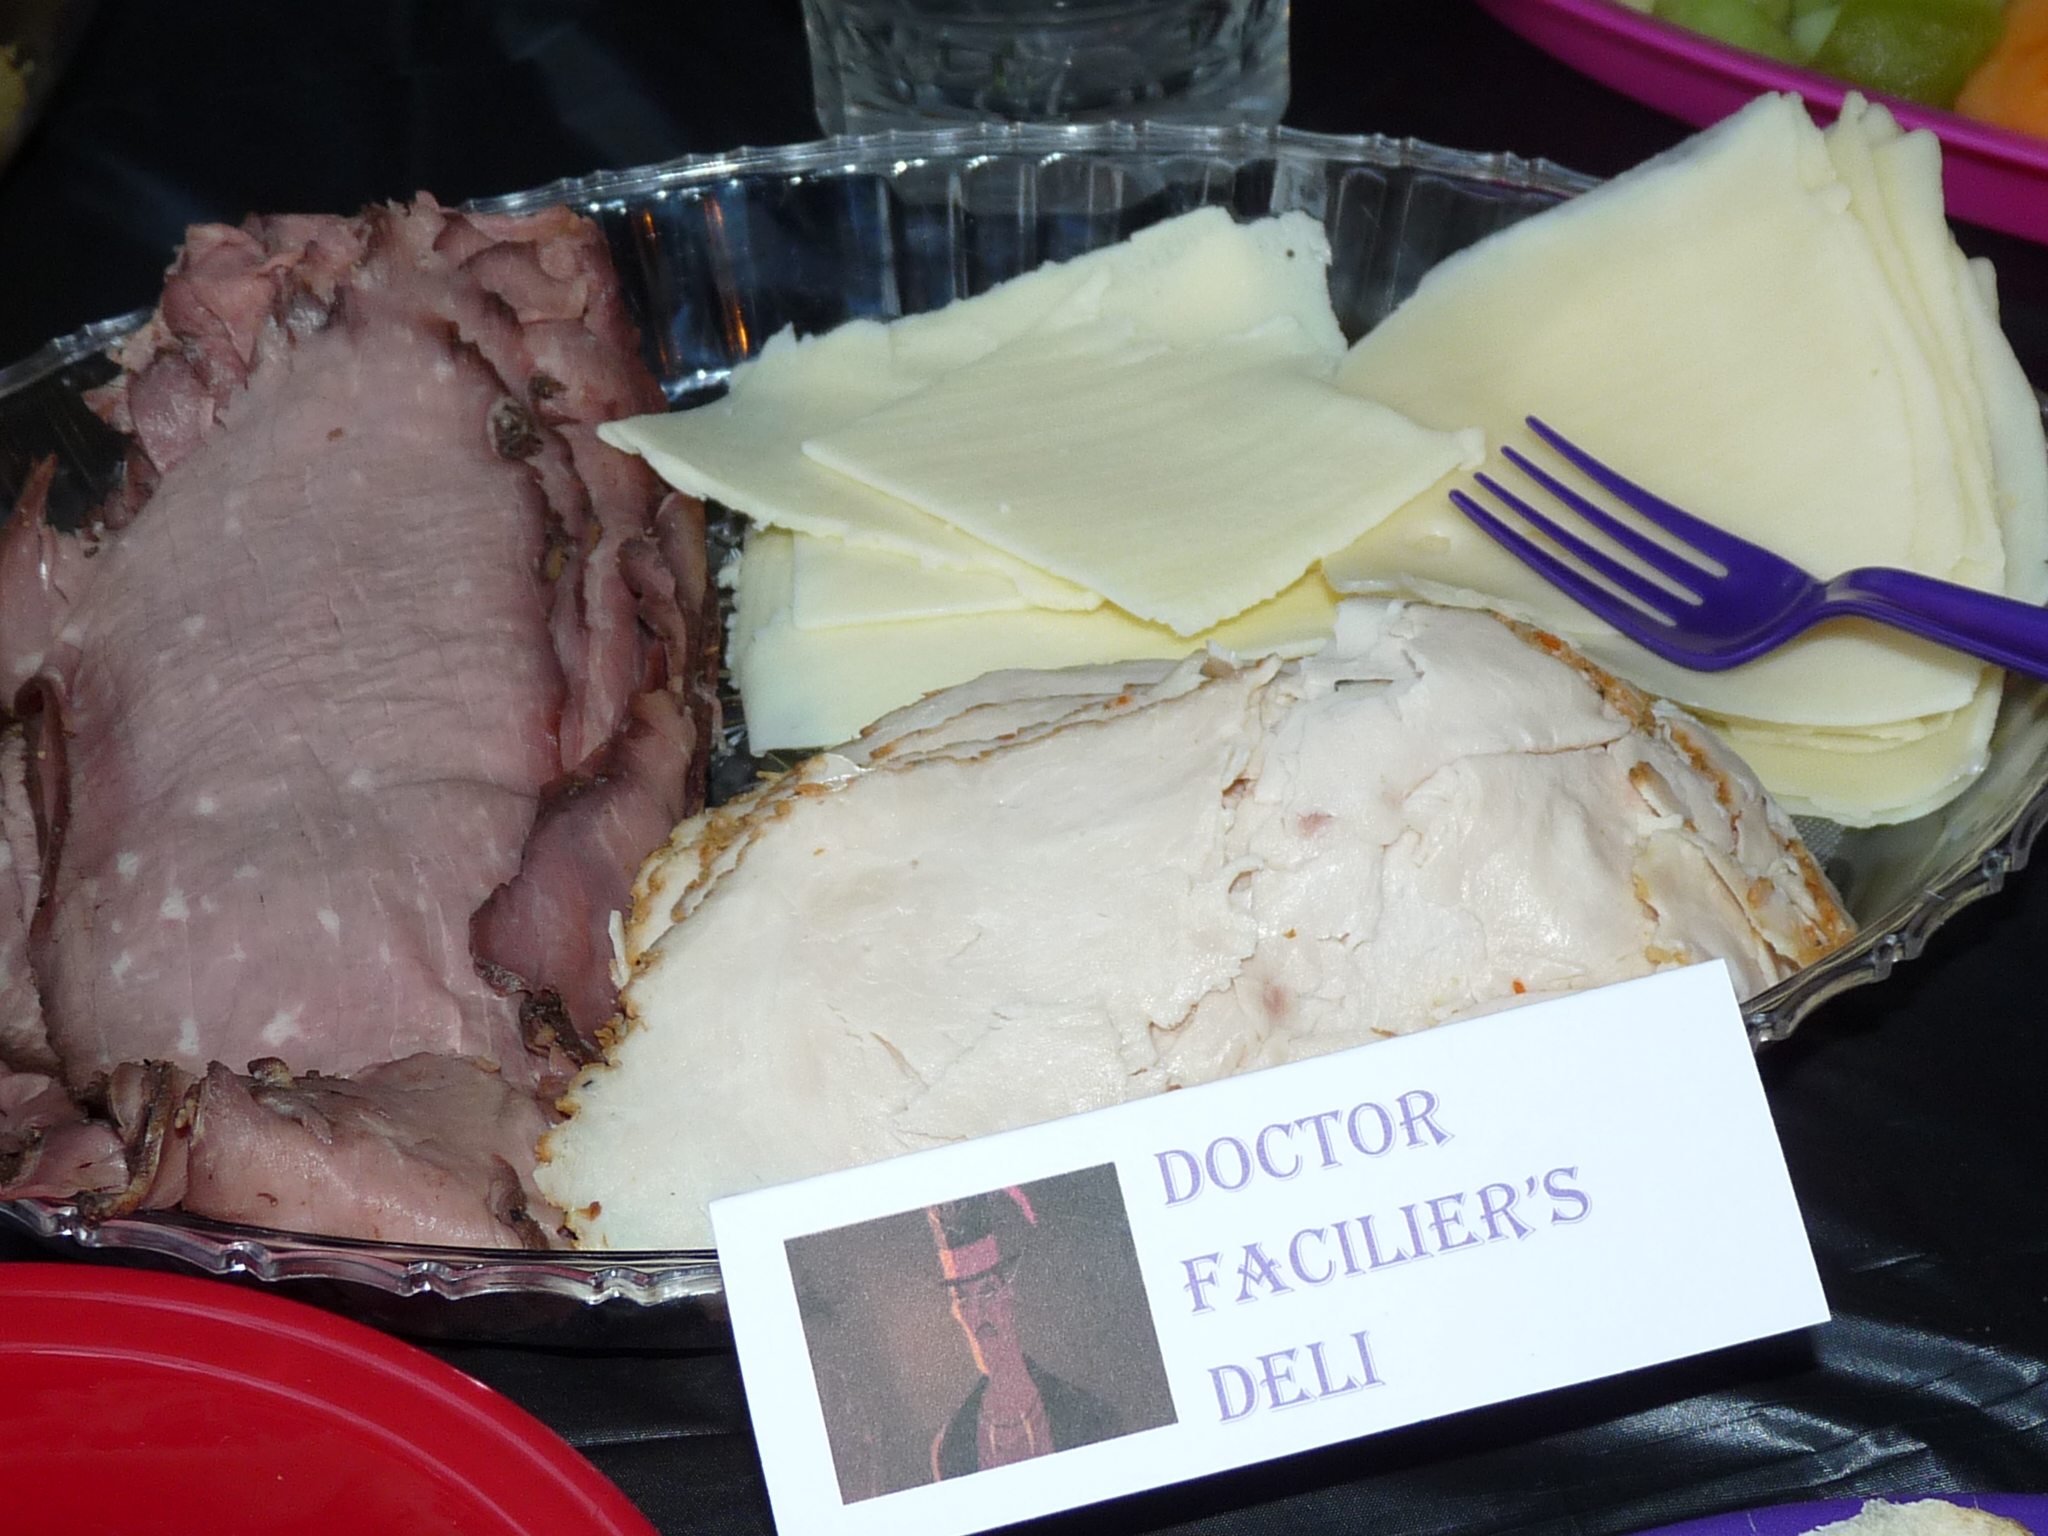
 The Gaston’s Grilled Cheese should have been
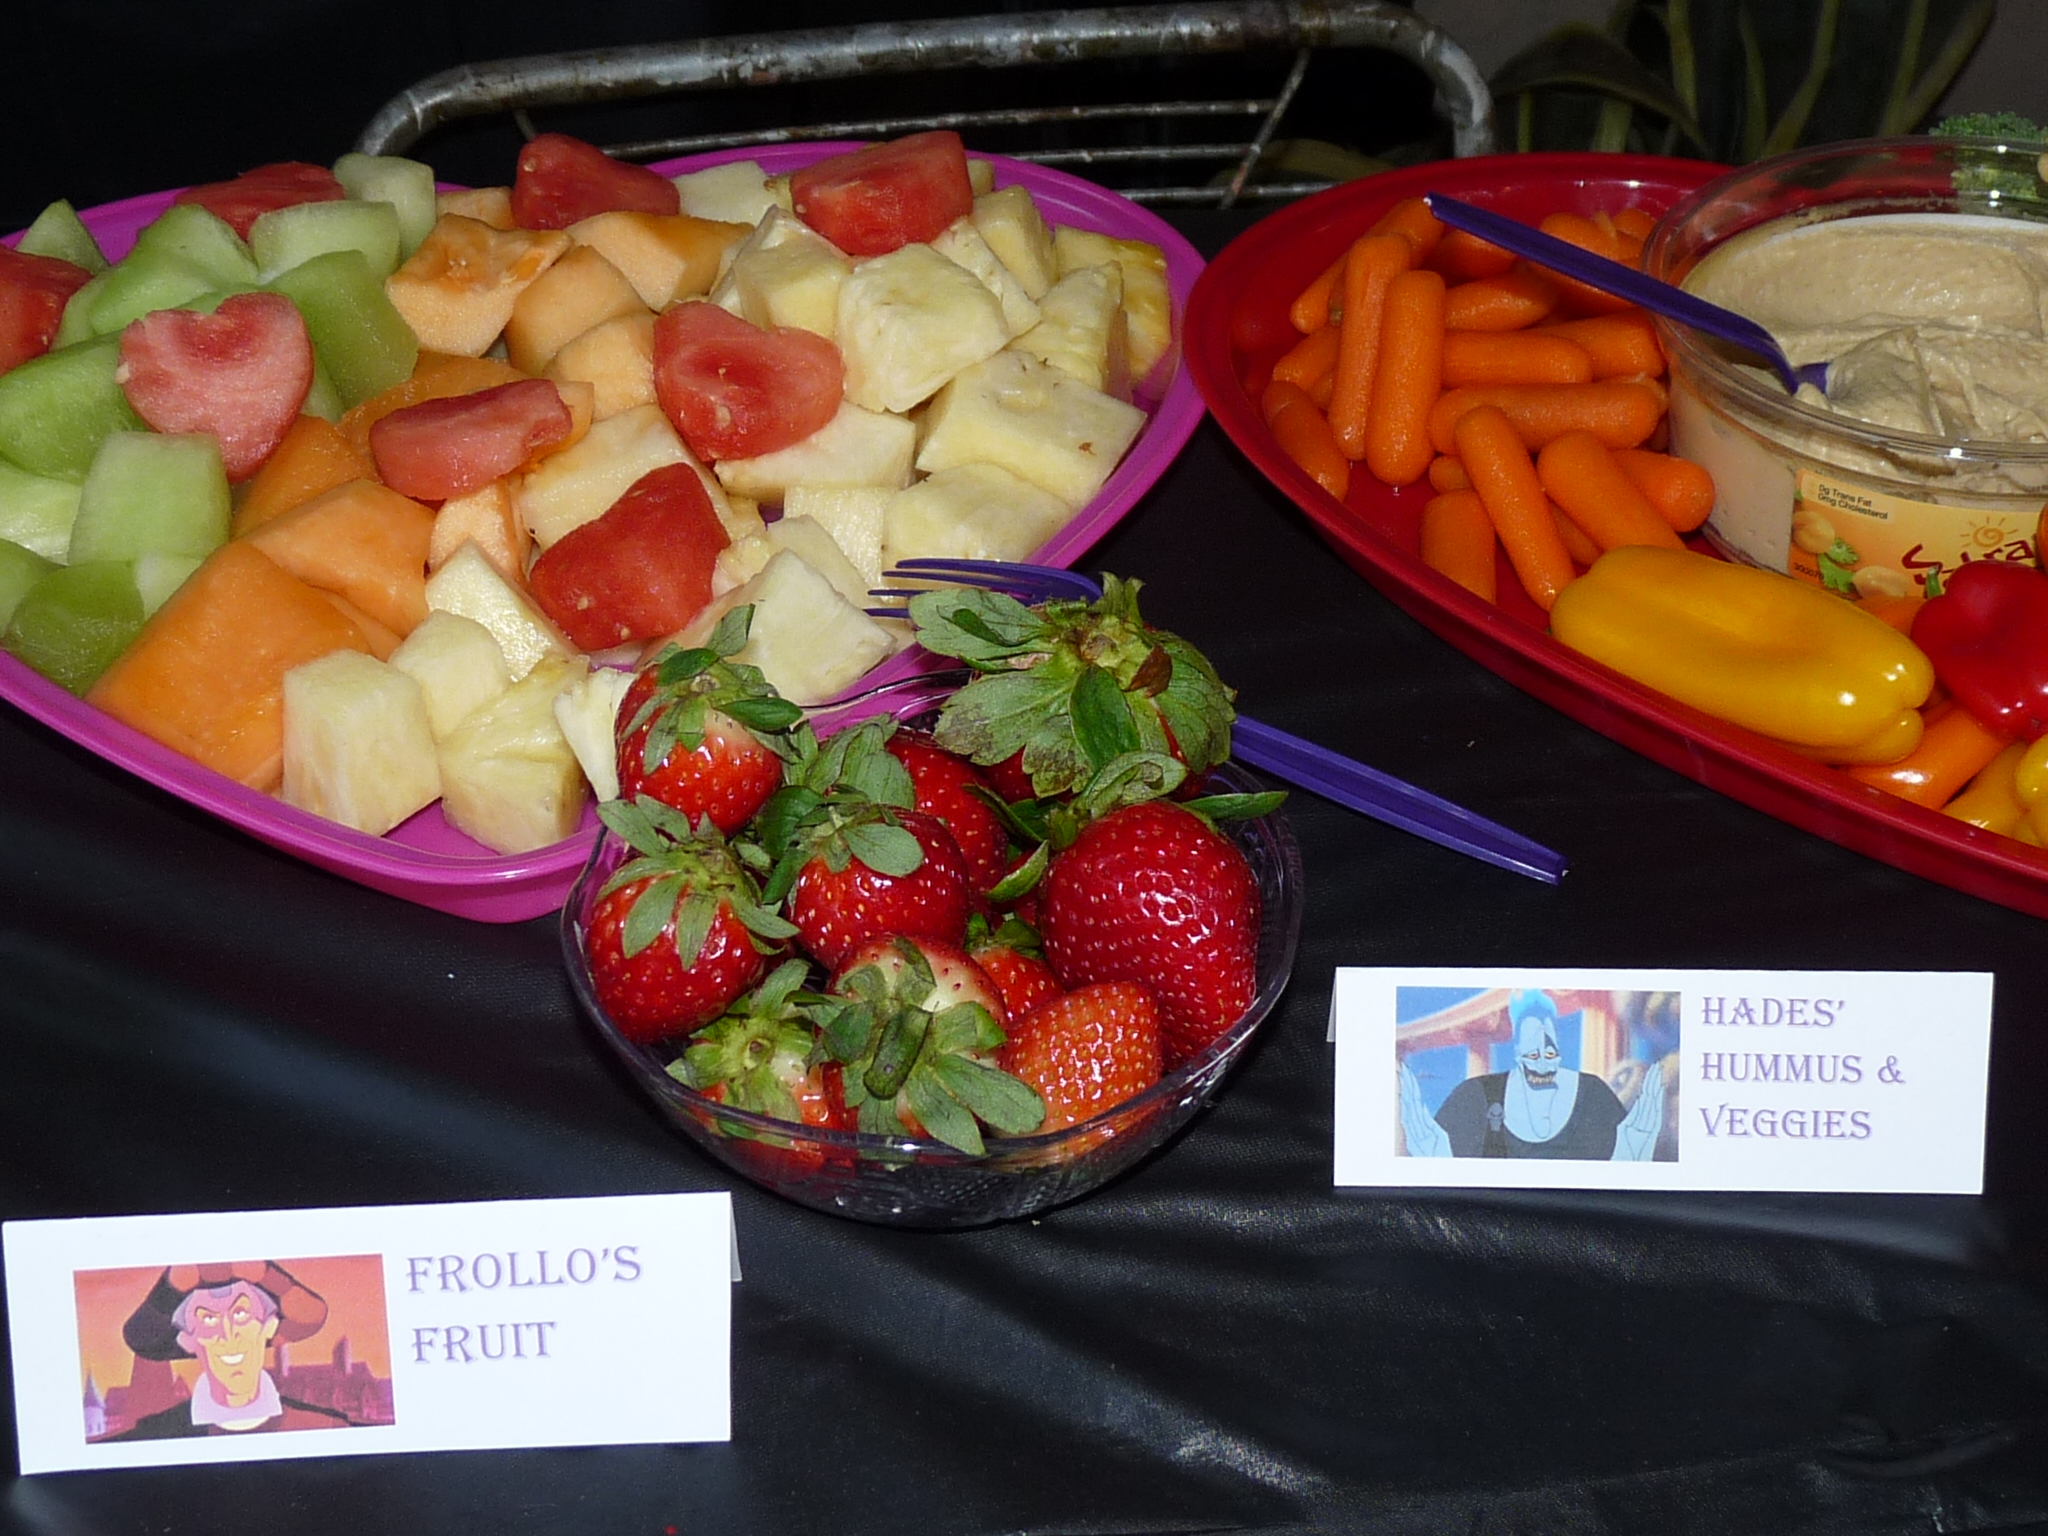
  The moms appreciated having healthy deli sandwiches for dinner in addition to the veggies and hummus.
 I’ll admit I over planned for this party because I had so many ideas. I had planned on having the girls make bookmarks but we ran out of time so I just had them take the printed bookmarks home so they could finish them later. Simply punch a hole in the top, add some ribbon and beads, and viola!
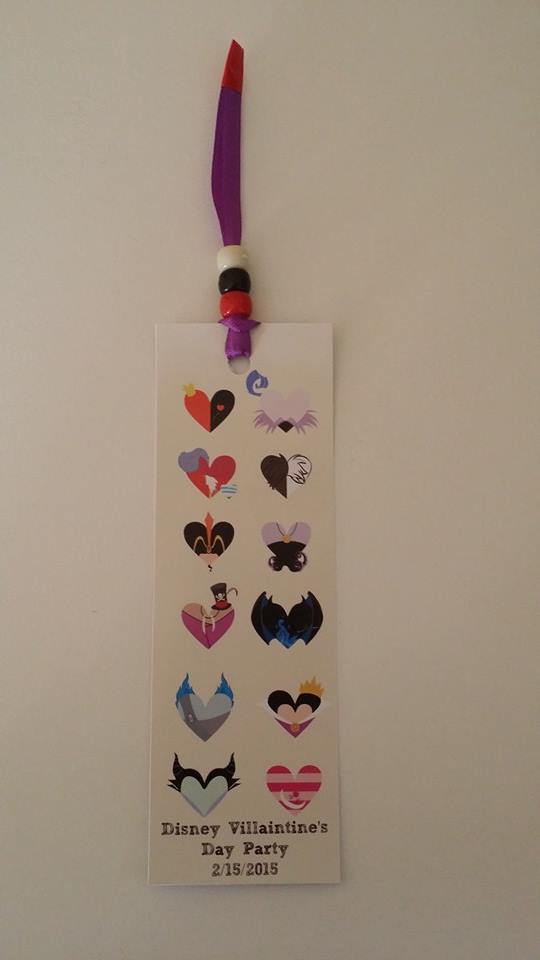

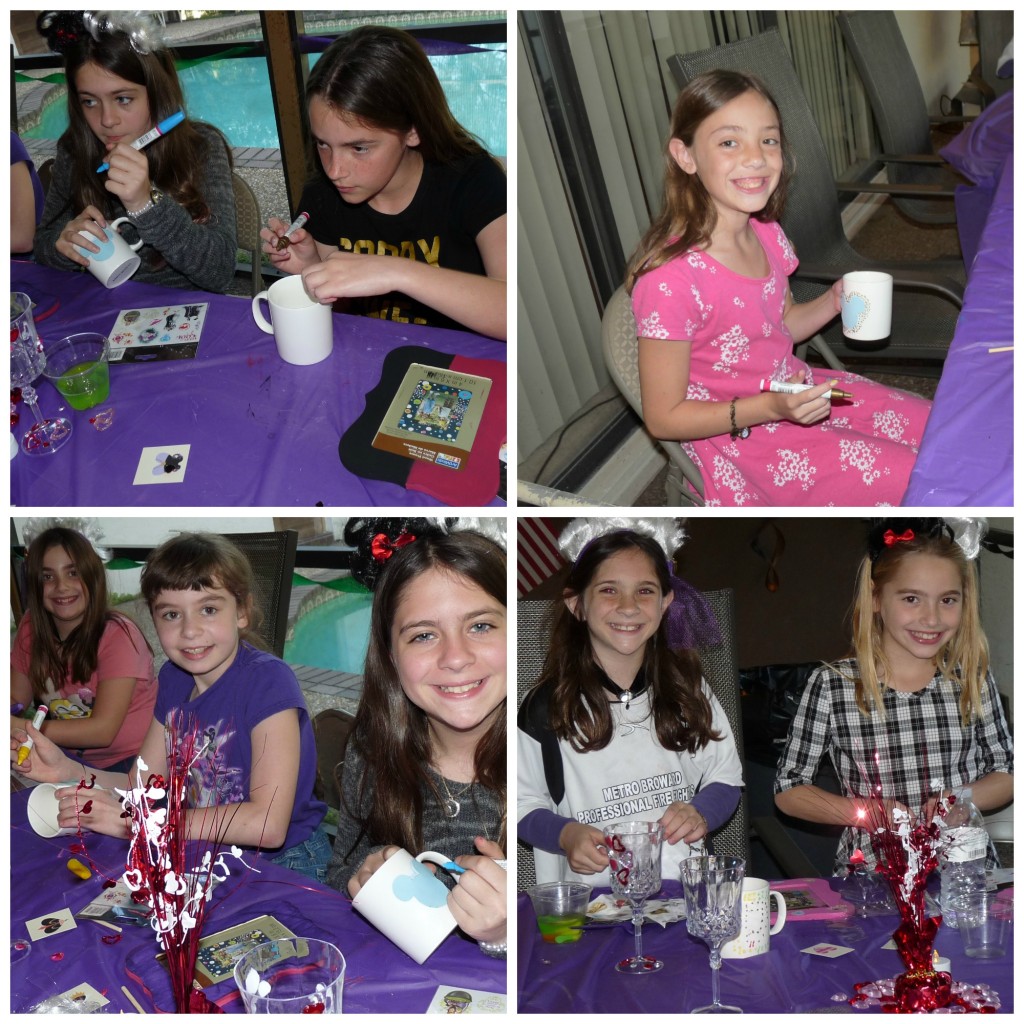 Once the paint was dried and the girls brought their mugs home the mugs were put into a cold oven, brought to 350 degrees, and baked for 30 minutes. Make sure you get the
 Don’t Say the Word Villain or the Name of Any Disney Villain
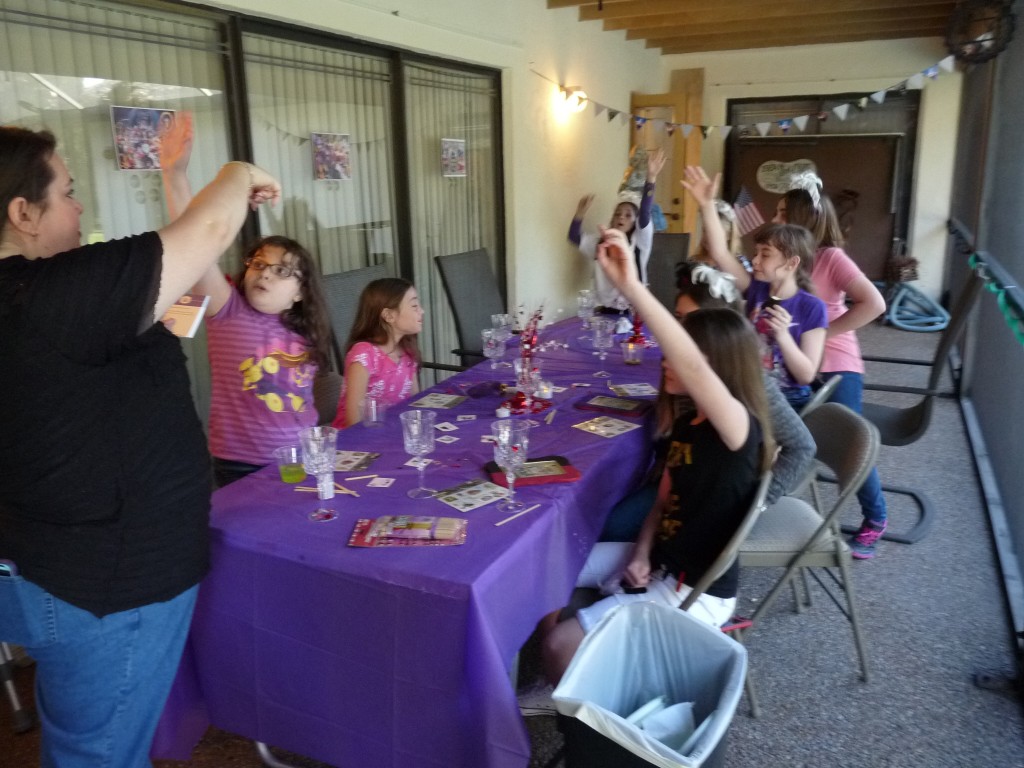 We had planned on playing Disney Bingo (from the party box) and a cup knocking over game but we ran out of time. For the cup game I had purchased bean bags and put the faces of various Disney Villains on the cups. The cups were to be stacked in a pyramid and each girl would have had a chance to knock over as many cups as she could with the bean bags.
