
Making molds seems like a complex process, but it’s actually incredibly simple and pays great dividends for you in the long run. With a little research and effort, you will effectively be able to turn your hobby into a small business.
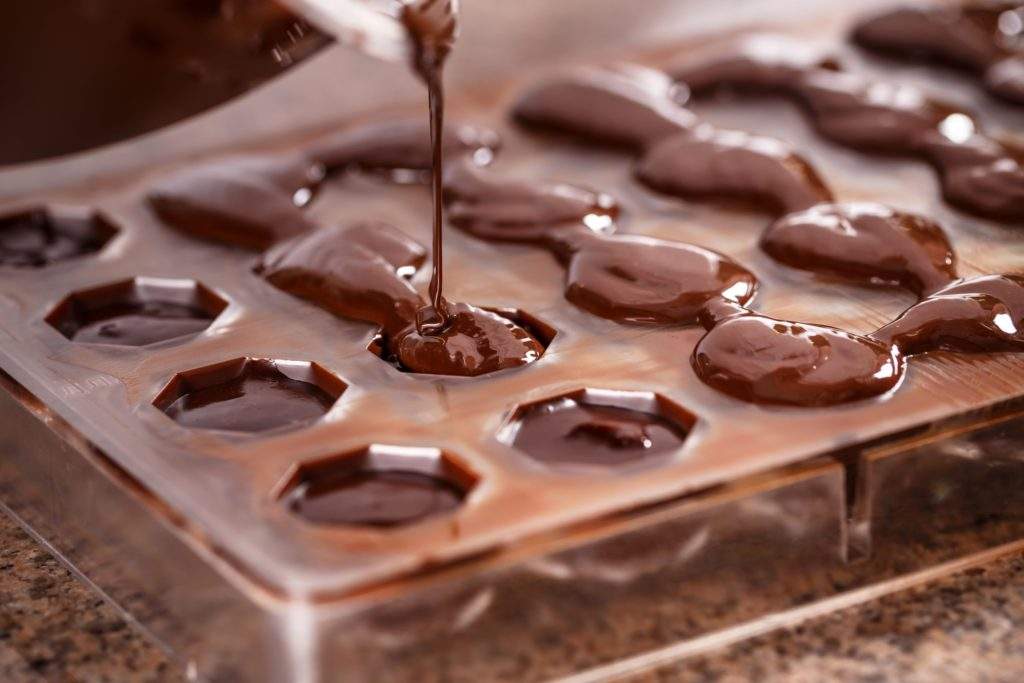
As a crafts project or for your business, making molds is the best way to go if you need multiples of the same products. Perhaps you’re looking to turn your chocolate recipe into an online dessert selling success. Maybe you’re looking to replicate a popular piece of art you’ve created.
Whatever your mold is used for, it’s important to get every detail just right.
 But there are a lot of pitfalls that will slow you down if you don’t pay attention.
Here are some important things to know about mold-making in general that will improve the result of your own process.
- Measurements are a must!
The measurements of your object will determine everything else in the molding process: how big your mold container should be, how long you should spend cleaning and caulking the material, and how much sealant you should use.
If your object is three dimensional, then it makes the beginning stages a bit more complicated, because your mold is going to need to be made as two parts (one for the front side and one for the back side of your object).
So make sure to really nail down those measurements!
- Choosing a bad sealant could be your downfall
The sealant you use is where all of your money should be going, because using a cheap silicone sealant will always result in a bad mold. After all of your hard work preparing everything, the silicone should just be doing the rest of the work for you. RTV silicone works great because it’s fast acting (because it’s room-temperature vulcanized), keeps your mold strong to prevent tearing, and is also more than capable of catching every detail of your molded object.
- Making your own mold container is preferable
To save on silicone, you’ll want your mold container to be not too much larger than the object you’re making a mold of. It’s best if you make your own mold container, and it should absolutely be box-shaped. Feel free to put inserts into said box to close the gap between your object and the inside of your container (silicone’s expensive!).
Your container has to be tall enough that your object will be submerged without the sealant overflowing, and make sure that you waterproof the inside of your container so that the silicone doesn’t seep out during your molding process.

- Cleaning your object before mold-making is critical
This is by and large the most tedious part of the entire mold-making process. The more complex your object is, the more difficult it will be to thoroughly clean it. Having any dirt at all can result in a problematic mold. Use high-quality sandpaper to buff out any imperfections in your starter object, or suffer the consequences of needing to make a whole new mold.
Once you’re sure that your item is fully cleaned, you are ready to begin making your mold.
- Cutting your mold right helps prevent imperfect casts
Once your silicone has solidified and your mold is finished, you still have a few more steps before you’re truly done. If your object was three dimensional, you’ll have to cut the solidified silicone in half so that your mold is in two parts.
A straight line is no good, because it makes it more difficult to know if your mold is perfectly aligned or not. By making jagged cuts and grooves, your two-sided mold will have no choice but to fit perfectly together. Use a sharp mold-making knife complete with a sturdy blade handle to provide the steady hand needed during this cutting process.
So long as you’re thorough and careful, this mold-making process will go smoothly. Doing it right the first time is best, because otherwise you’ll be wasting a lot of money on product. Remember, you’re doing all of the heavy lifting in the beginning so that casting is fast and easy!
Making molds is easy, but making a good mold takes a bit more effort and careful planning. With these tips in mind, you can turn your mold crafting project into a great success.
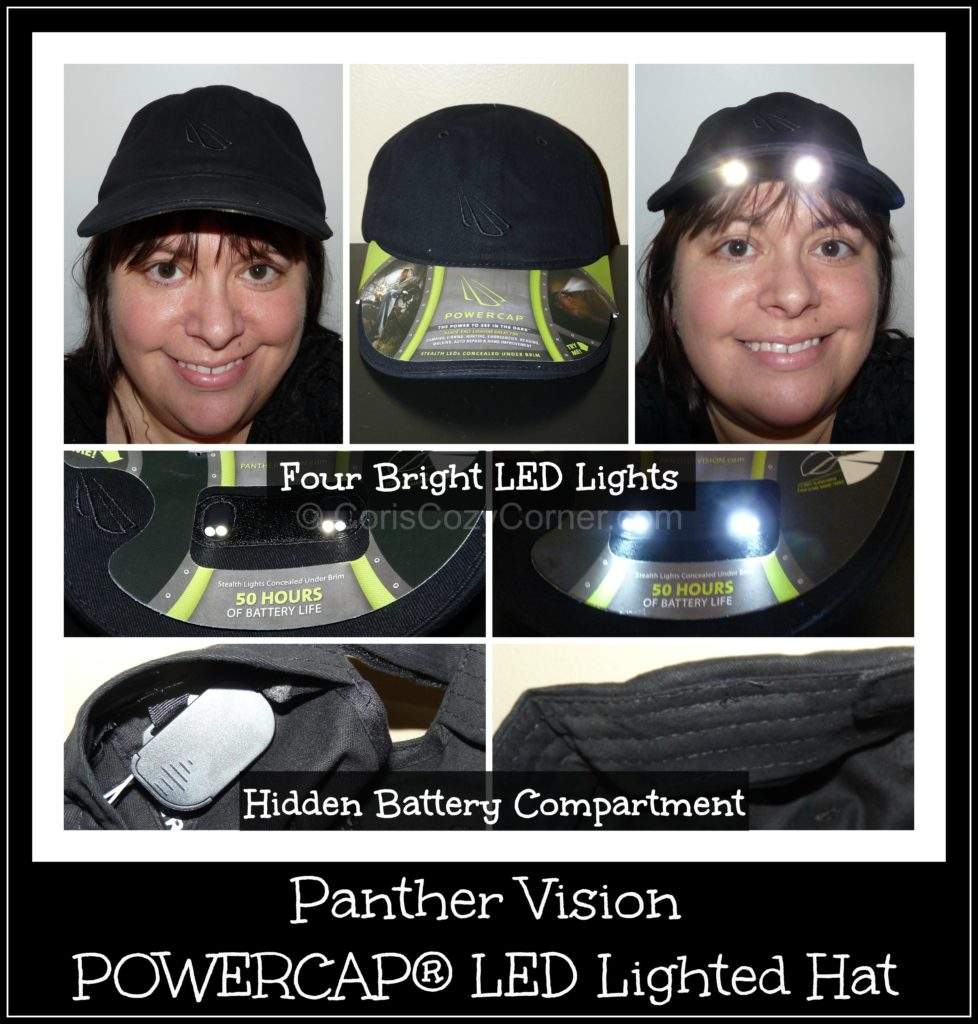
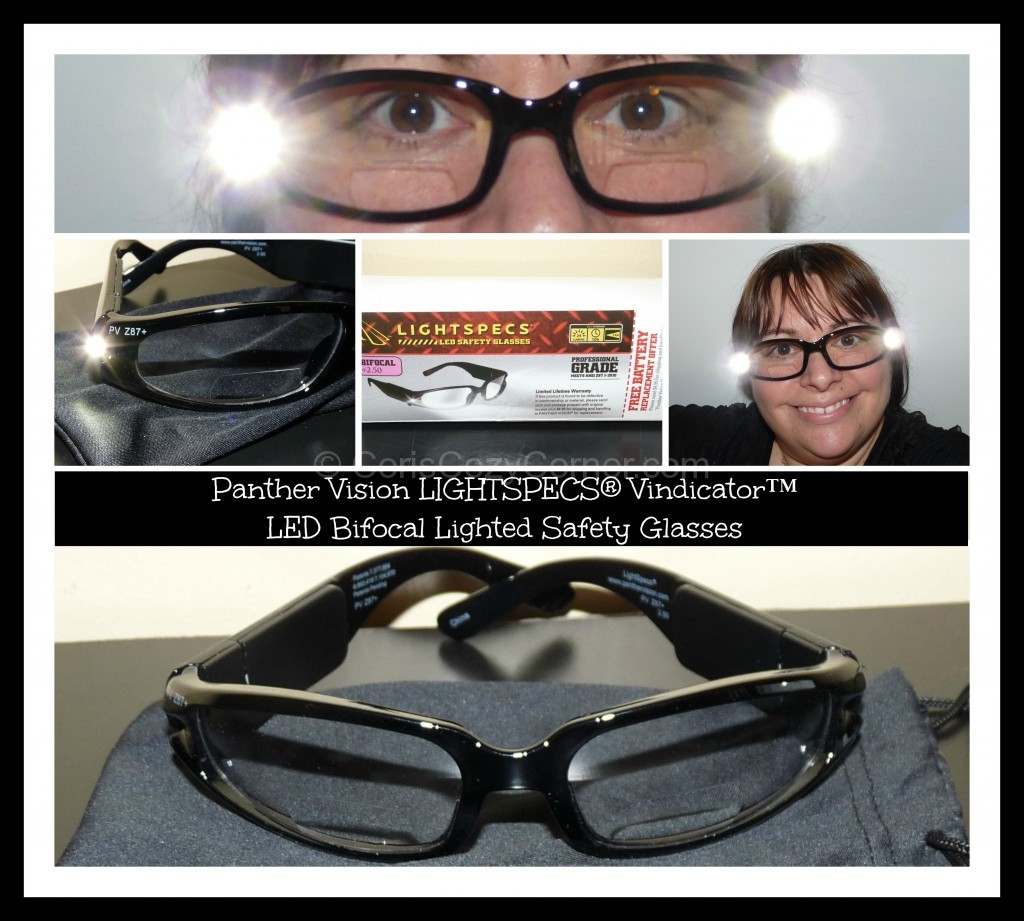 If you like to craft or work on your car and need a little help seeing things up close, I have a product for you to check out.