I am a member of the Collective Bias Social Fabric Community. This Pineapple Coconut Kefir Smoothie recipe post has been compensated as part of a social shopper amplification for Collective Bias and Lifeway. All opinions are 100% my own. #KefirCreations #CollectiveBias #Shop #Cbias
If you have been following my blog recently then you probably already know that I have really been trying to make healthy lifestyle changes to combat my fibromyalgia and other health problems. I have been using essential oils, trying to be more active (that’s a hard one for me), and most importantly, I have been learning how to eat healthier. Don’t get me wrong, I have a long way to go, but I’m making daily changes for myself and my family. One of these changes is adding more fresh fruits and veggies to our diet. I usually have a variety of fruits and veggies in my kitchen so I decided to turn some of them into smoothies. My girls and I headed over to Winn Dixie to grab some Lifeway Kefir to add to my smoothie to kick it up a notch on the healthy scale. At the store the Lifeway Kefir is kept in the same refrigerated case as the almond milk, soy milk, and coffee creamers. Once you see my recipe you’ll want to get some for yourself. Make sure to sign up for Lifeway Kefir coupons before you shop!

So what exactly is kefir? I’ve only recently discovered this tasty cousin to yogurt. It is a cultured probiotic beverage that is similar in taste and texture to drinkable yogurt but Lifeway Kefir has significantly more live and active cultures. It is cultured for 14 to 16 hours (compared to 2 to 4 hours for yogurt) to give it a unique effervescent taste and high probiotic count. Each cup contains 12 different probiotics and 7 to 10 BILLION CFU’s (colony forming units). That’s a lot of healthy, good for you, LIVE probiotic cultures that have a wide array of health benefits. Lifeway Kefir comes in a HUGE variety of flavors and the store I went to had 2 of those flavors available, Plain and Strawberry Banana. I knew both would go with all the fruit I already had so I bought one of each so I could decide when I got home which direction I wanted to take my recipe.
 As we got home the weather started looking ominous. I was determined to not let the black clouds overhead ruin my good mood so I decide the best way to chase the dark clouds away would be to make a tropical pineapple coconut smoothie with the juicy pineapple I had been trying to decide what to do with. The only problem was that it was a whole pineapple. I have always been a little intimated by having to slice up a whole pineapple so I usually buy them already cut up. But I was determined to figure out just how to cut up this delicious looking pineapple and it came out pretty good if I do say so myself.
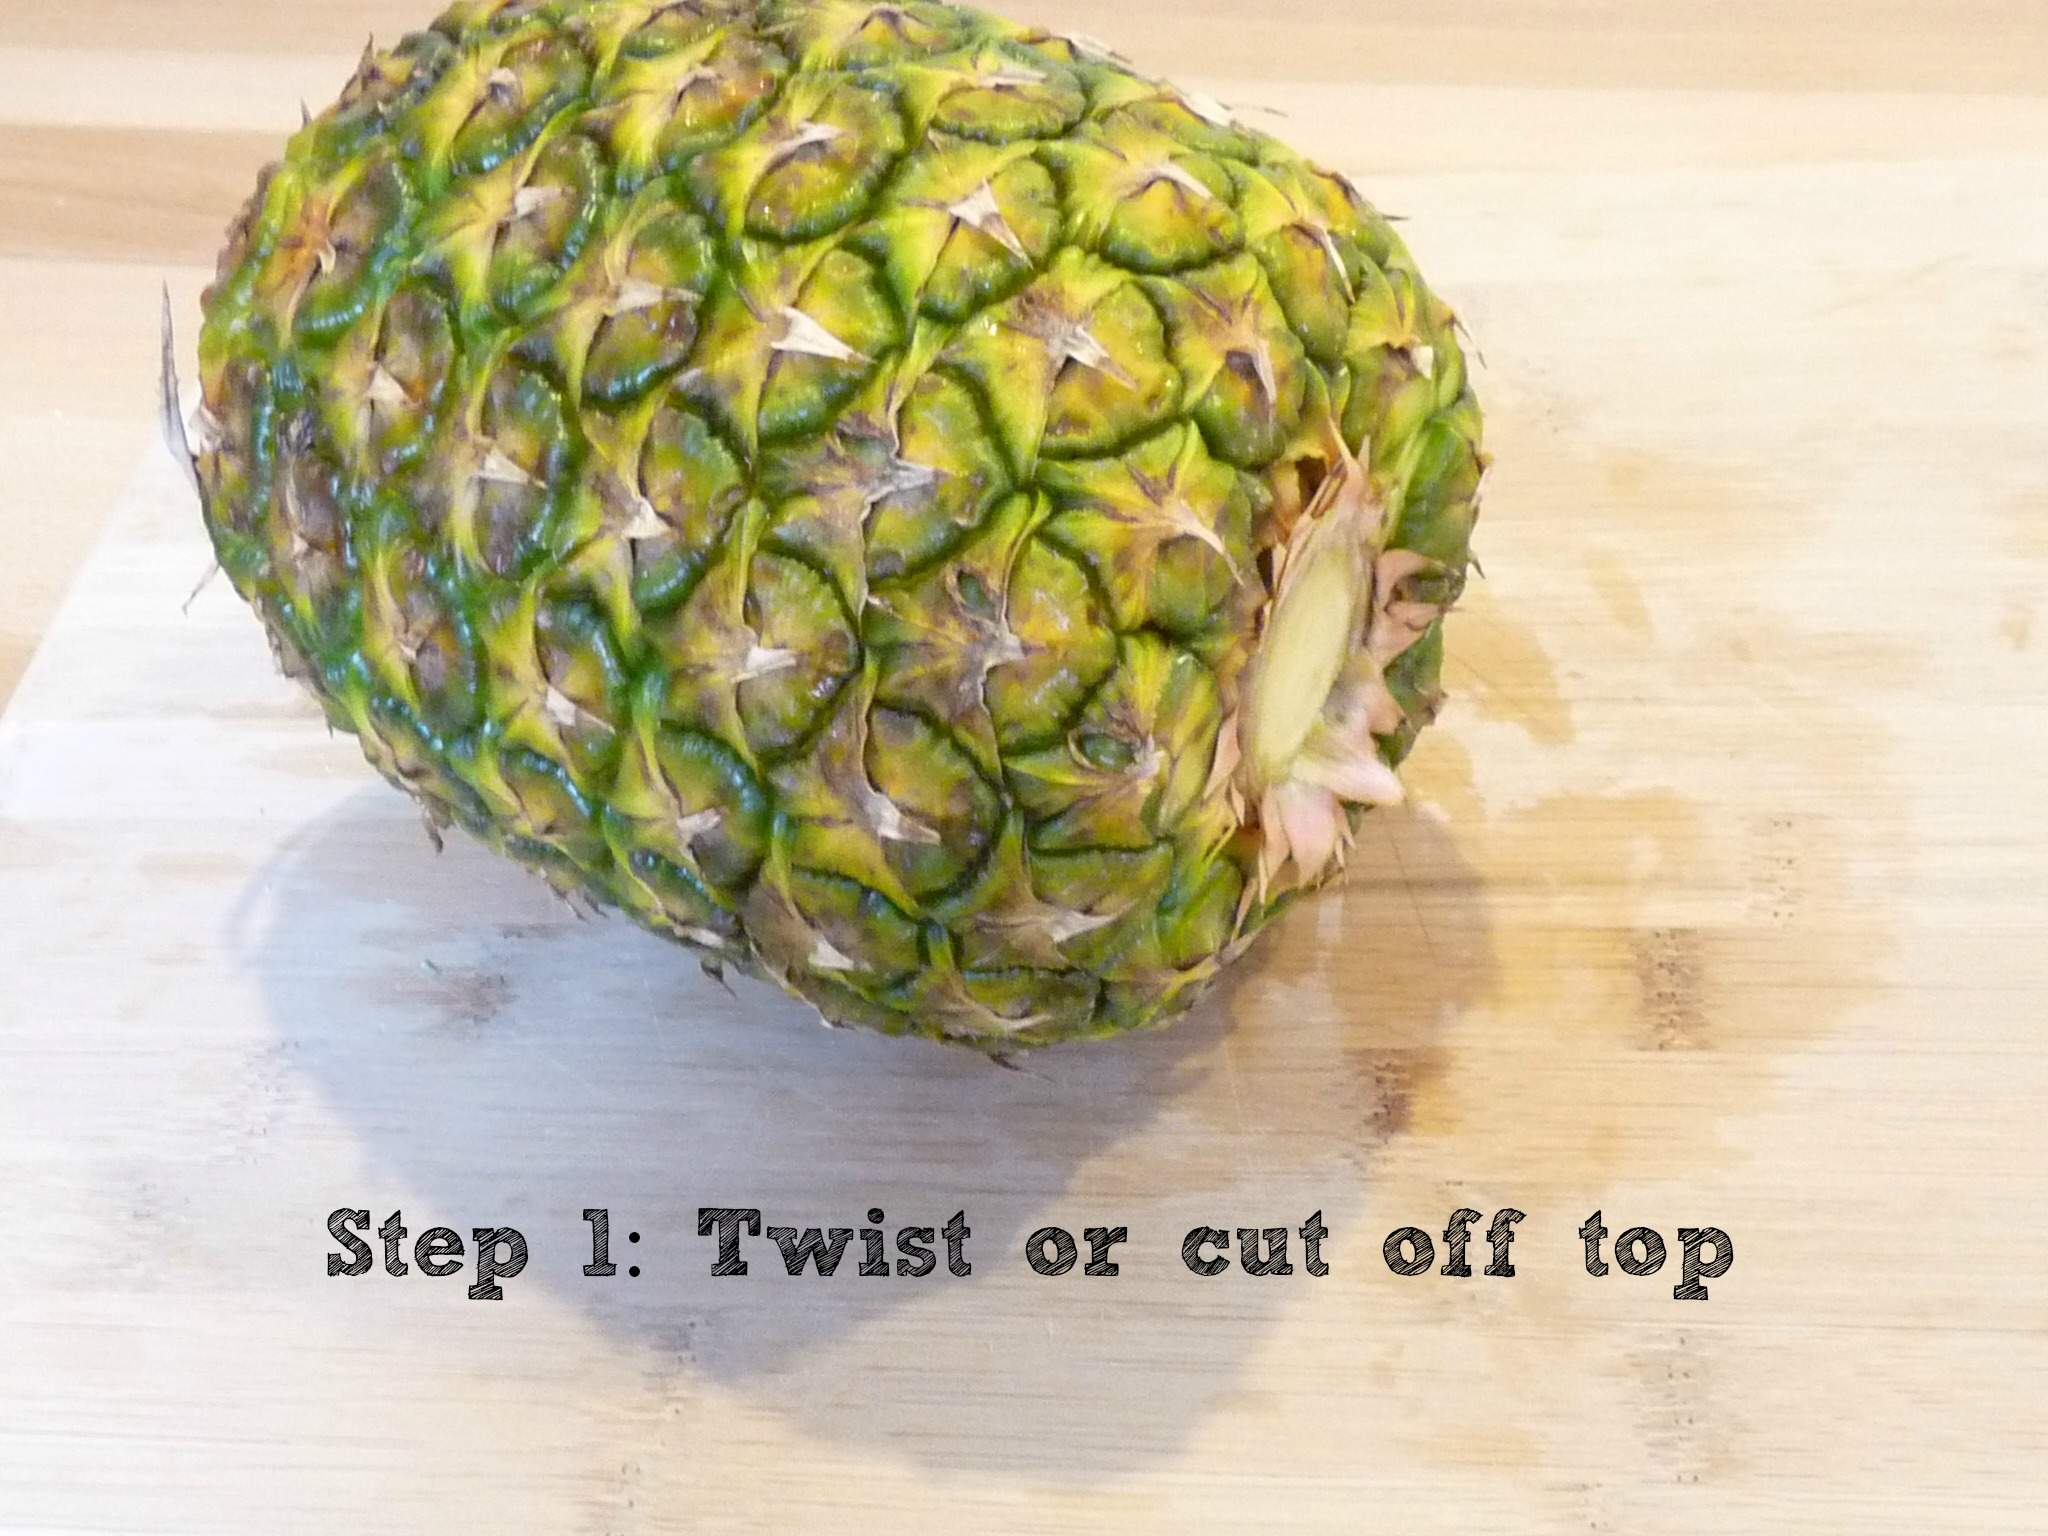
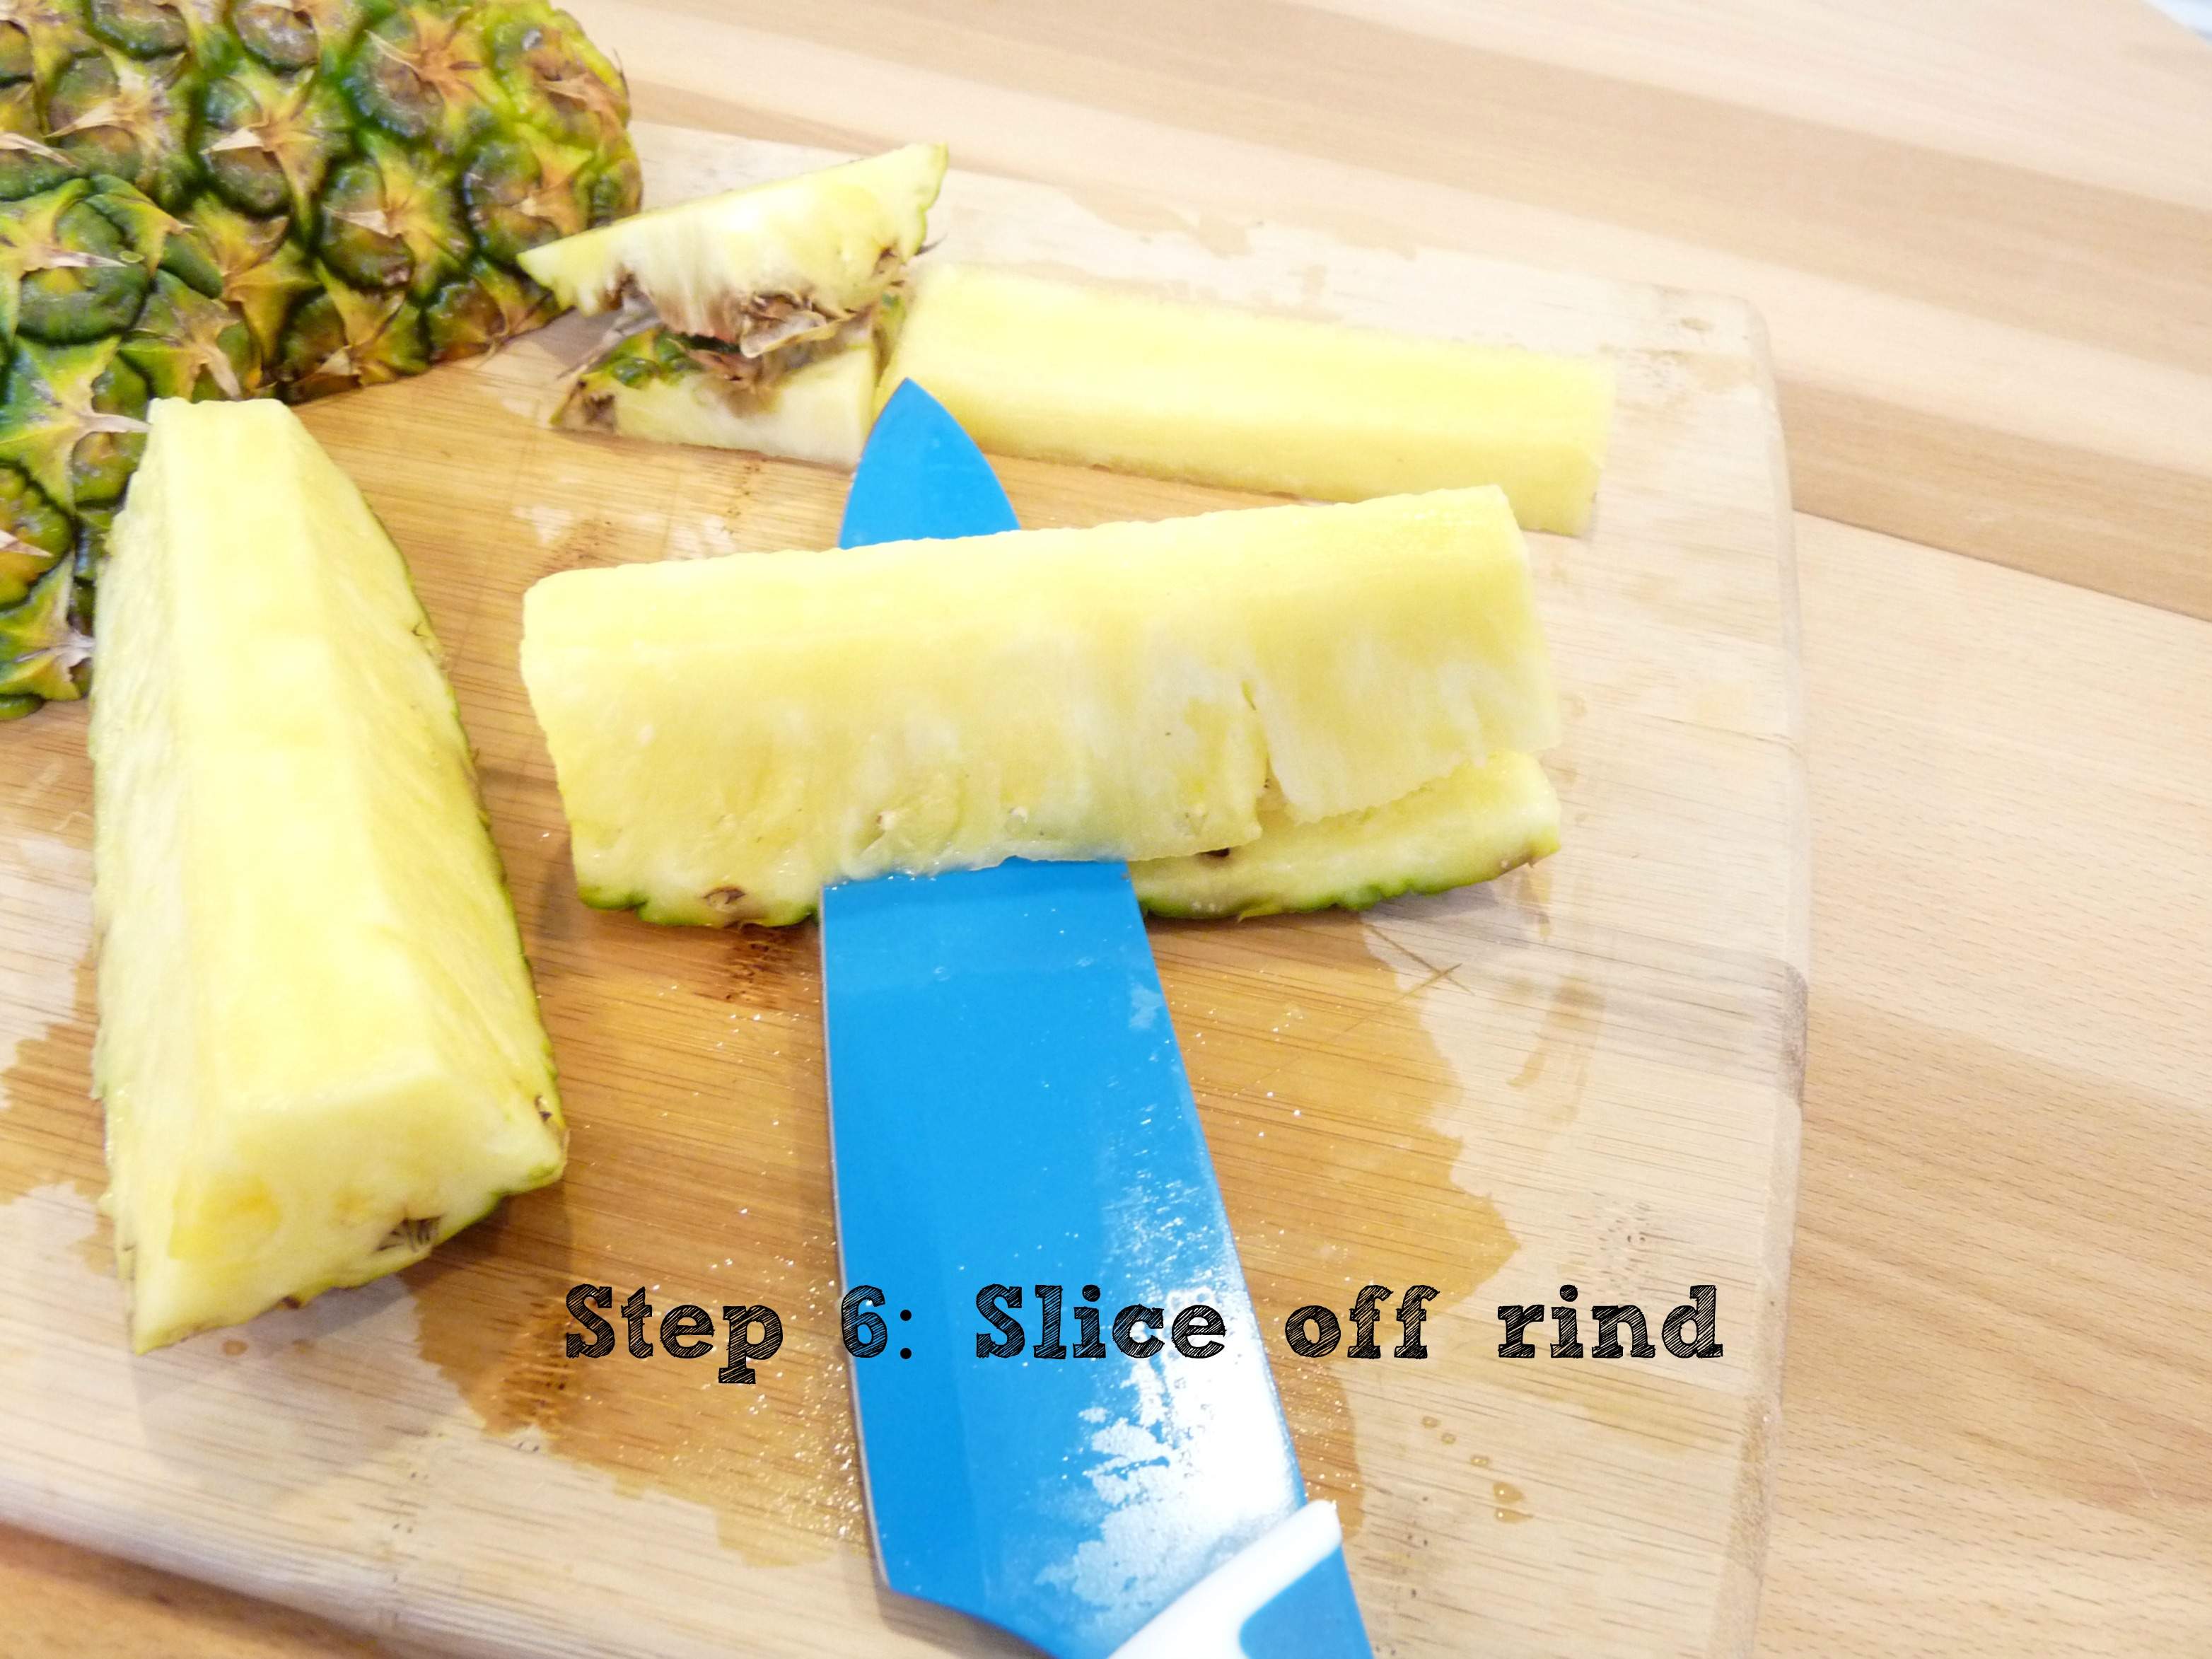
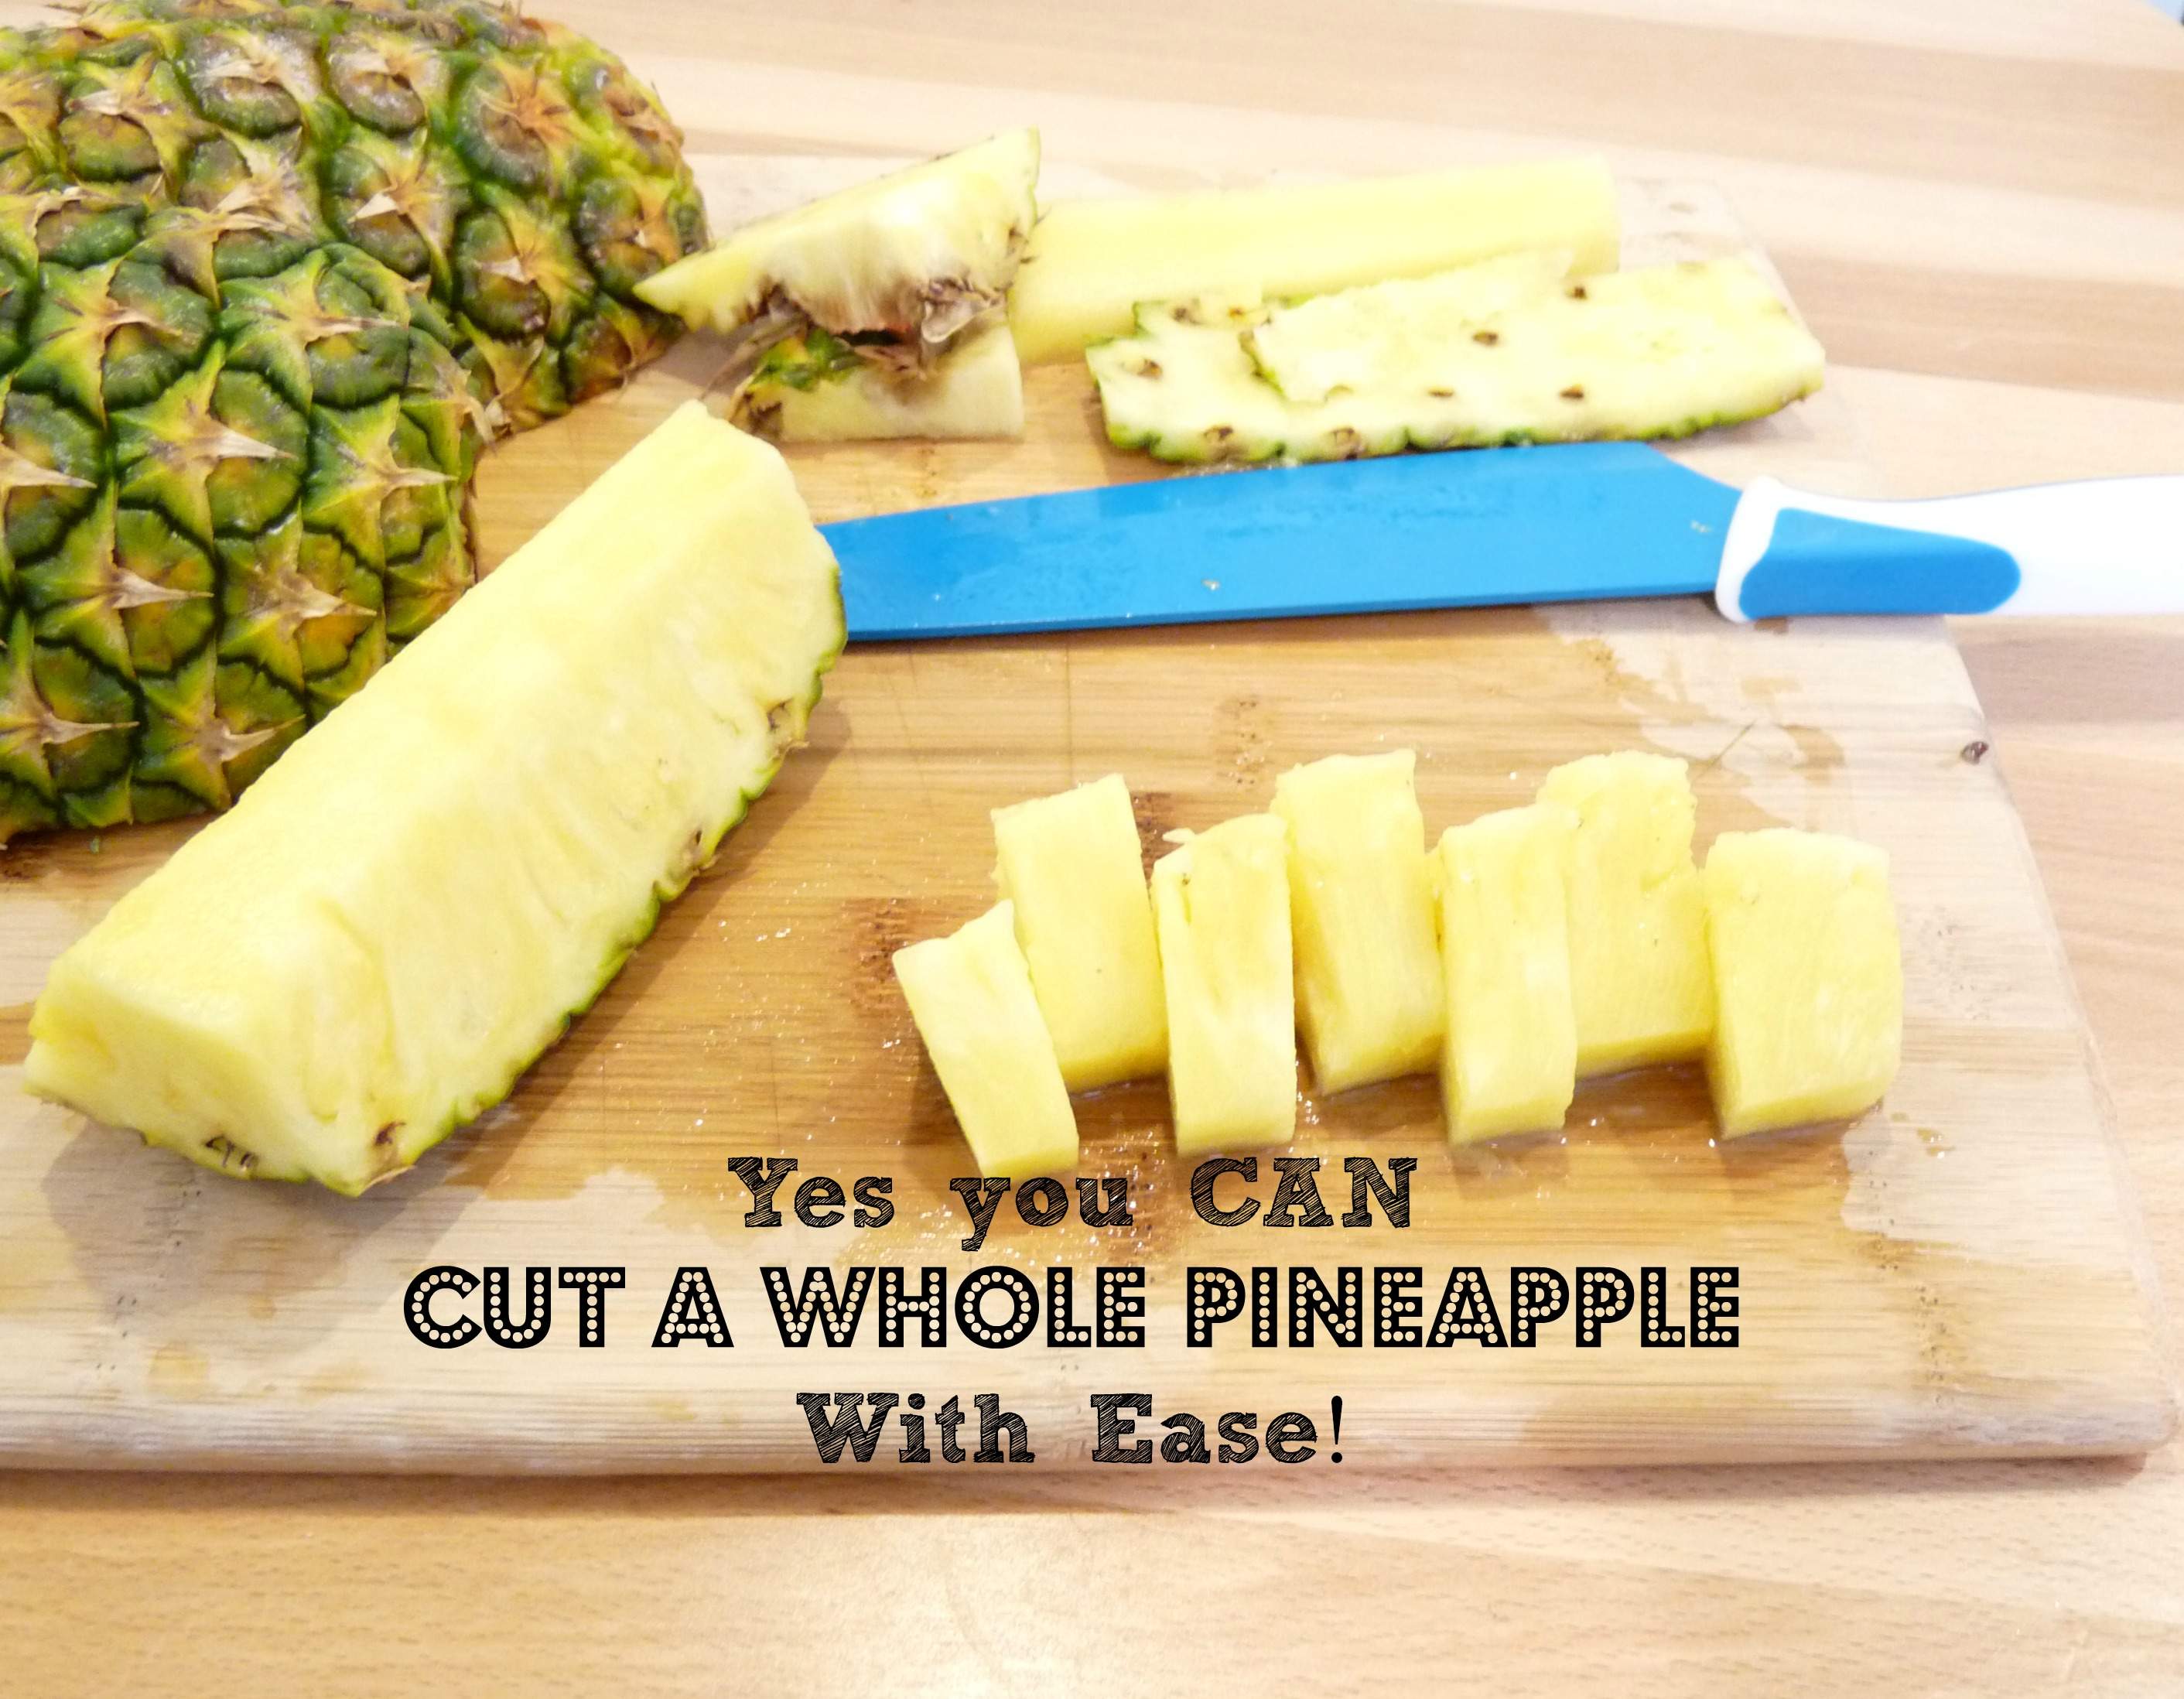 Here’s how to cut up a whole pineapple:


I only needed 2 cups of cut up pineapple for the smoothie so I froze the rest. I love frozen pineapple or any frozen fruit for that matter. Often if I have a headache I will reach for a cut of frozen fruit to chew on before I reach for pain relievers. The frozen fruit often helps my headache go away naturally. With my pieces of pineapple cut up I was ready to make my smoothie.
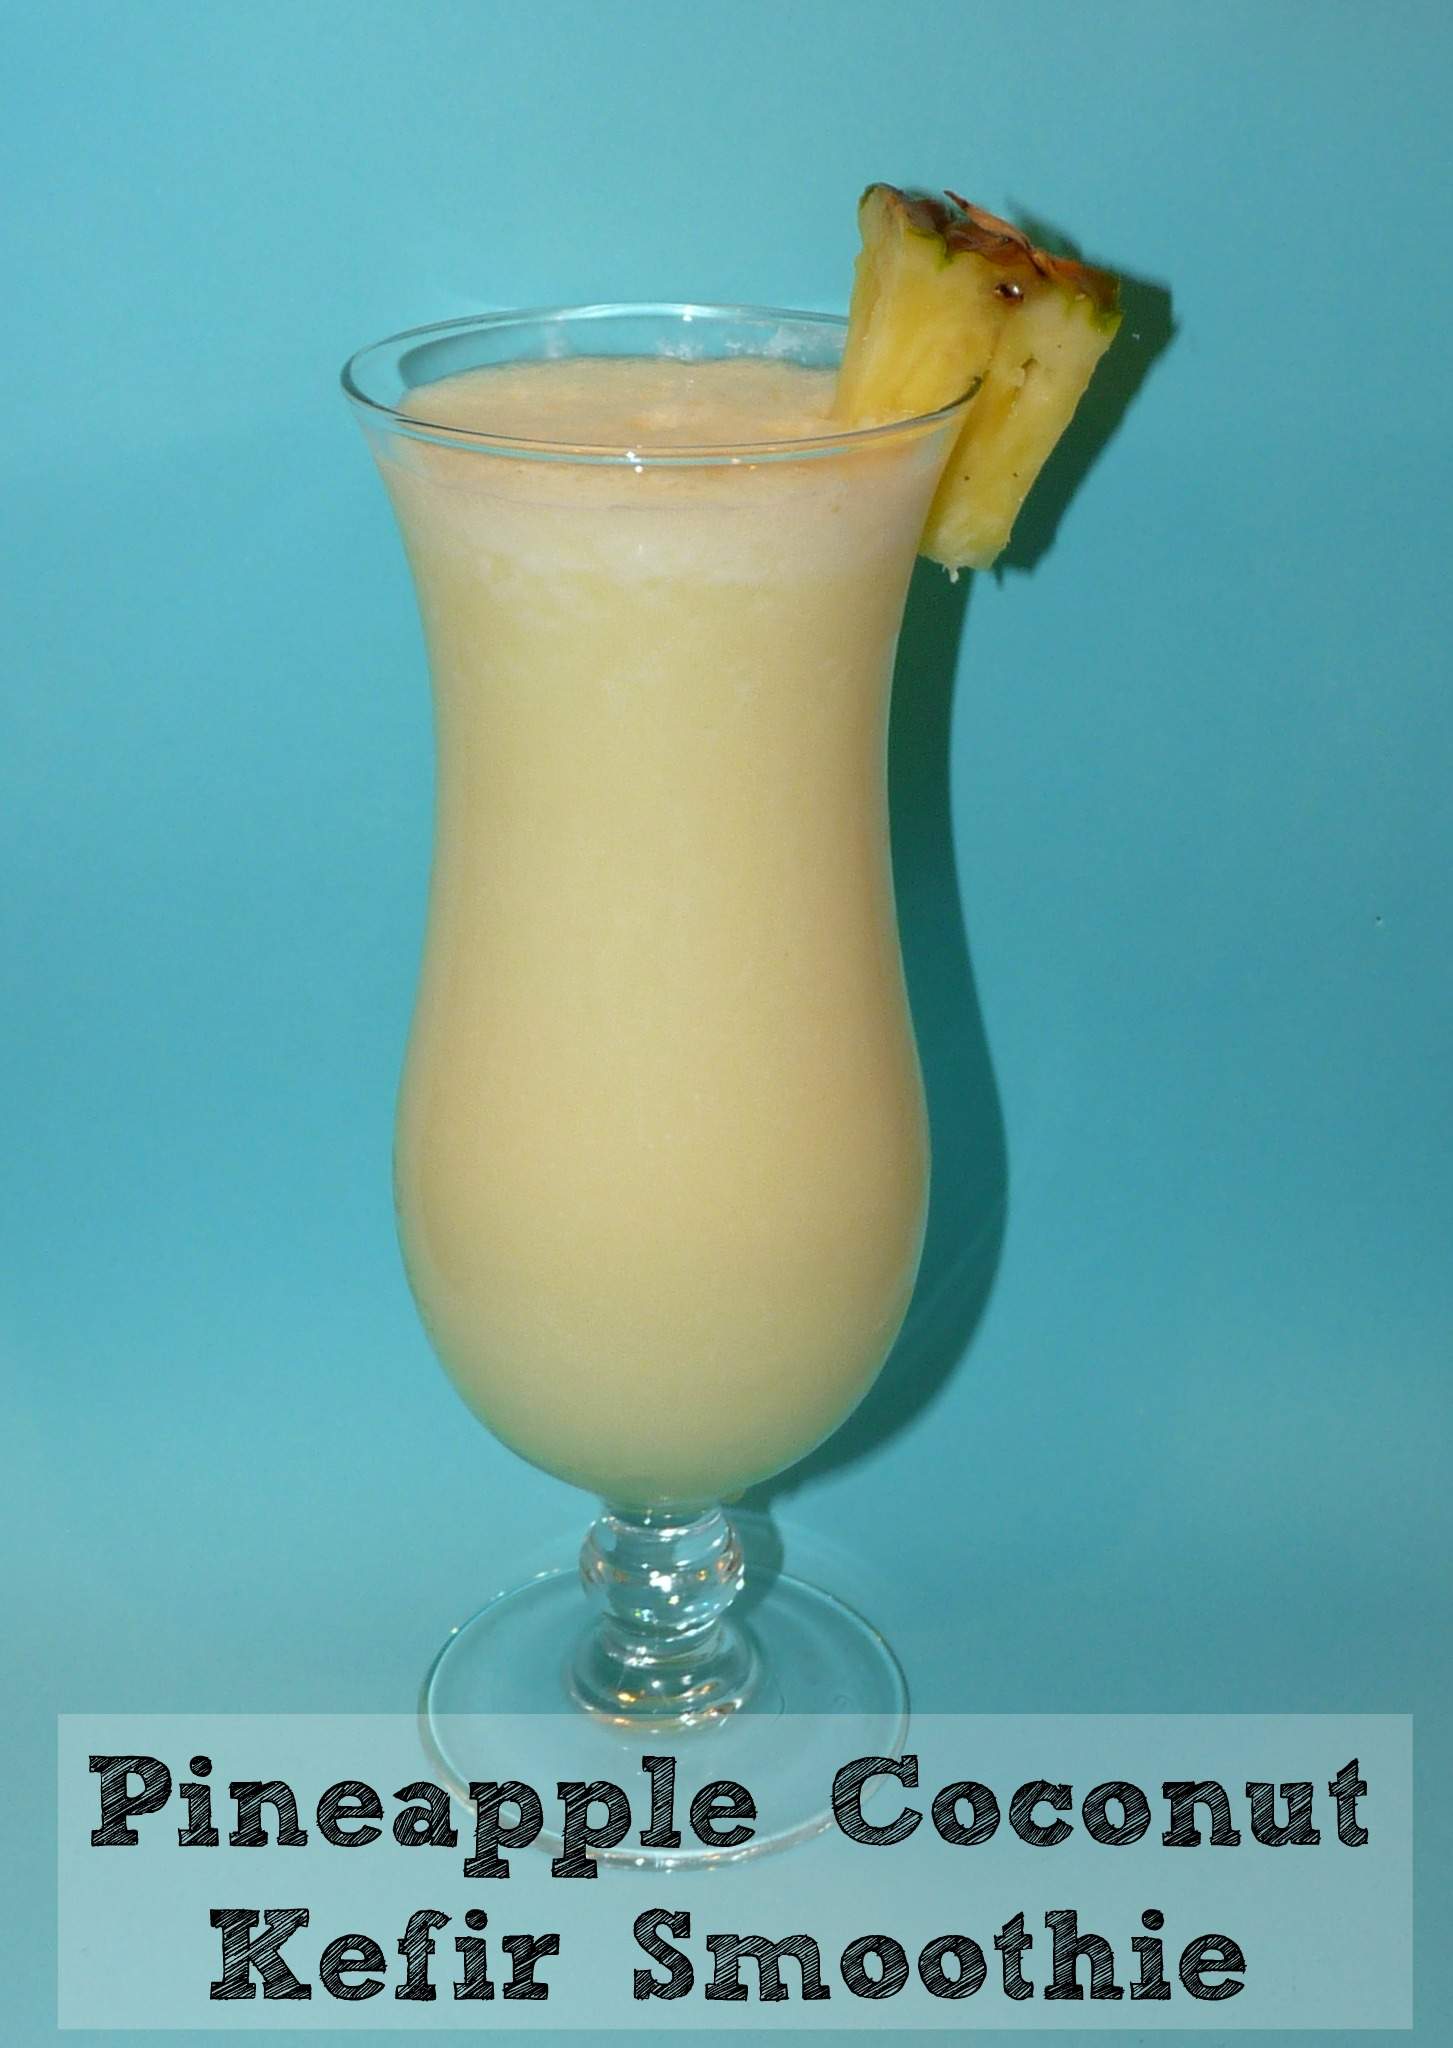
Pineapple Coconut Kefir Smoothie
Makes 2 smoothies
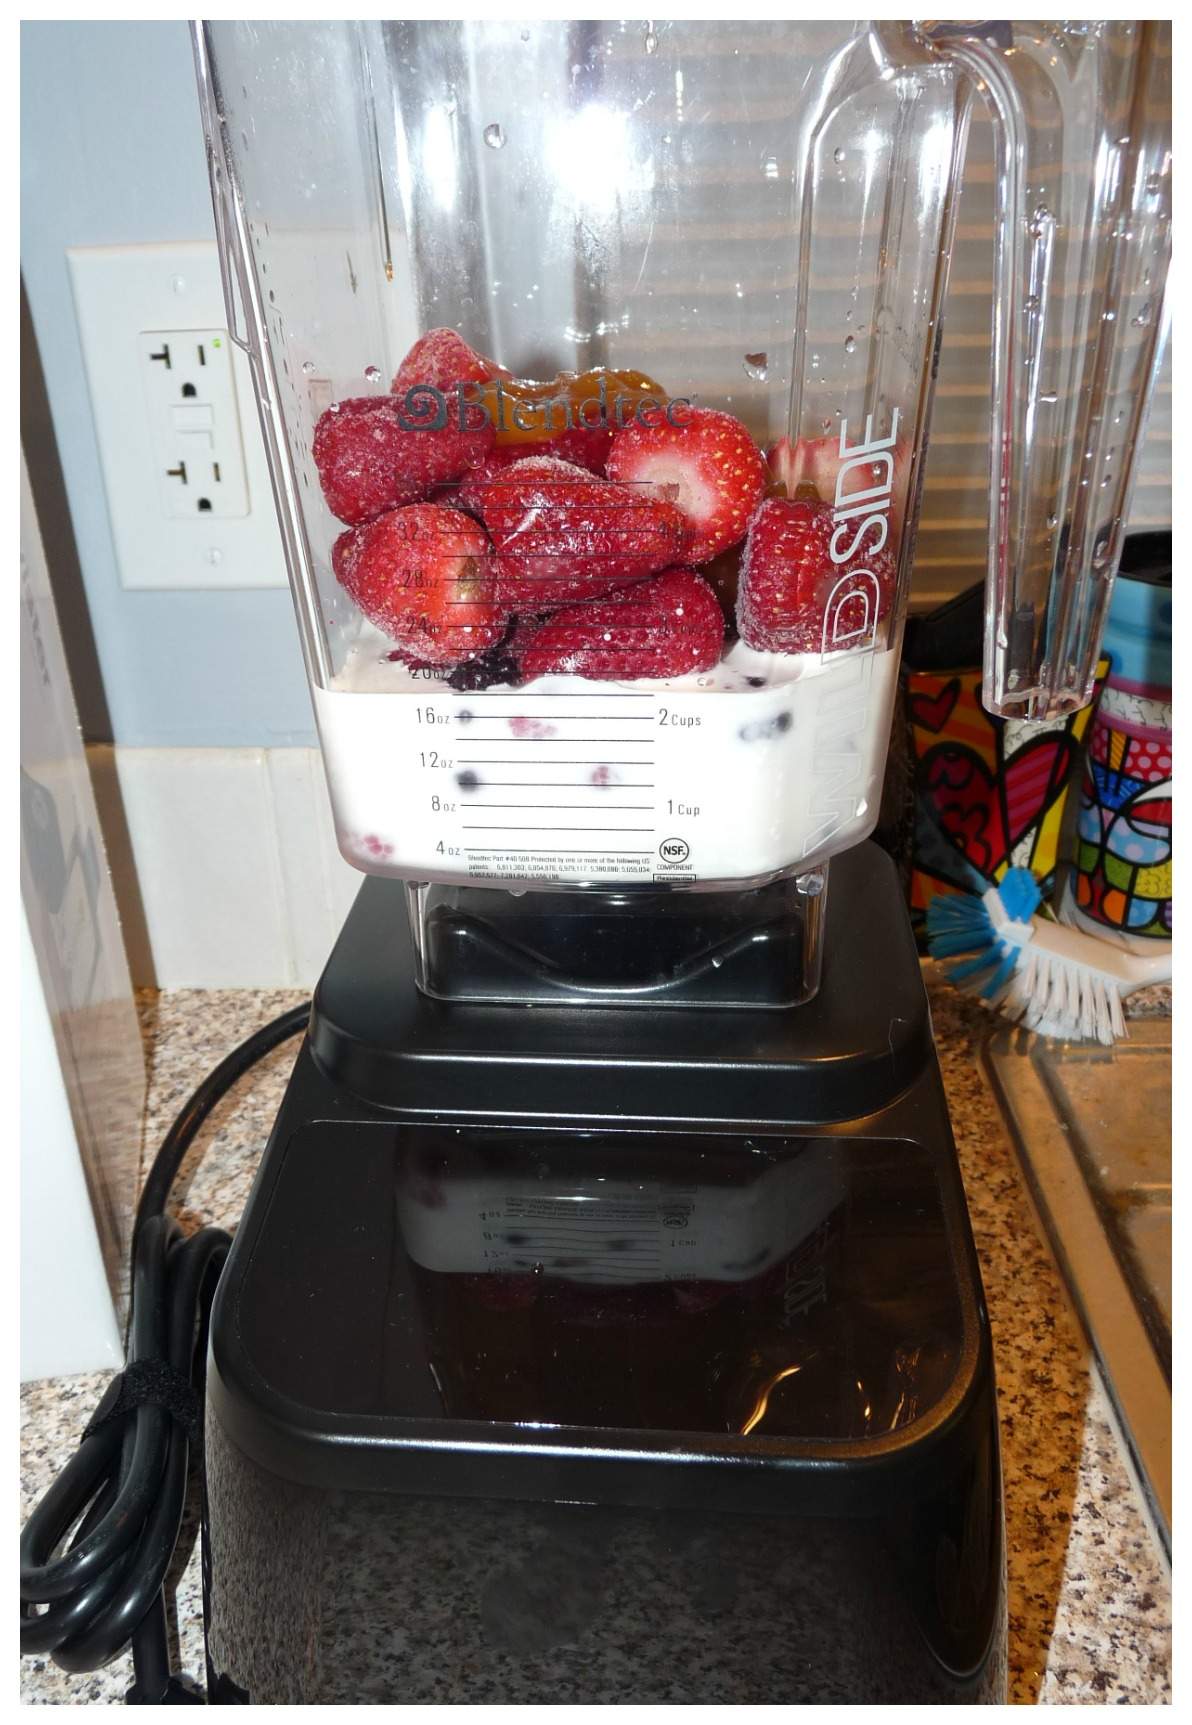
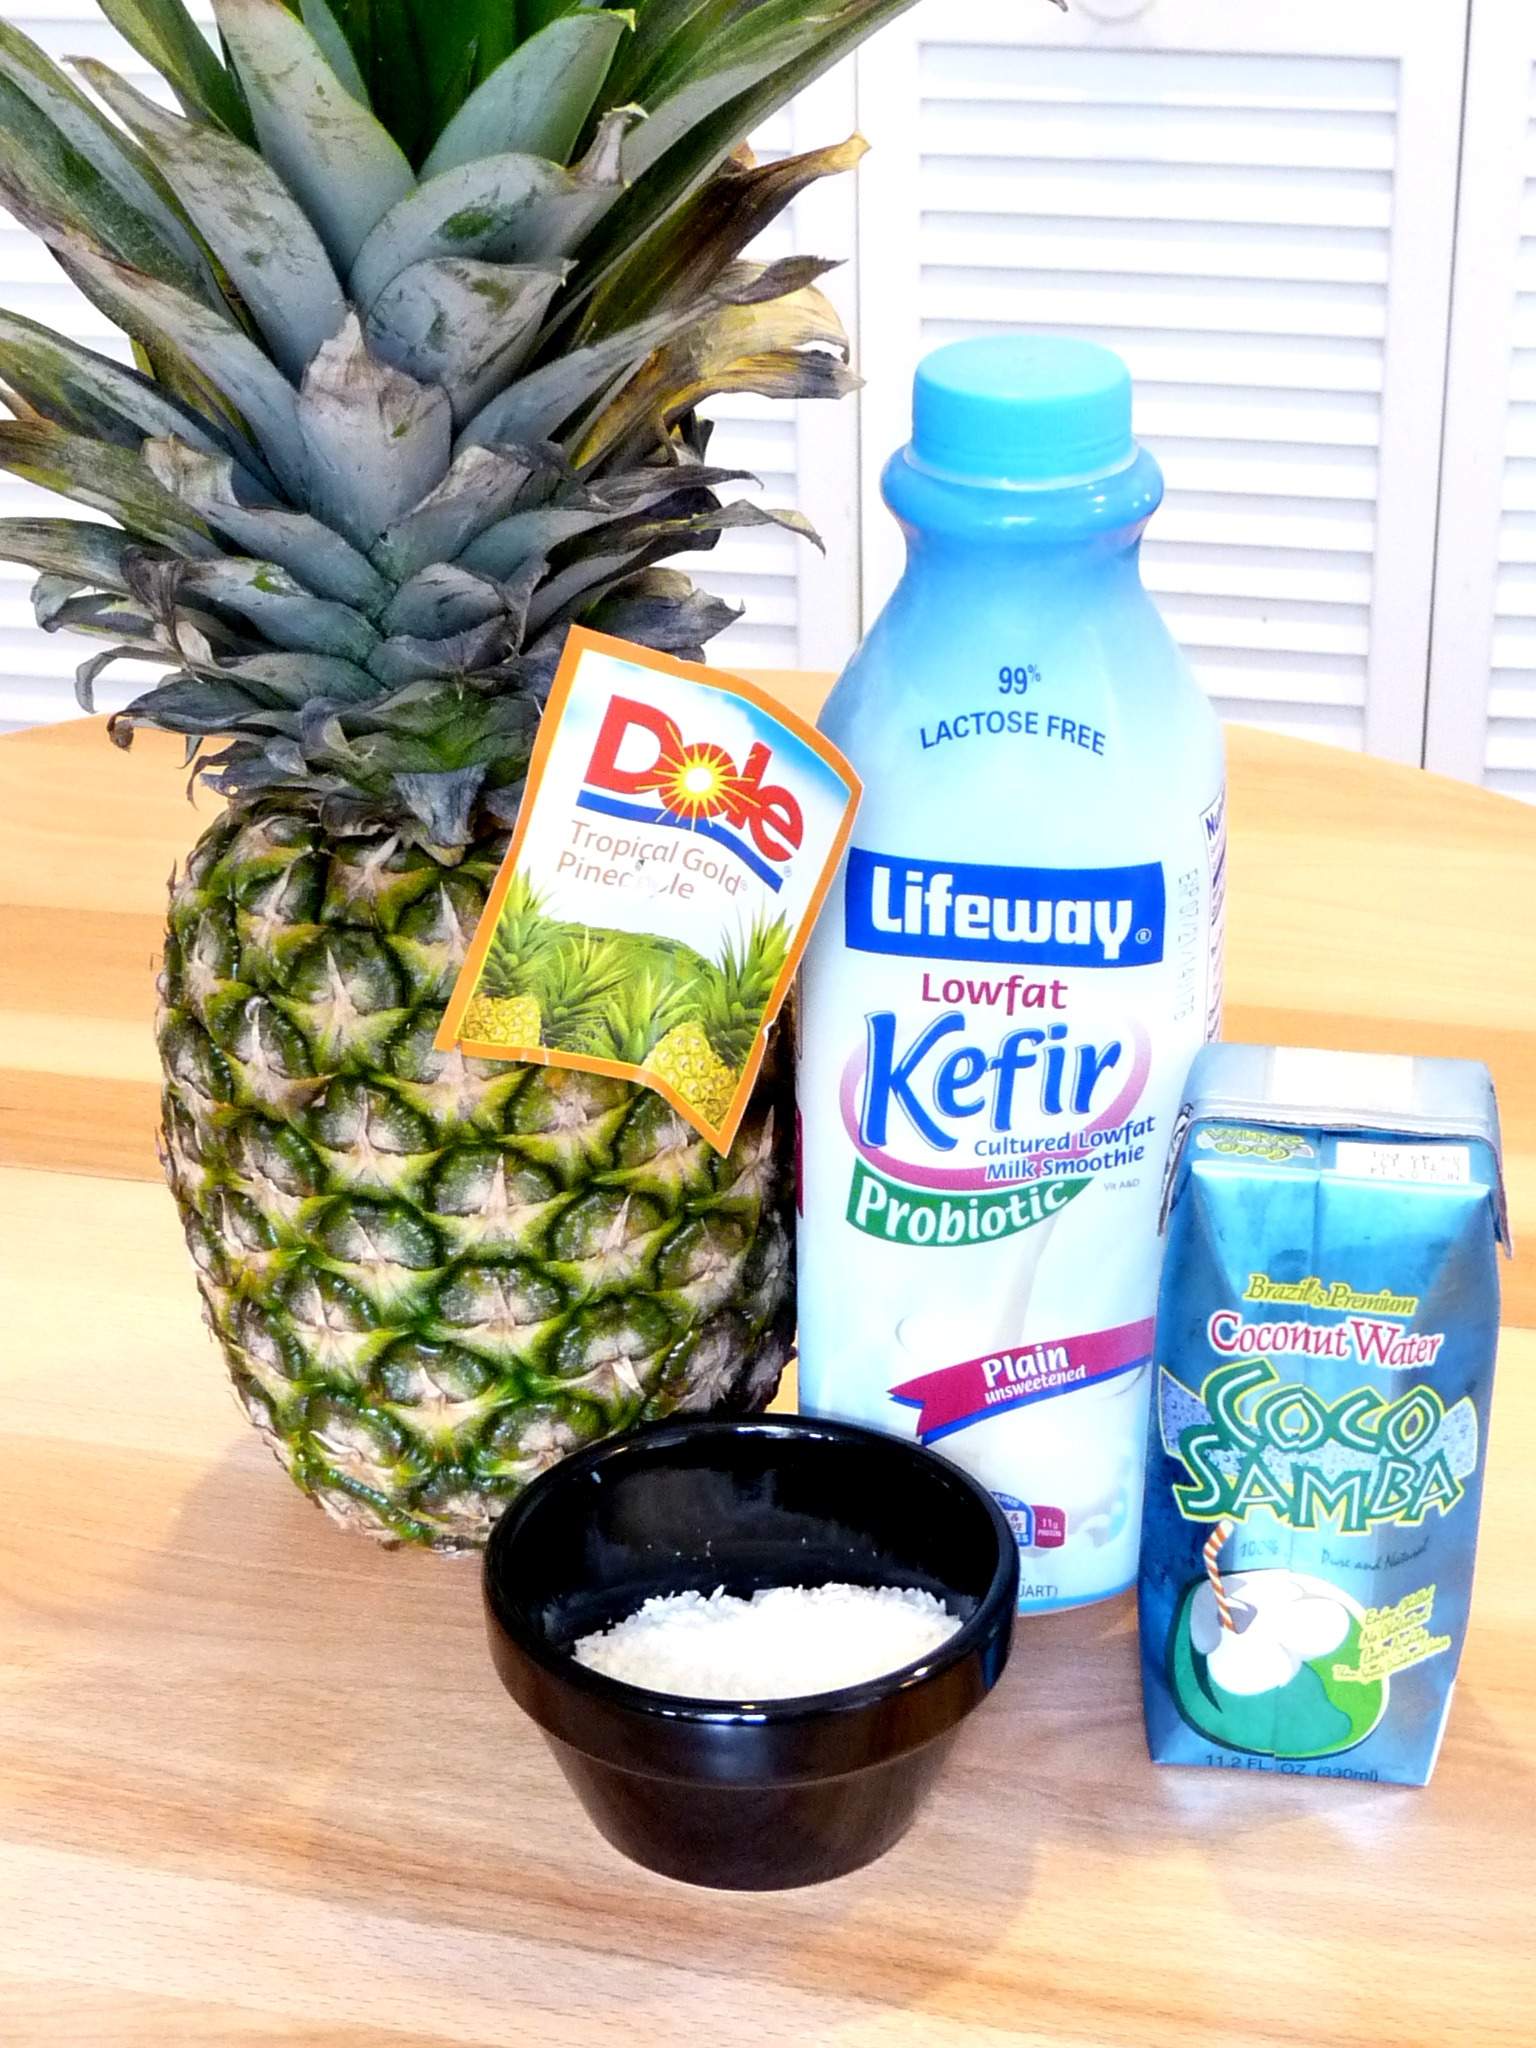
2 cups cut up pineapple (I used fresh but frozen would be great, too)
1 cup coconut water
1 1/2 cups Lifeway Kefir Plain (SHAKE WELL FIRST)
1/3 cup of unsweetened finely shredded coconut
3 1/2 cups of ice
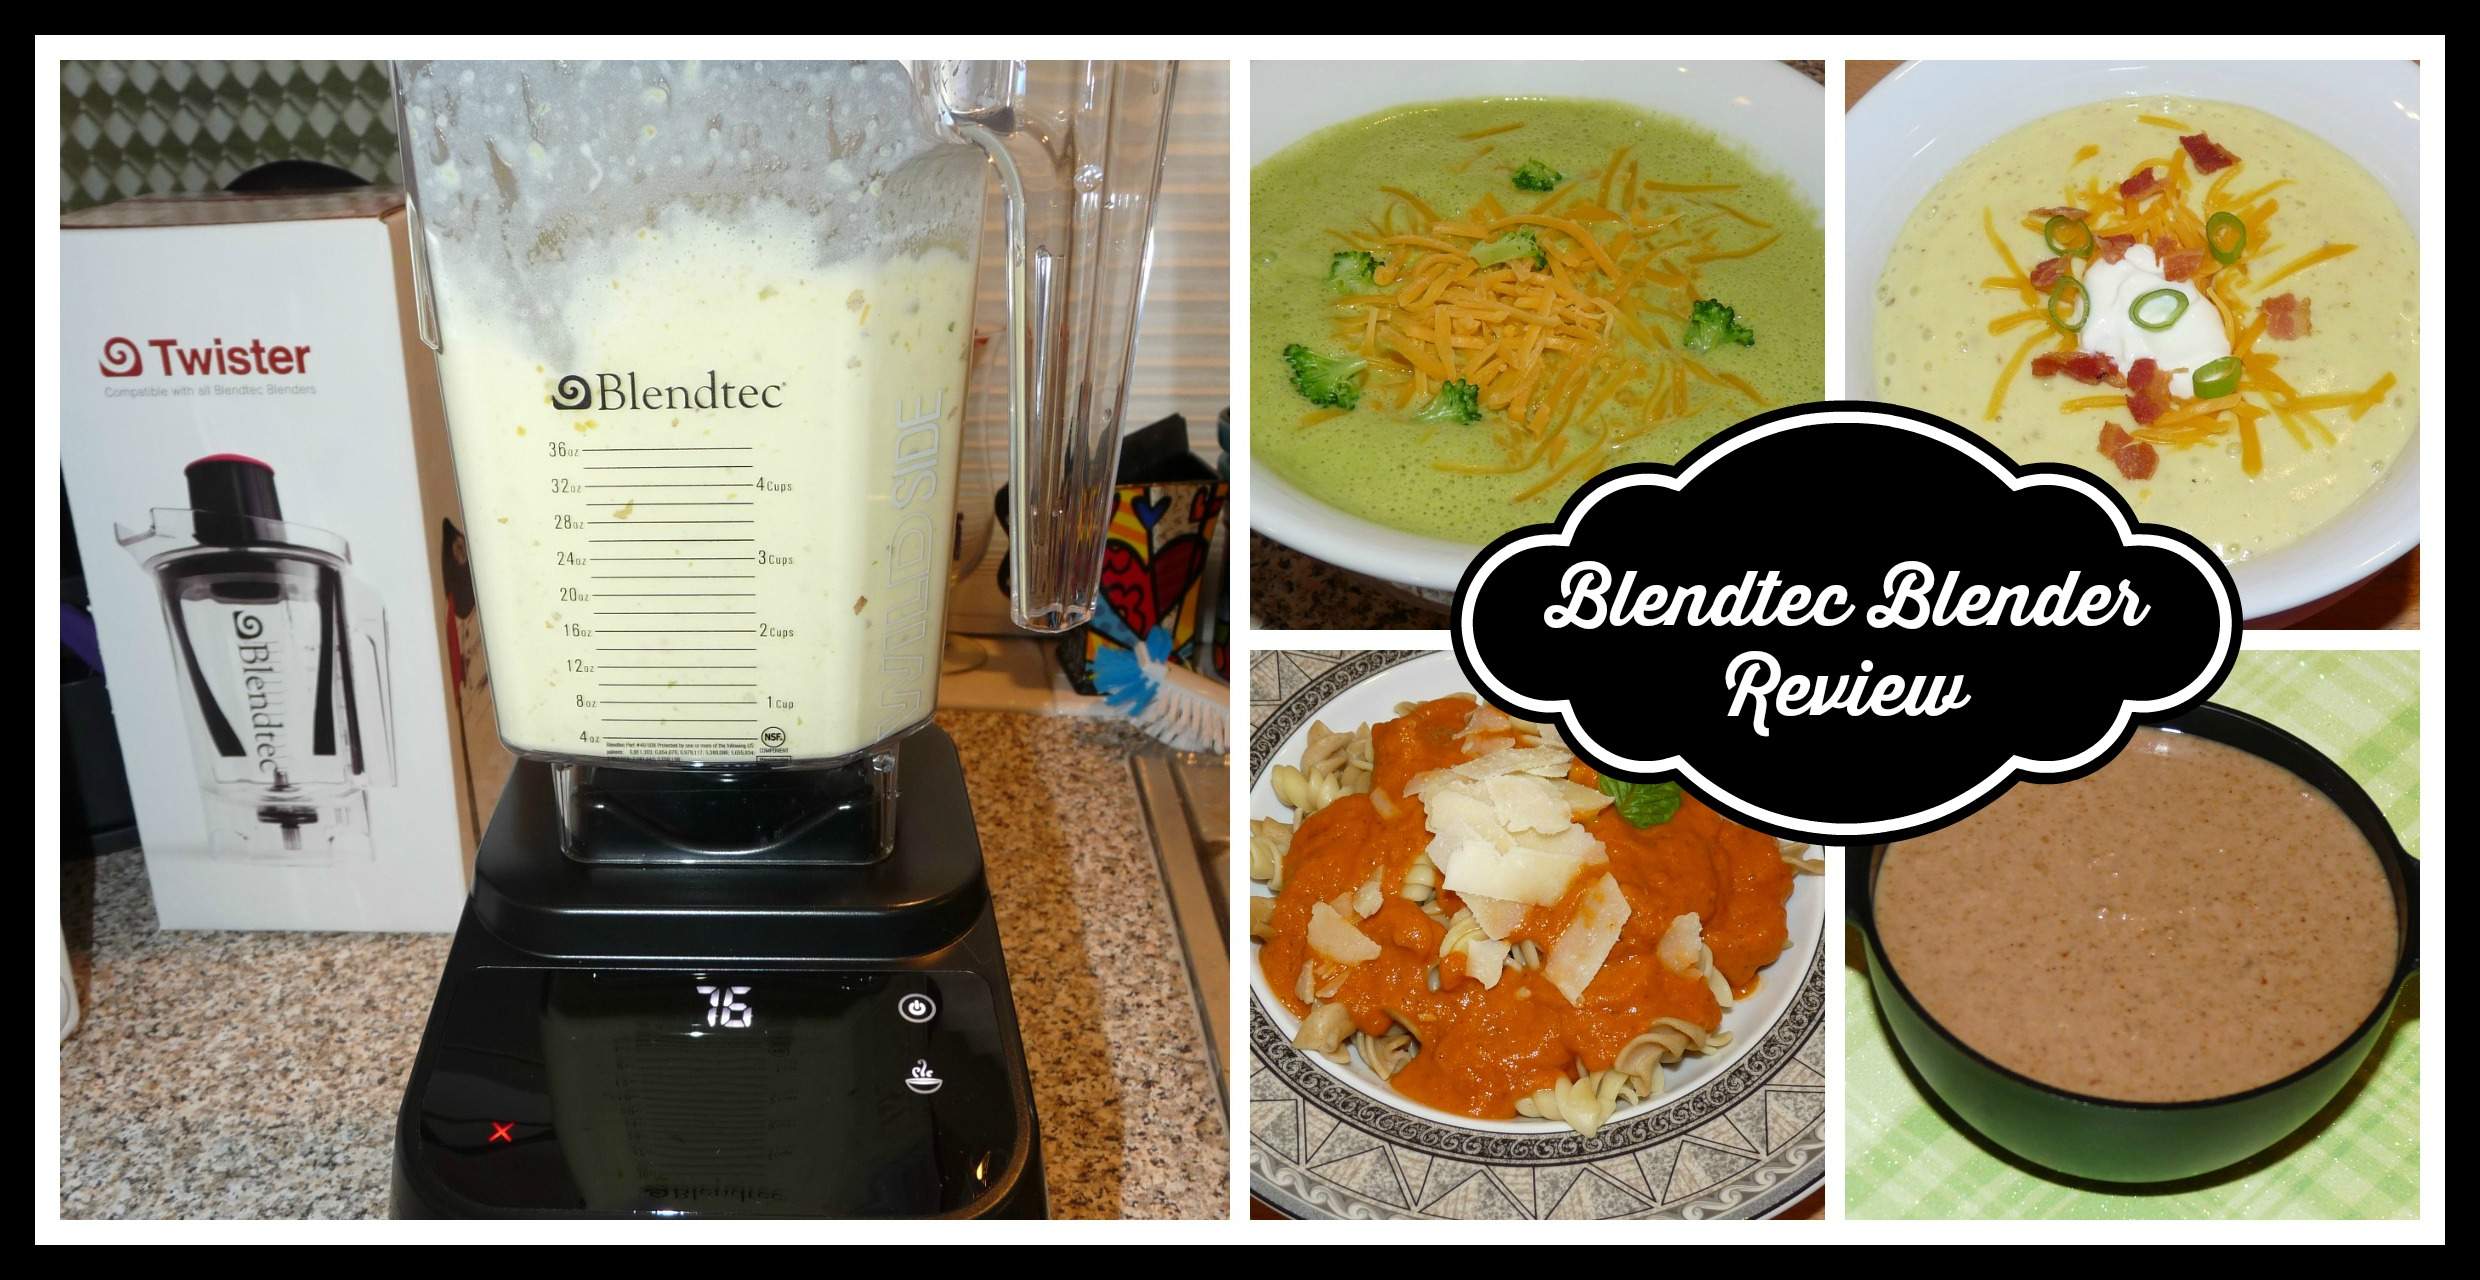
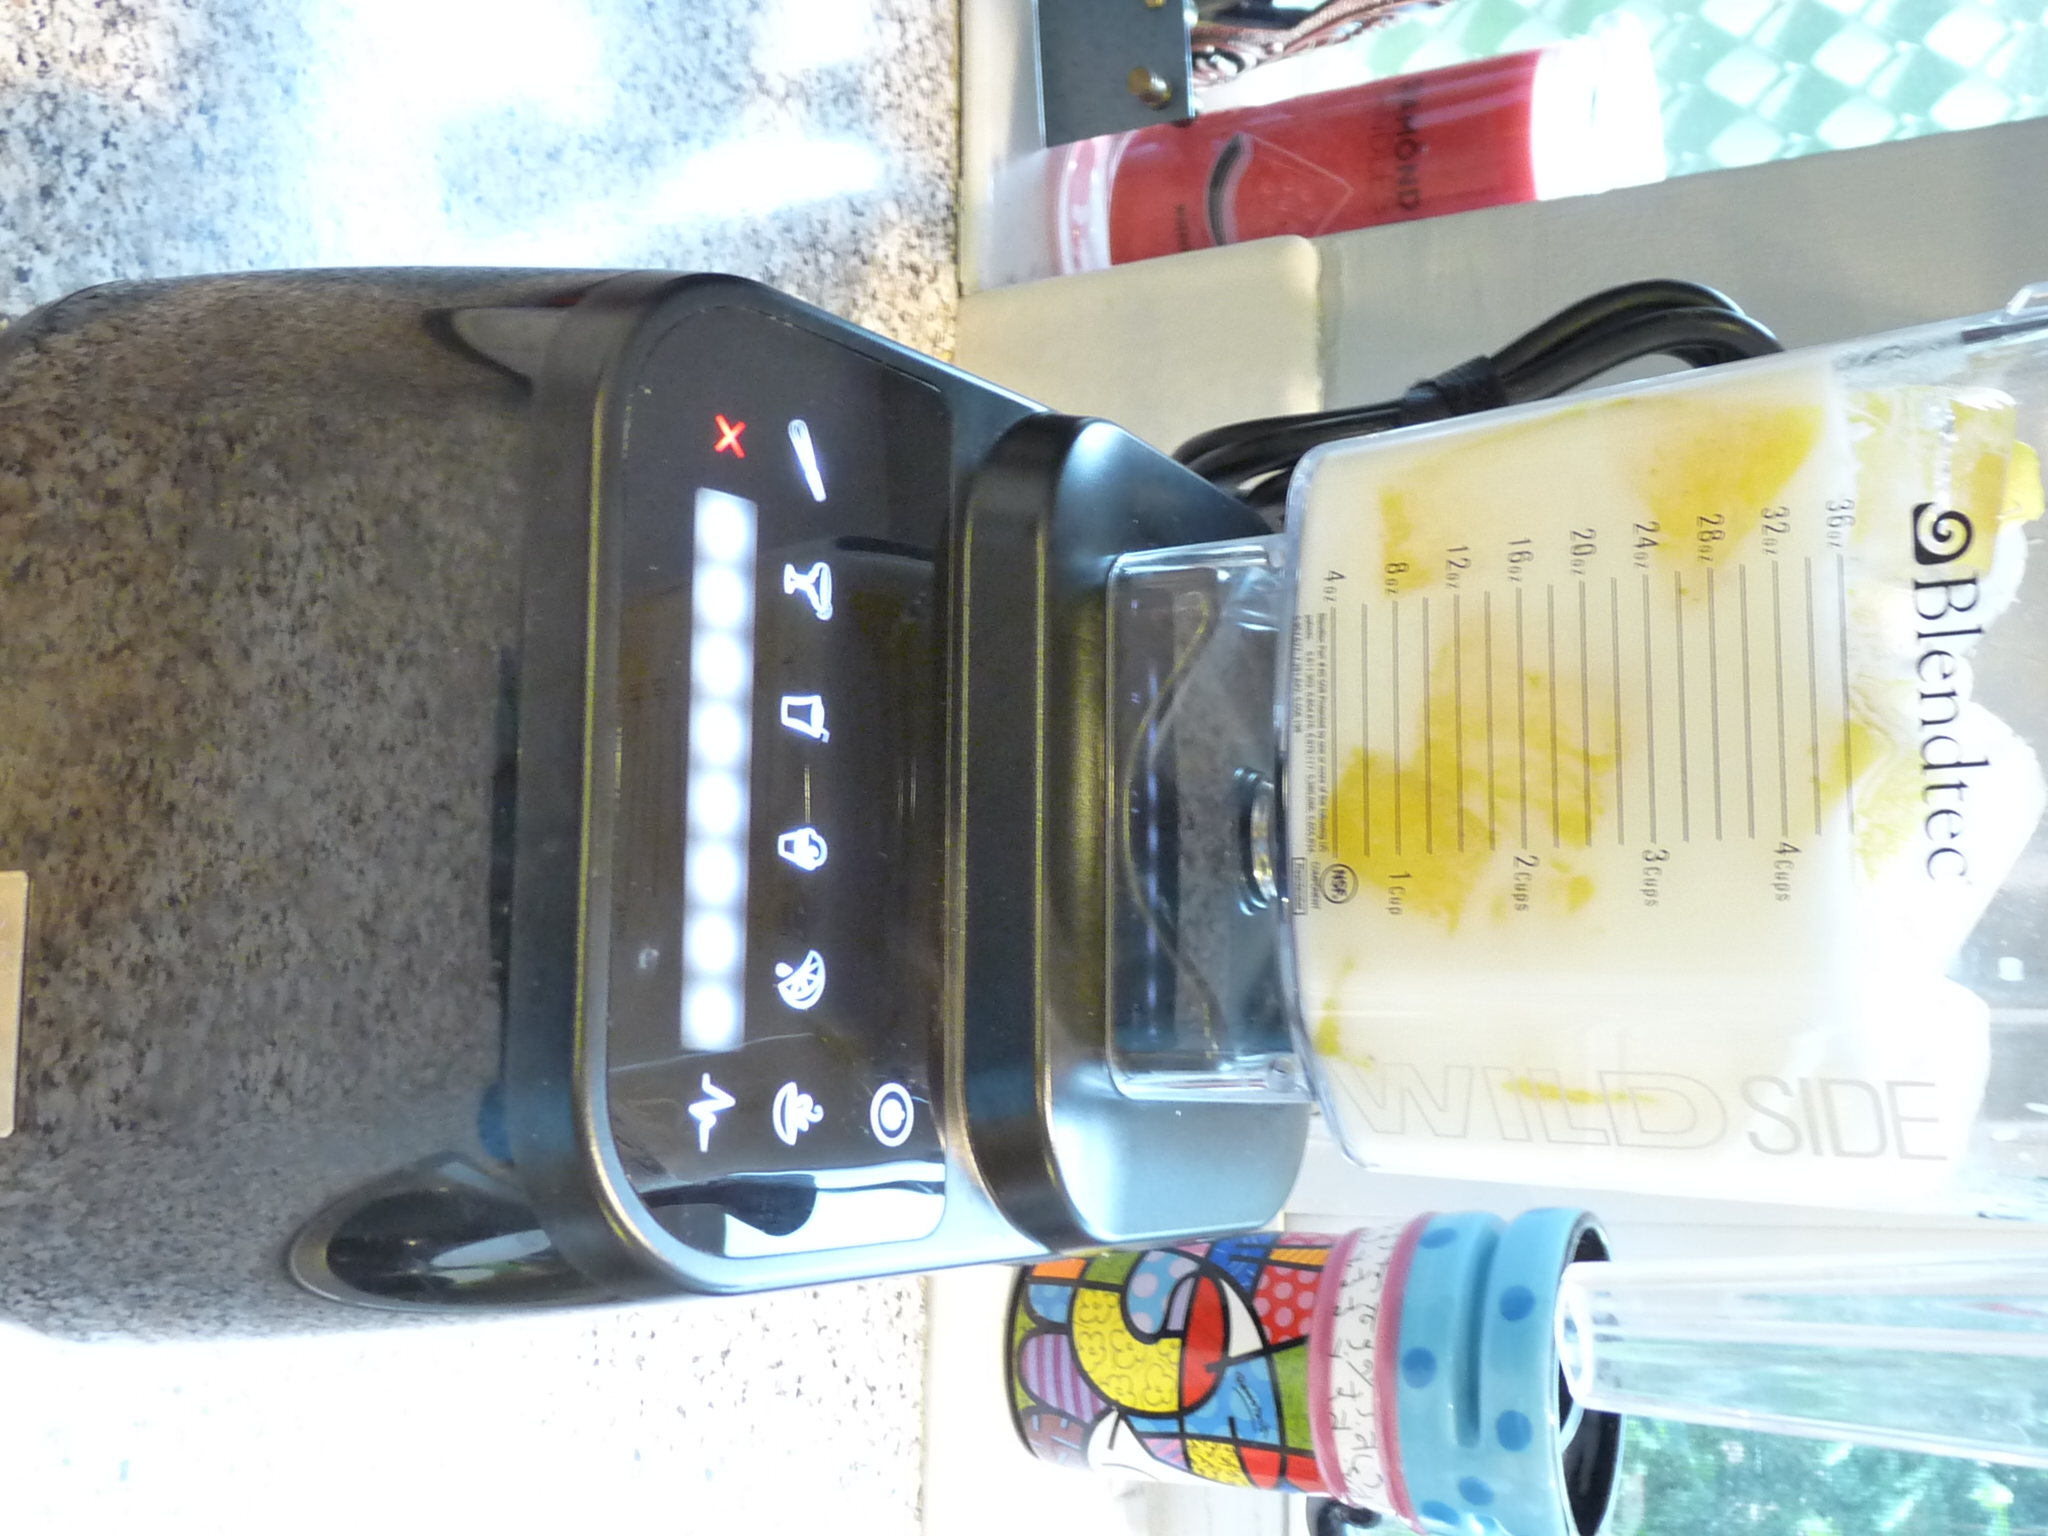 Place all ingredients in a high power blender. (I like to use my Blendtec because it has a smoothie setting.)
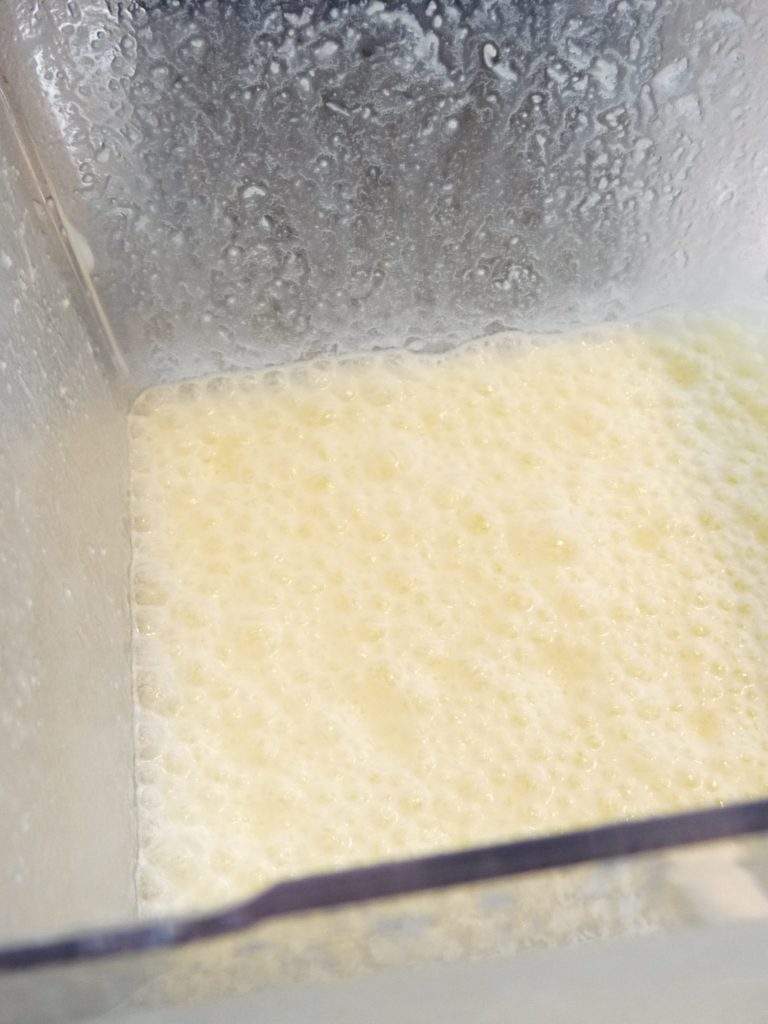 Blend until smooth and enjoy!
For an added kick, add some rum!
Viola!!!
Now what shall I do with the Lifeway Strawberry Banana Kefir Smoothie I bought?
Time to make some smoothies for my girls. Maybe I’ll sneak in some spinach, too. 😉


 Washing fresh fruit is such a breeze with the Cut Fruit Bowl. The bowl on the bottom has a pour spout making it so easy to pour out any liquids. Since fruit doesn’t sit in liquids it stays fresher longer which means saving money on wasted fruit. This Good Cook product is exclusively available at

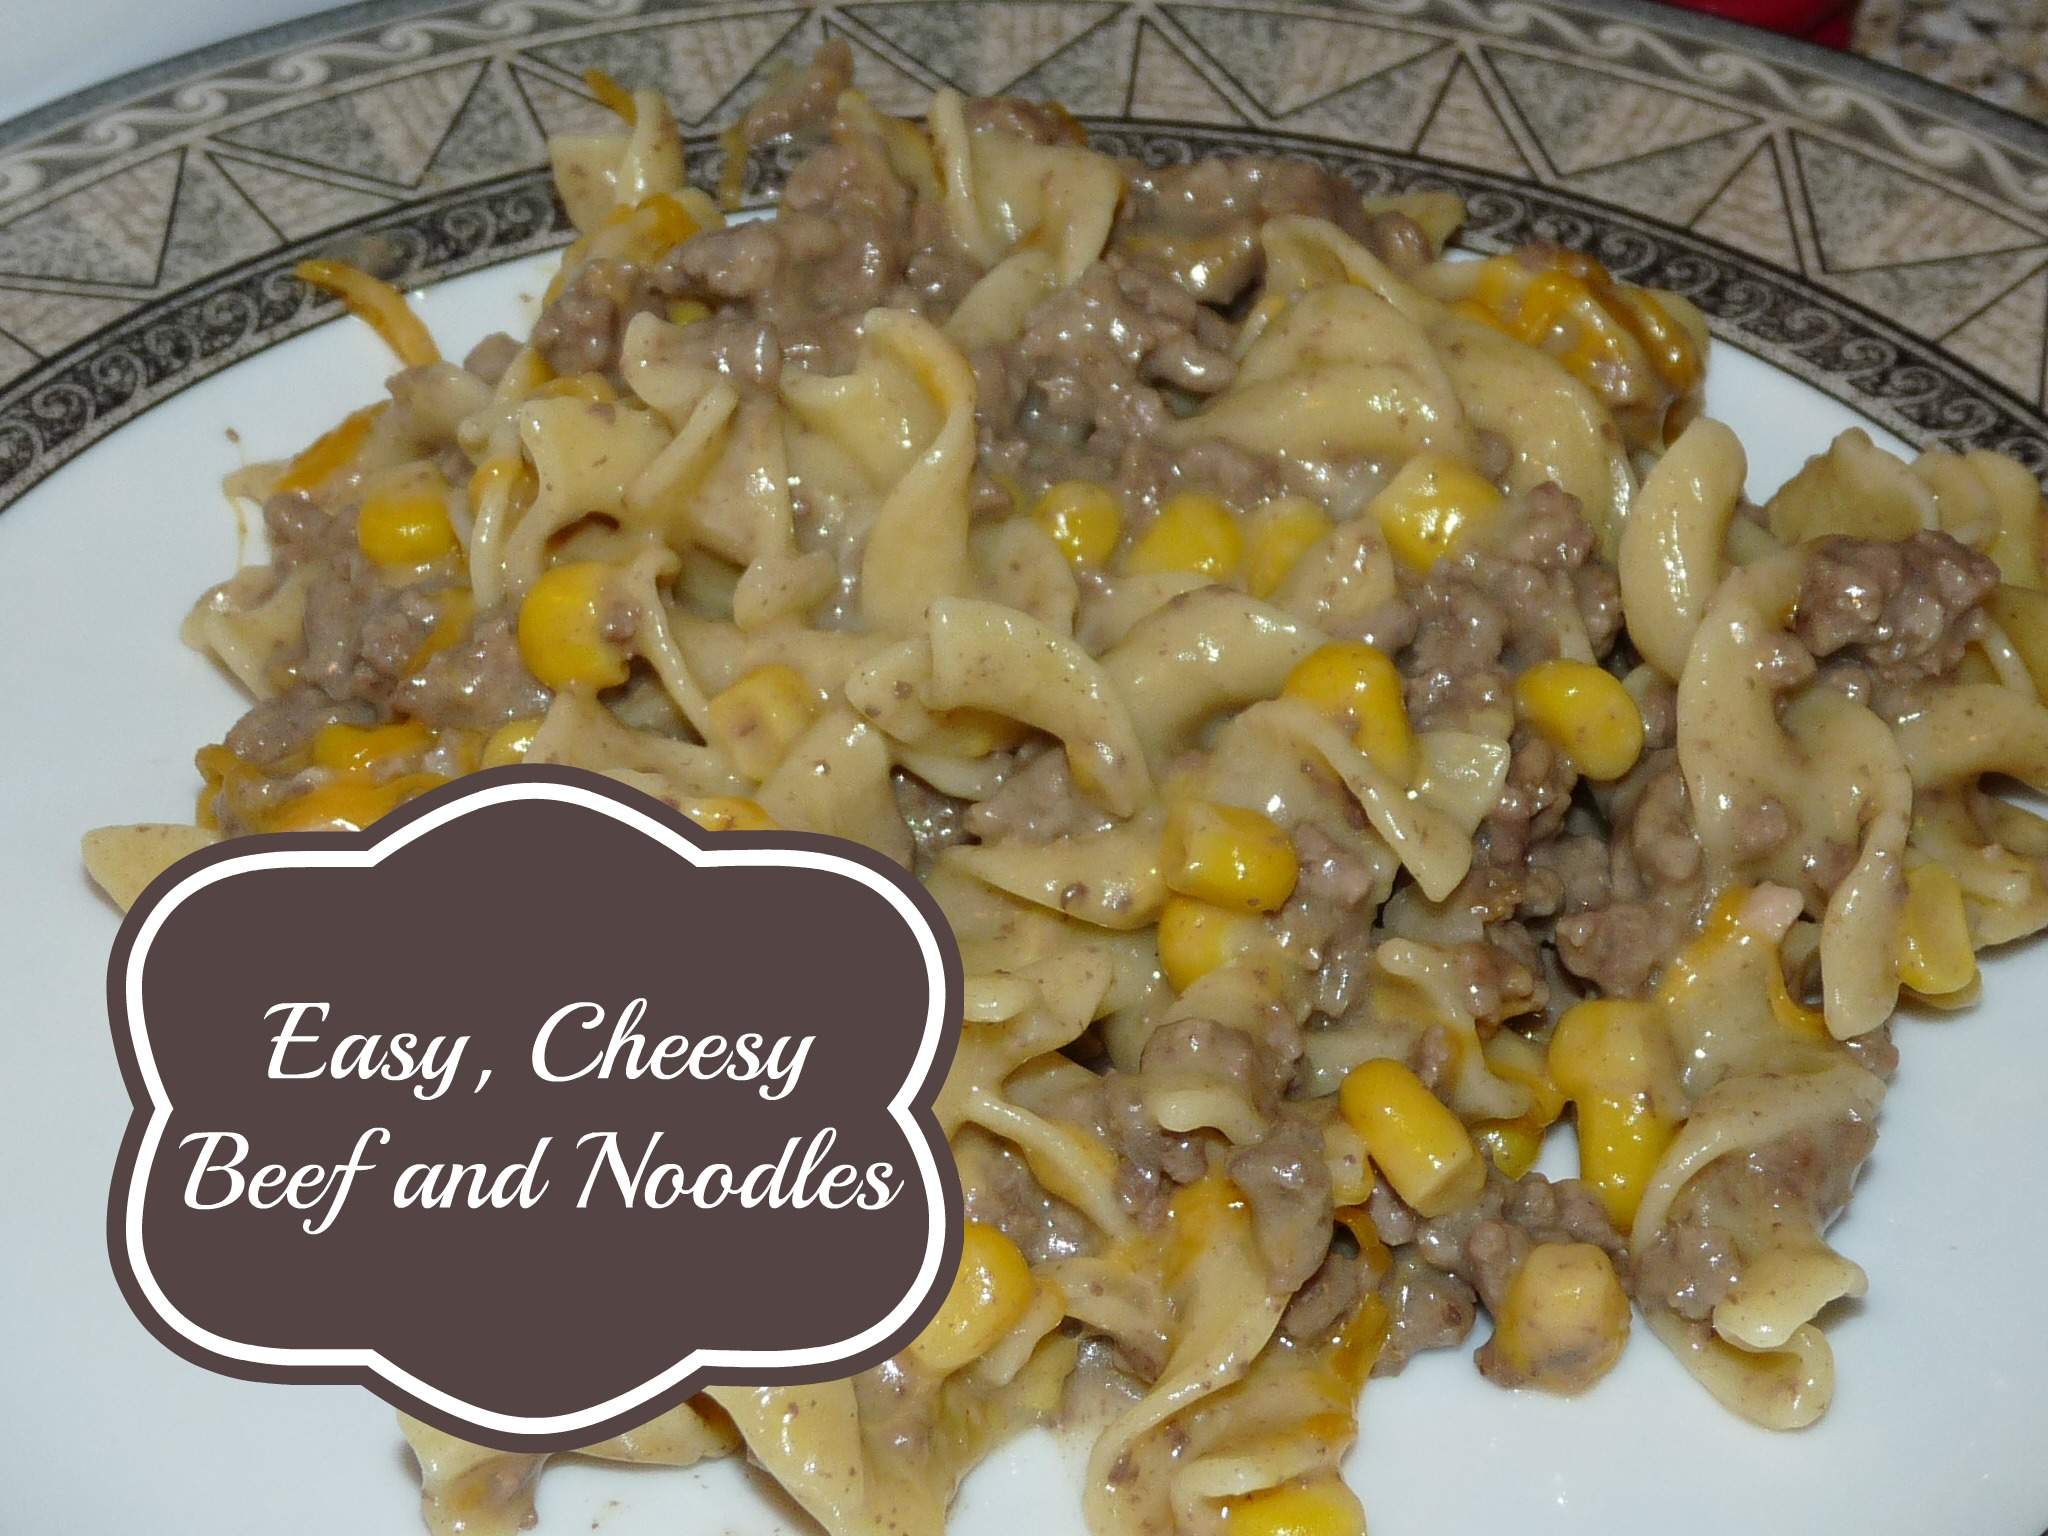

 Easy, Cheese Beef and Noodles
 3. Add cream of mushroom soup and cream of chicken soup.
 4. Add sour cream.
 5. Stir until well incorporated.
 6. Simmer covered for 15 minutes stirring occasionally.
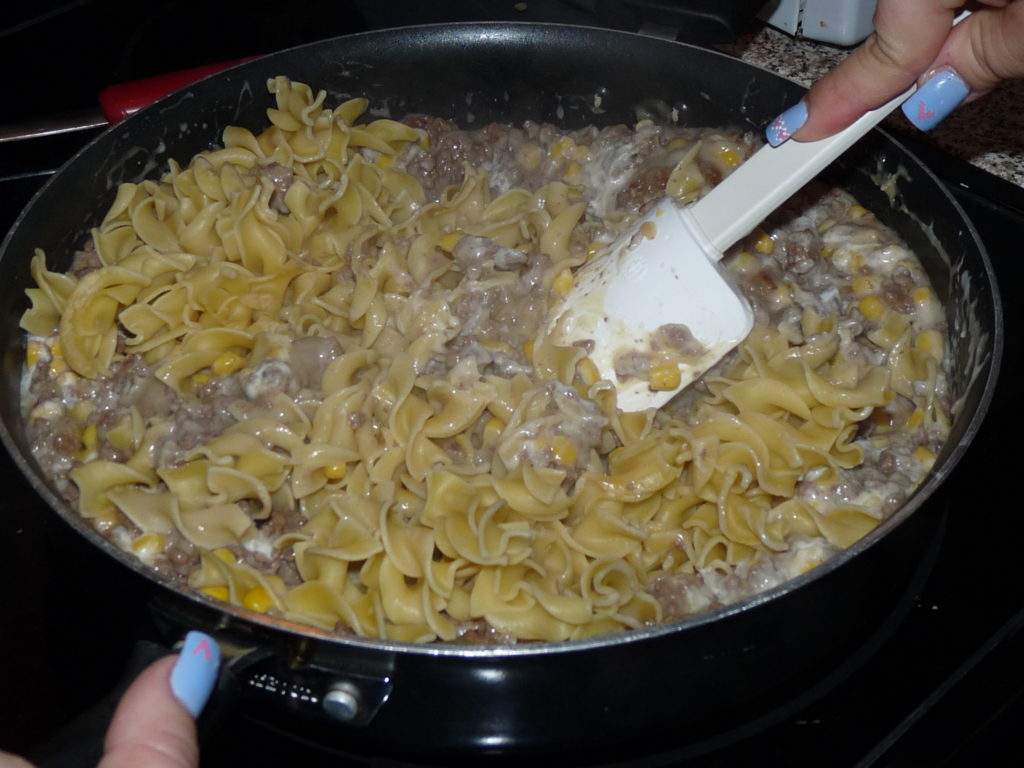 7. Stir in cooked noodles.
 8. Stir in 3/4 cup of shredded cheddar cheese and top with remaining 1/4 cup of cheese.
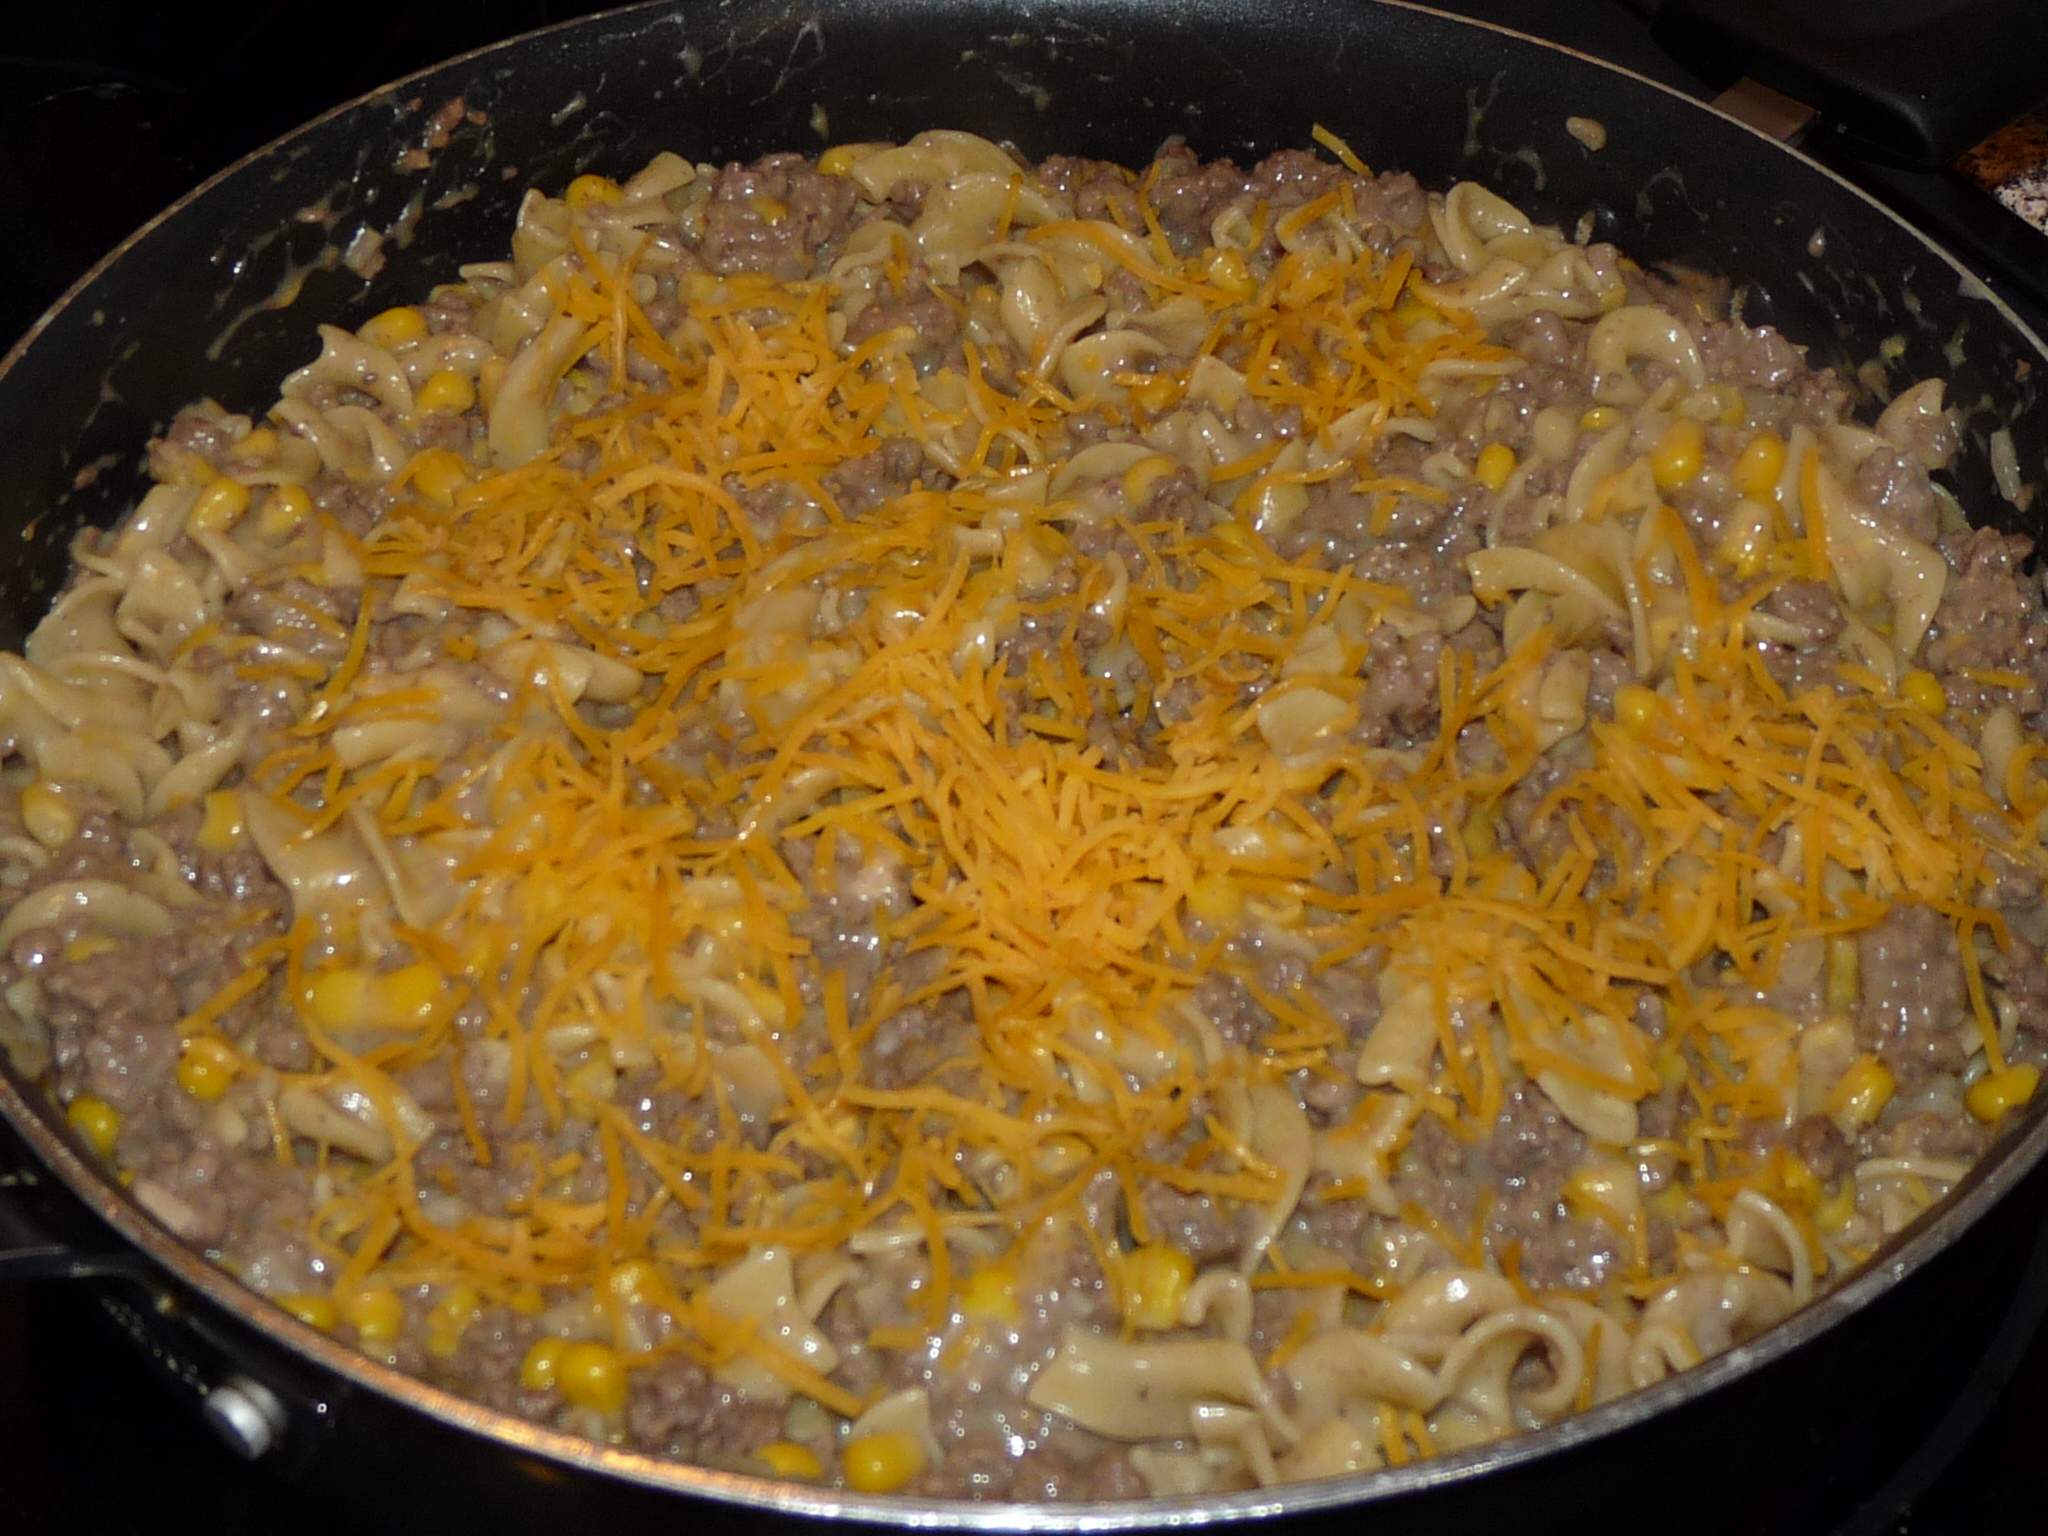


 Mix all the ingredients into the ground beef until it is thoroughly incorporated. I don’t like getting meat and other stuff under my acrylic nails so I like to use
  Fill each bowl with 1/6 of the meatball mixture. It should come up to the line in the center of each bowl on the pan. Use a spoon to make a “well” in the center of each bowl.