
 Macaroni and Cheese Soup
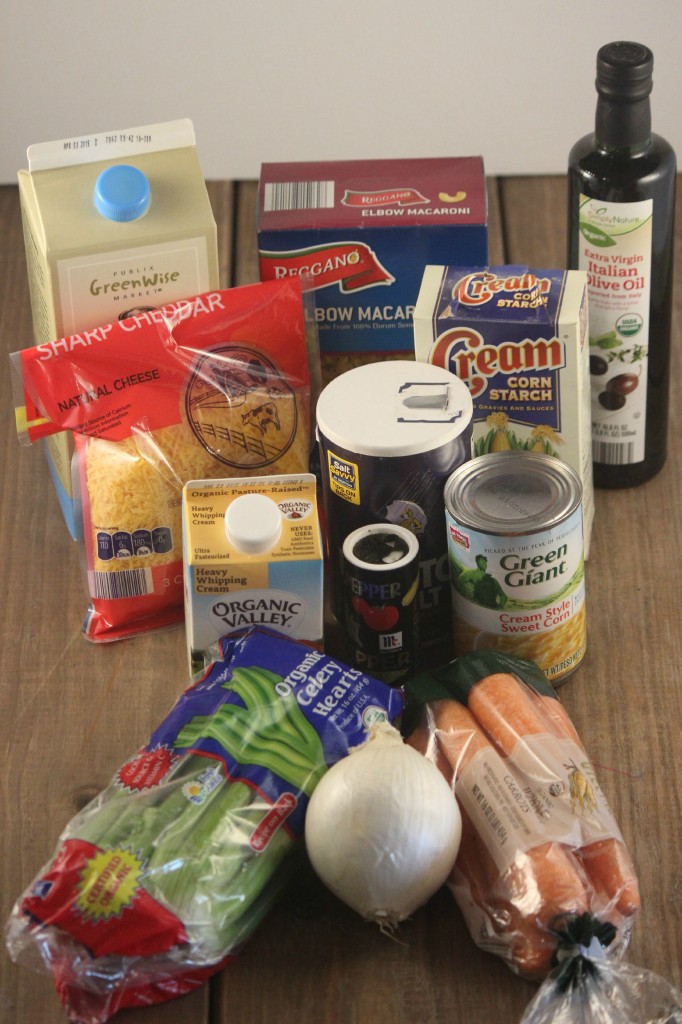 INGREDIENTS:
1 cup elbow macaroni
2 tablespoons of olive oil
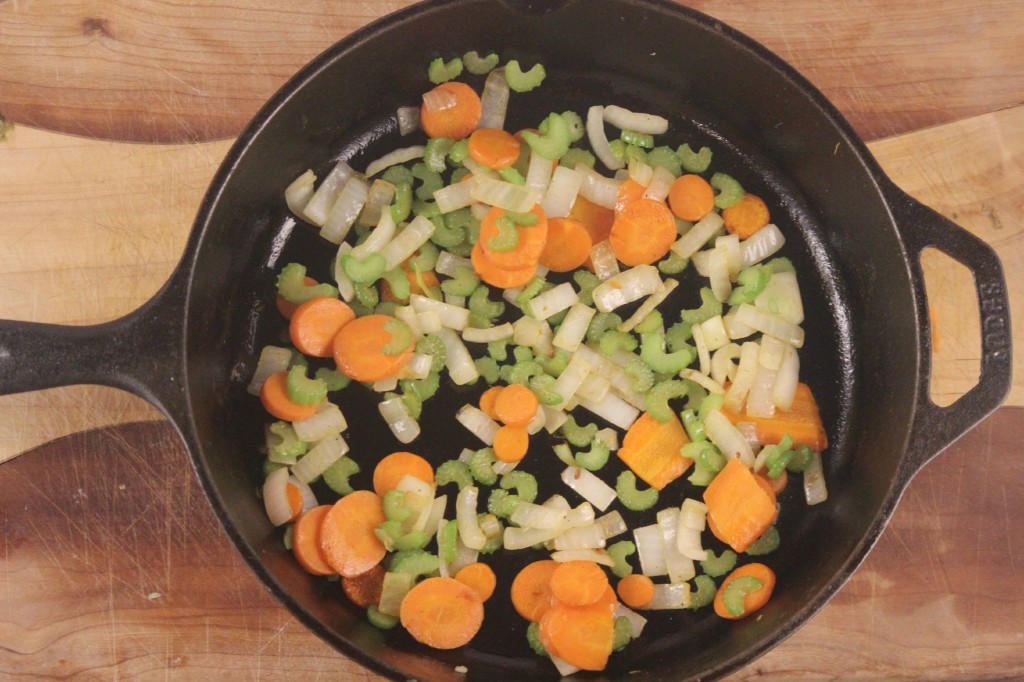
⅔ cup of chopped carrots
⅔ cup of chopped celery
⅔ cup of chopped onions
2 cups of heavy cream
1 ½ cups of milk
1 ½ cups of shredded cheddar cheese
Salt and Pepper to taste
2 tablespoons of cornstarch
2 tablespoons of water
1 8oz can of creamed corn
DIRECTIONS:
- Cook 1 cup of macaroni according to package directions and set aside.
- In a pan on medium heat, saute’ carrots for 2 minutes. Then add celery, onions, and saute’ all ingredients for 5 minutes.
- In a large pot on medium heat, combine heavy cream, milk, and cheese. Constantly stir until cheese melts and add salt and pepper.
- Mix water and corn starch until smooth and add to milk and cheese mixture.
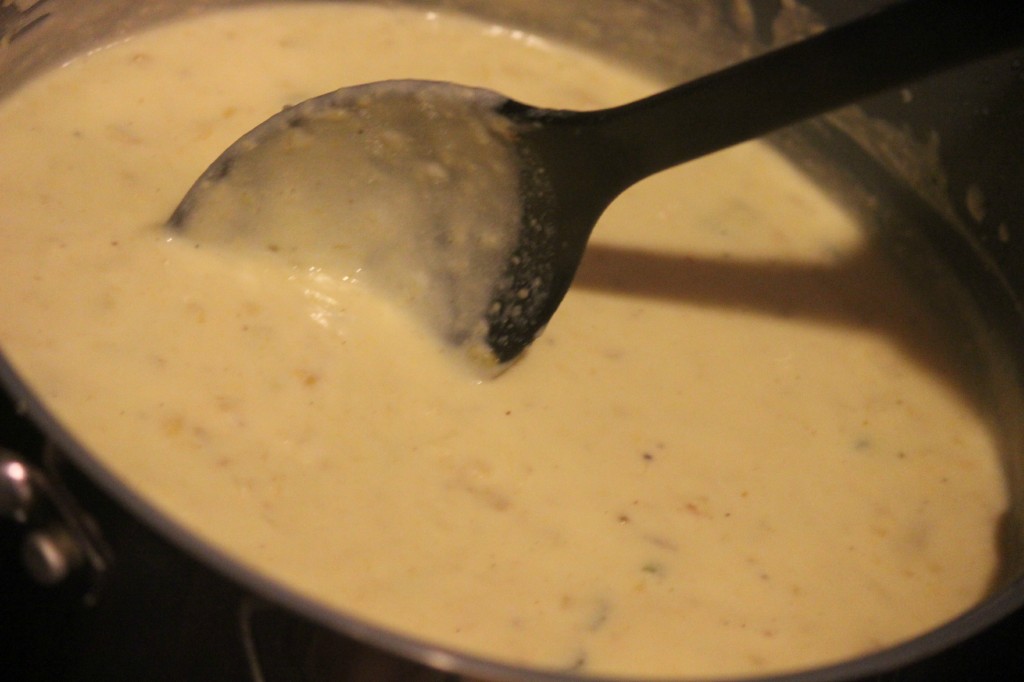
- Cook until mixture thickens and starts to boil.
- Stir constantly while adding sauteed vegetables, creamed corn and cooked macaroni.
- Cook until thoroughly heated and serve hot.
Yields 8 servings
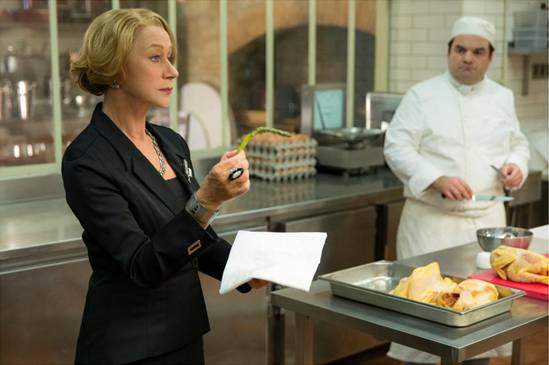
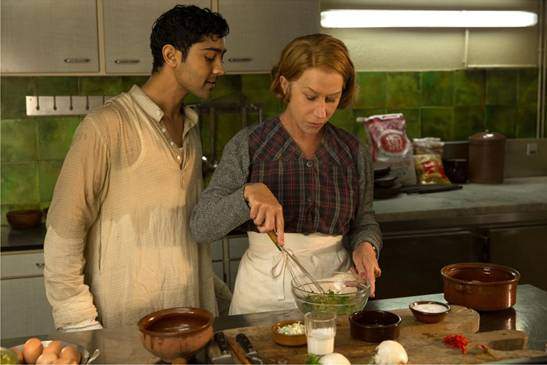
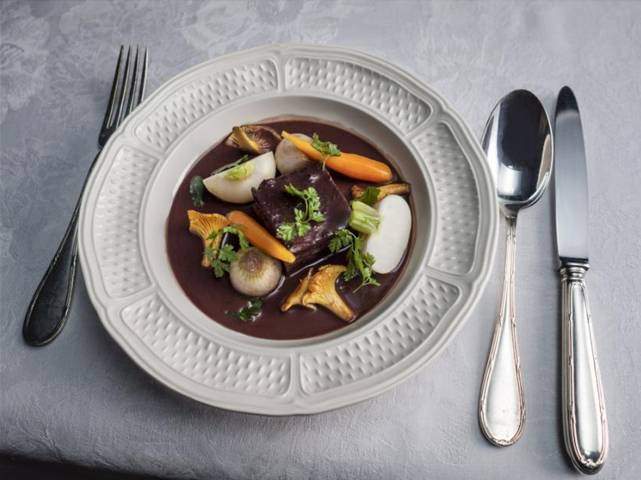
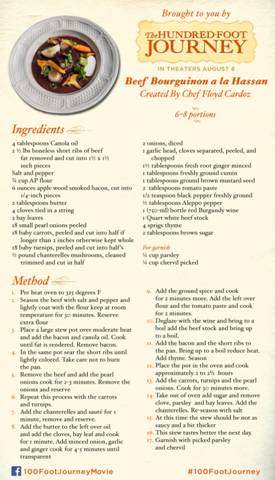
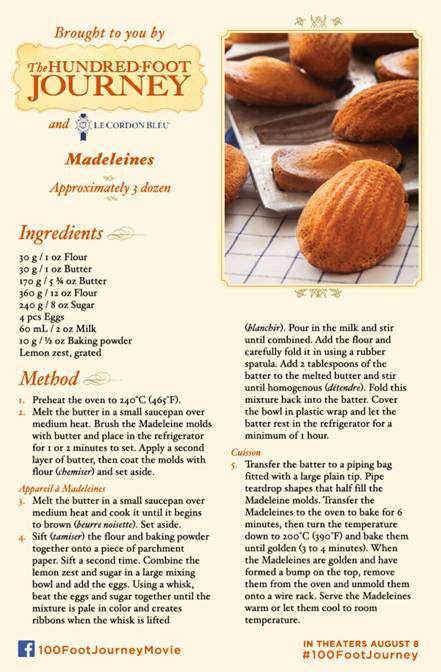
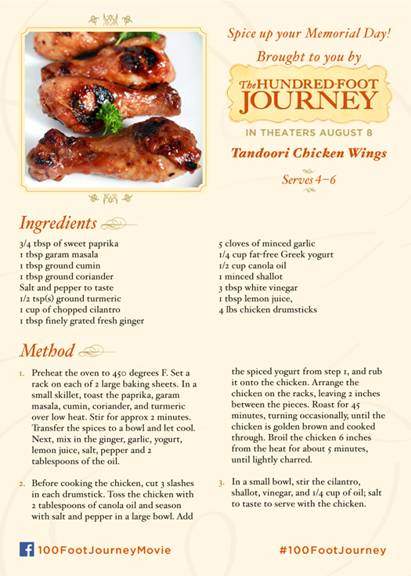
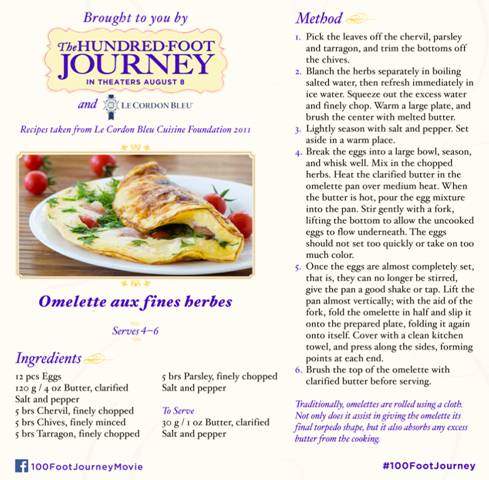
 THE HUNDRED-FOOT JOURNEY arrives in theaters everywhere on
 Like THE HUNDRED FOOT JOURNEY on Facebook:


