Disclosure- I received the product mentioned below in exchange for posting my recipe and review. I received no other compensation and all opinions are 100% my own.
 It’s summertime which in our house means LOTS of fresh fruit. I was so excited to receive a Good Cook 3 Piece Cut Fruit Bowl set to try out. It is the perfect bowl for fruit because it keeps watermelon and cut fruit fresher longer. It consists of a very generously sized bowl on the bottom, a colander that fits inside it, and a lid.
 Washing fresh fruit is such a breeze with the Cut Fruit Bowl. The bowl on the bottom has a pour spout making it so easy to pour out any liquids. Since fruit doesn’t sit in liquids it stays fresher longer which means saving money on wasted fruit. This Good Cook product is exclusively available at Bed Bath and Beyond.
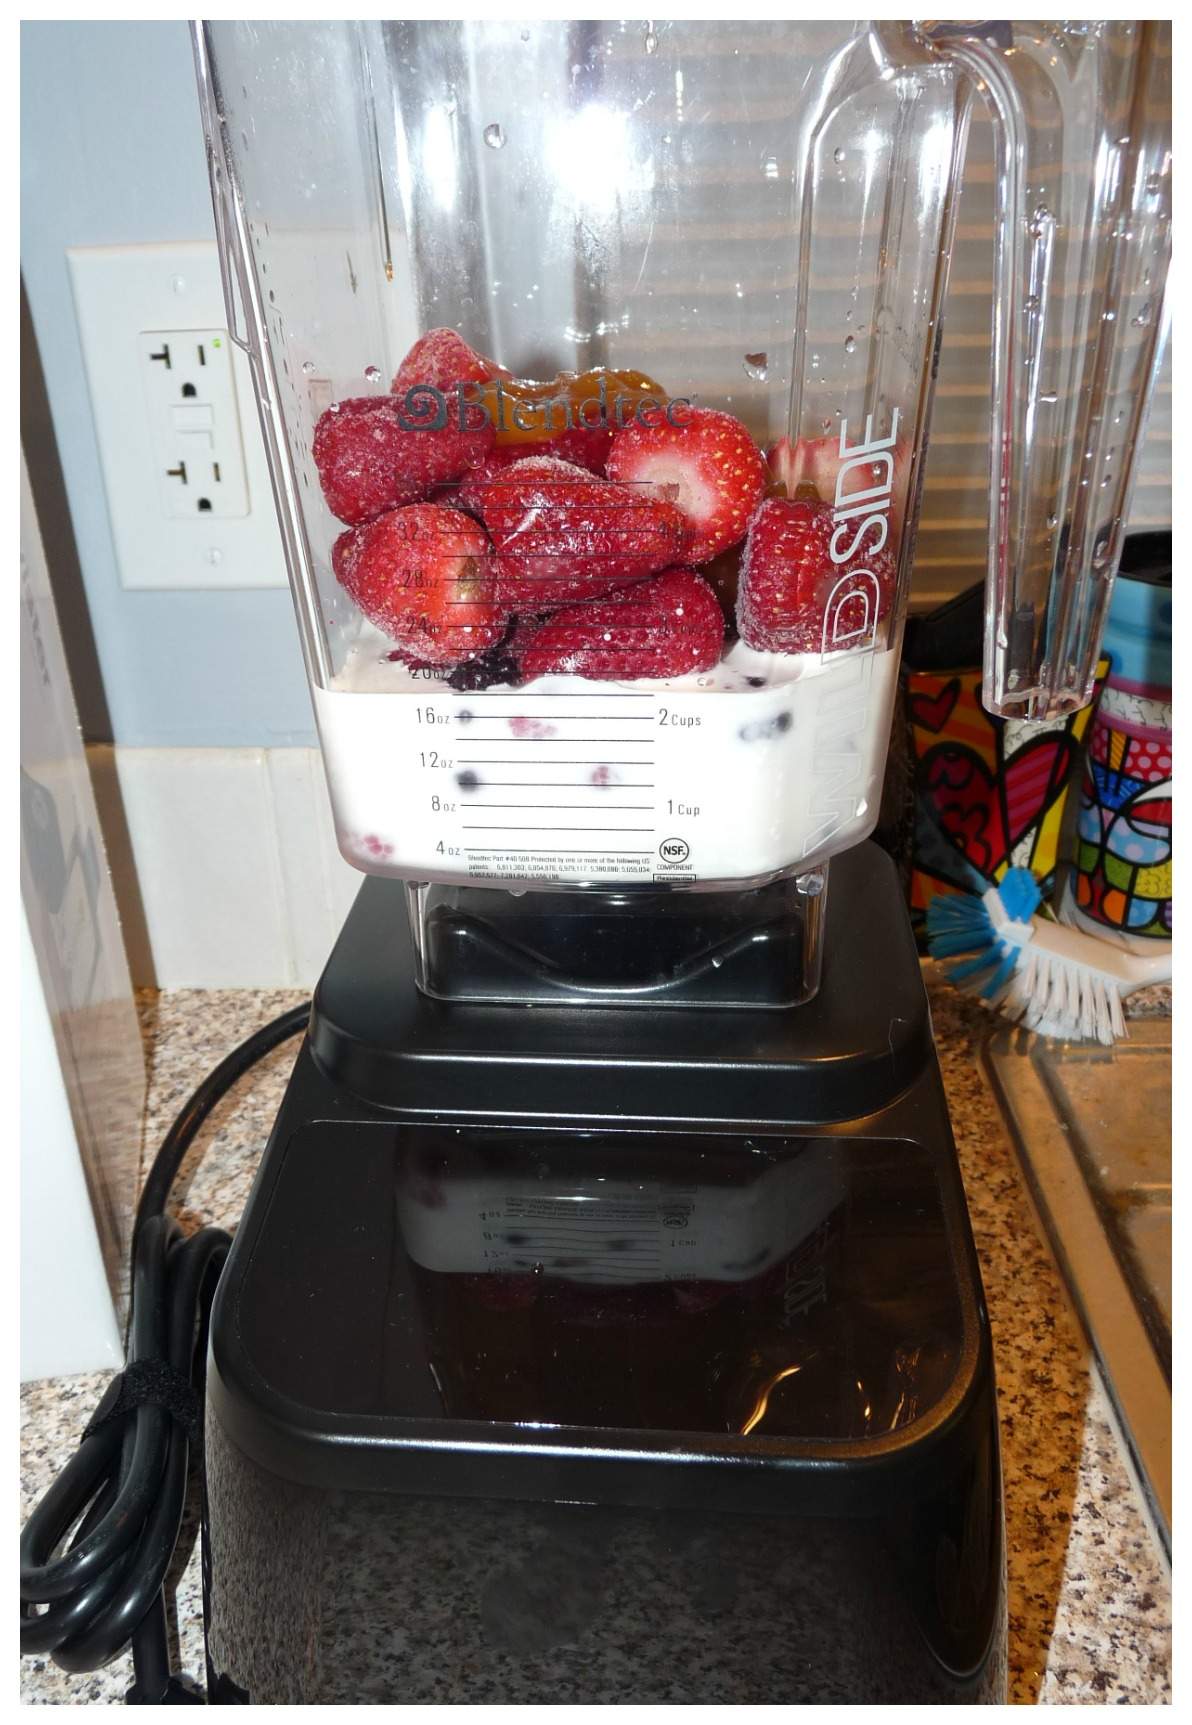
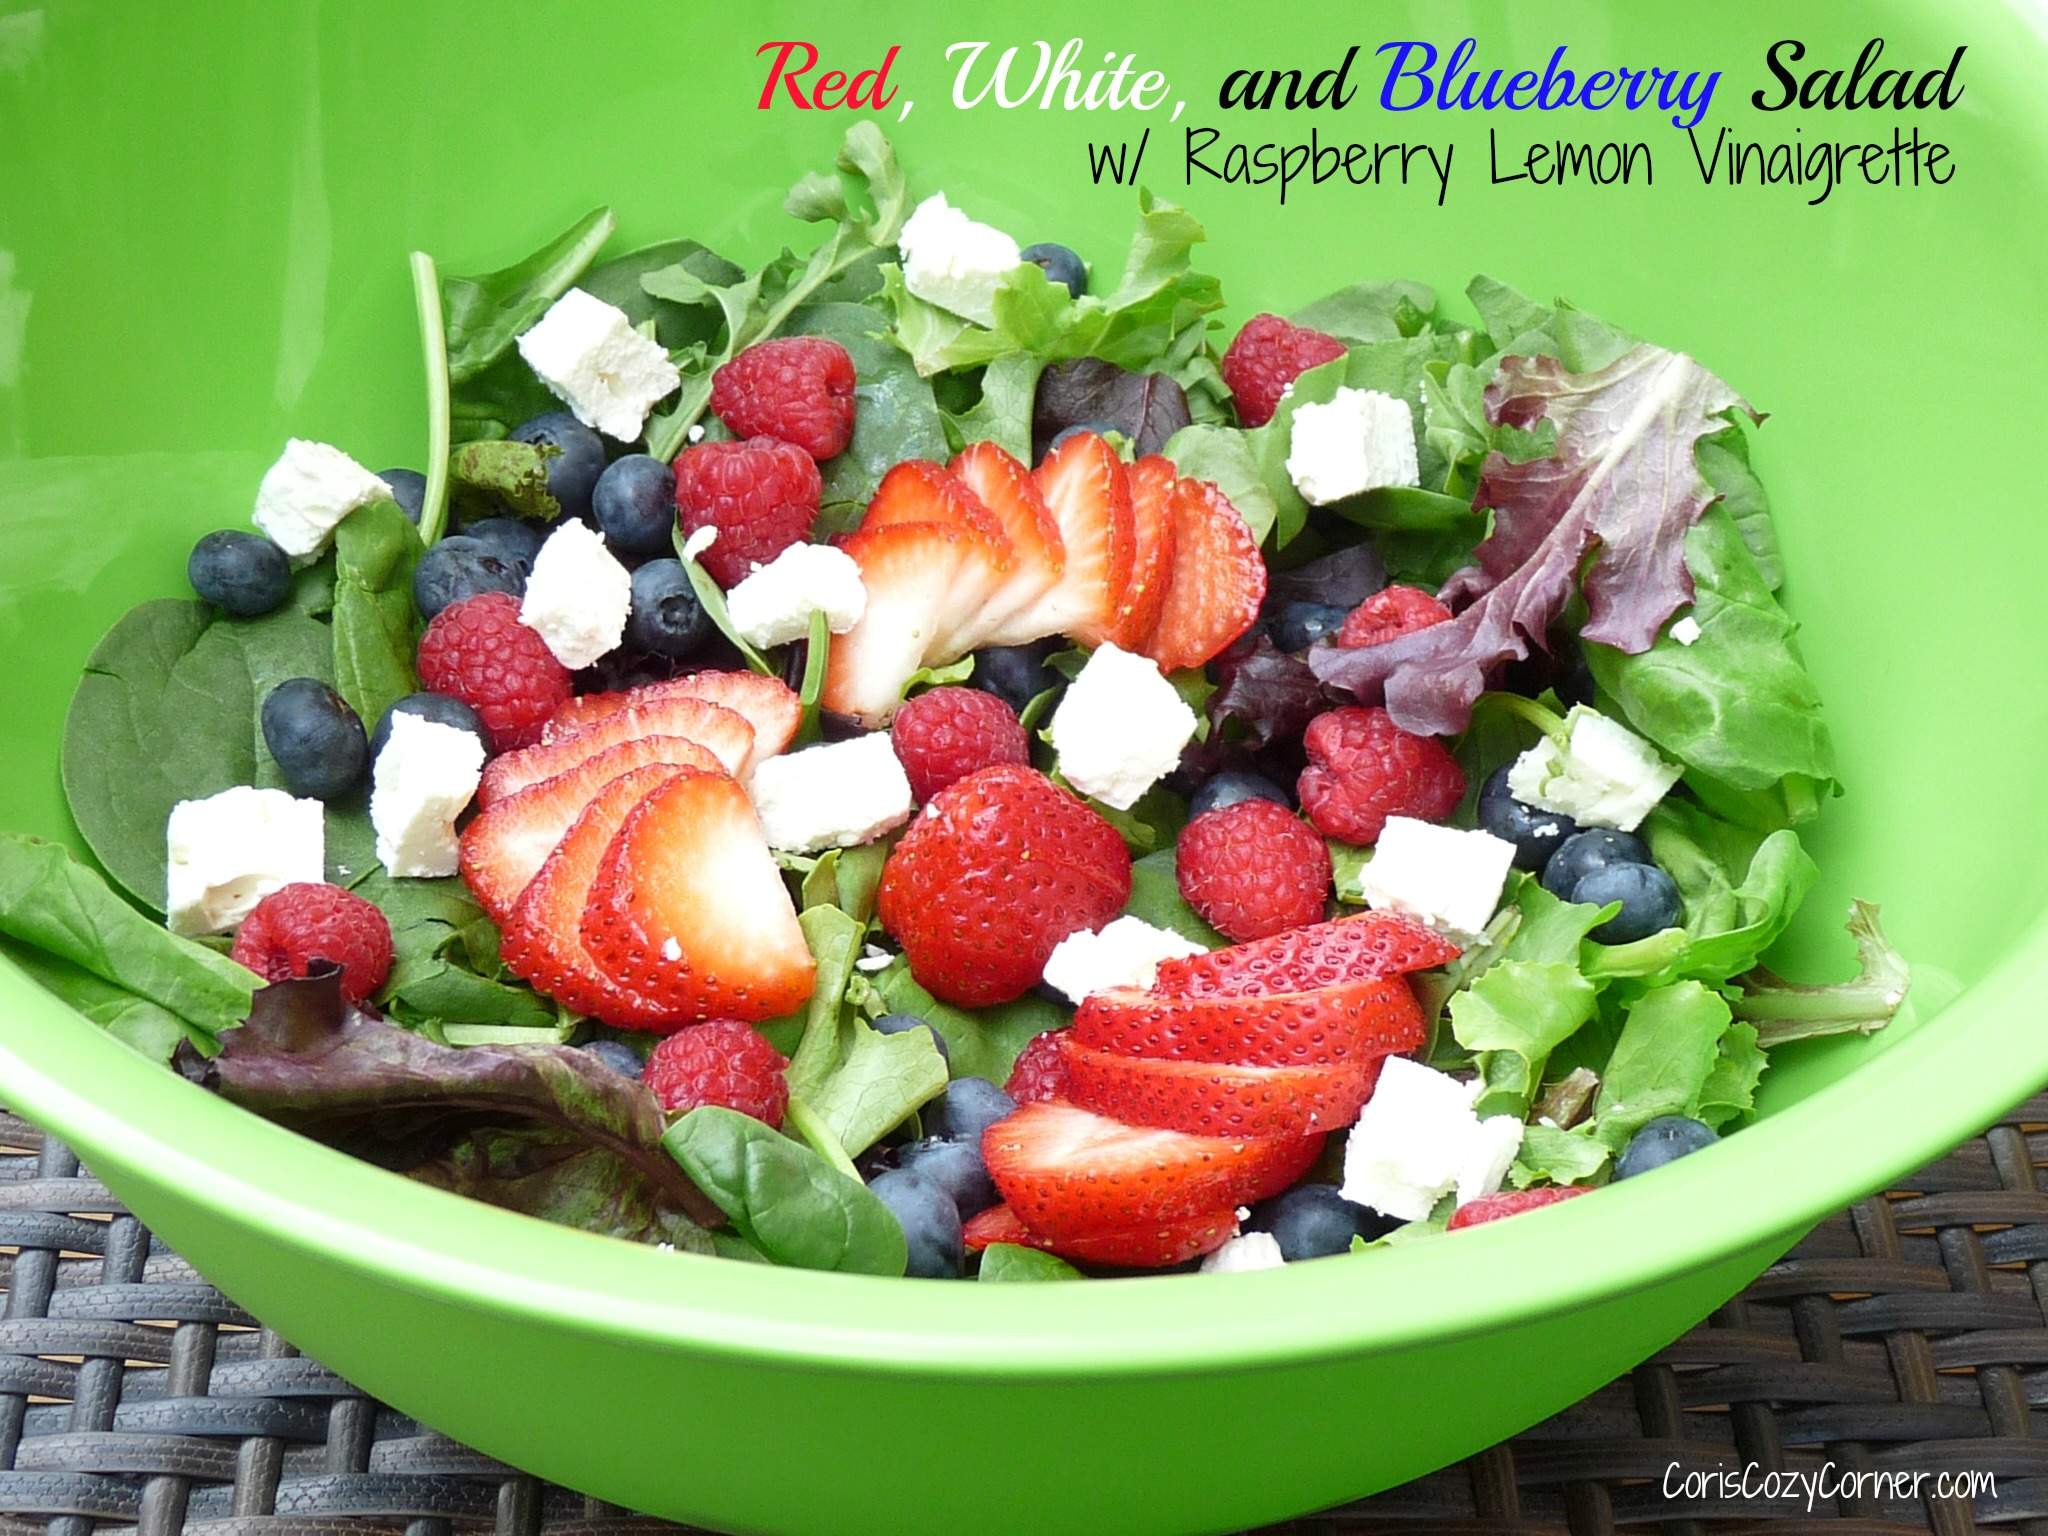
 Once all my fruit was washed I was ready to create my yummy salad recipe that is just perfect for The 4th of July or any summer day. I used the bottom bowl to assemble the salad ingredients.
Salad-
Spring Mix Lettuce
Baby Spinach
Strawberries (sliced)
Raspberries
Blueberries
Feta Cheese Chunks
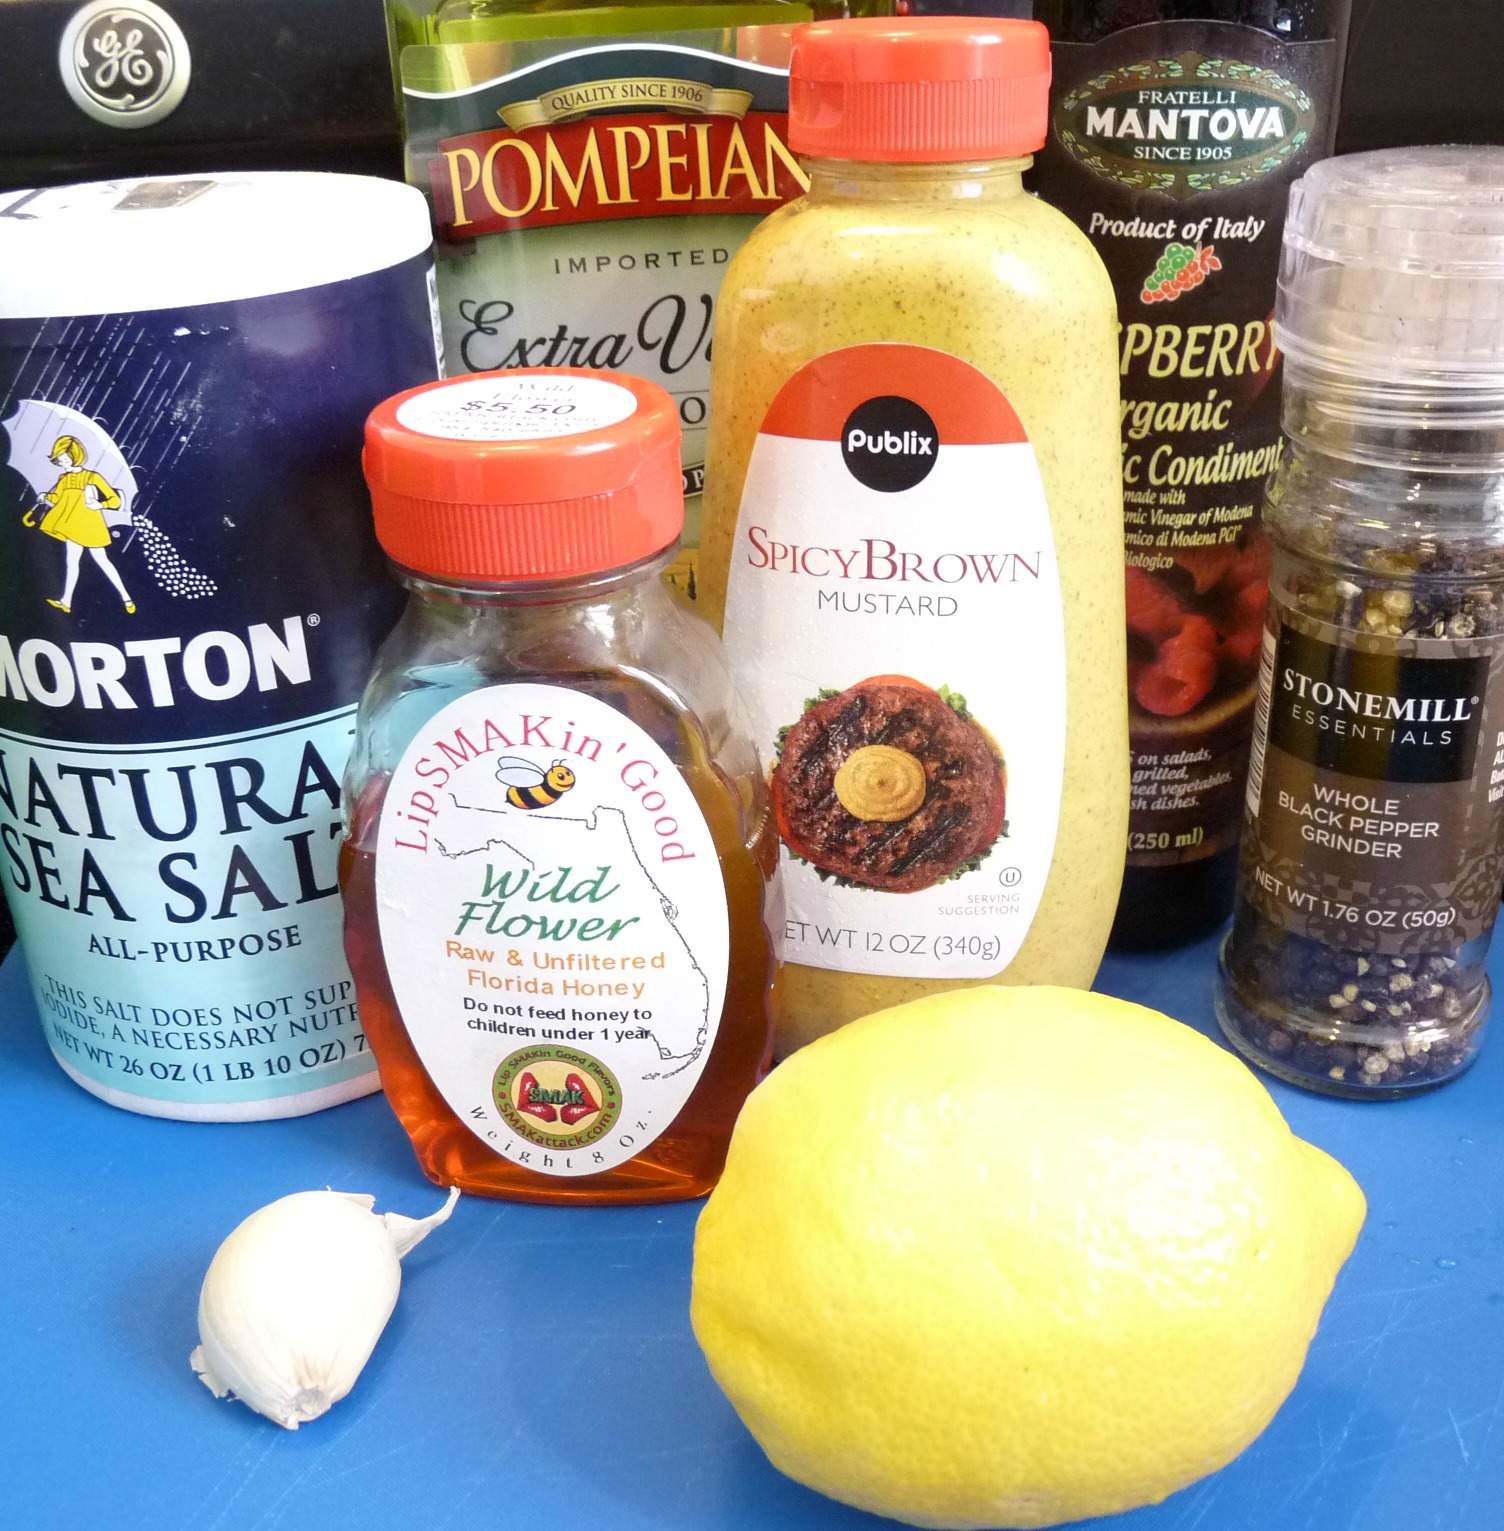 Dressing-
1/4 cup Raspberry Balsamic Vinegar
1 Tablespoon Spicy Brown Mustard
2 Tablespoons of Honey
1 Clove of Garlic- pressed
Juice of 1/2 Lemon (fresh is better but you can use about 2 Tablespoons of lemon juice)
1/2 cup Extra Virgin Olive Oil
1/8 Teaspoon Sea Salt or Kosher Salt
1/8 Teaspoon Black Pepper
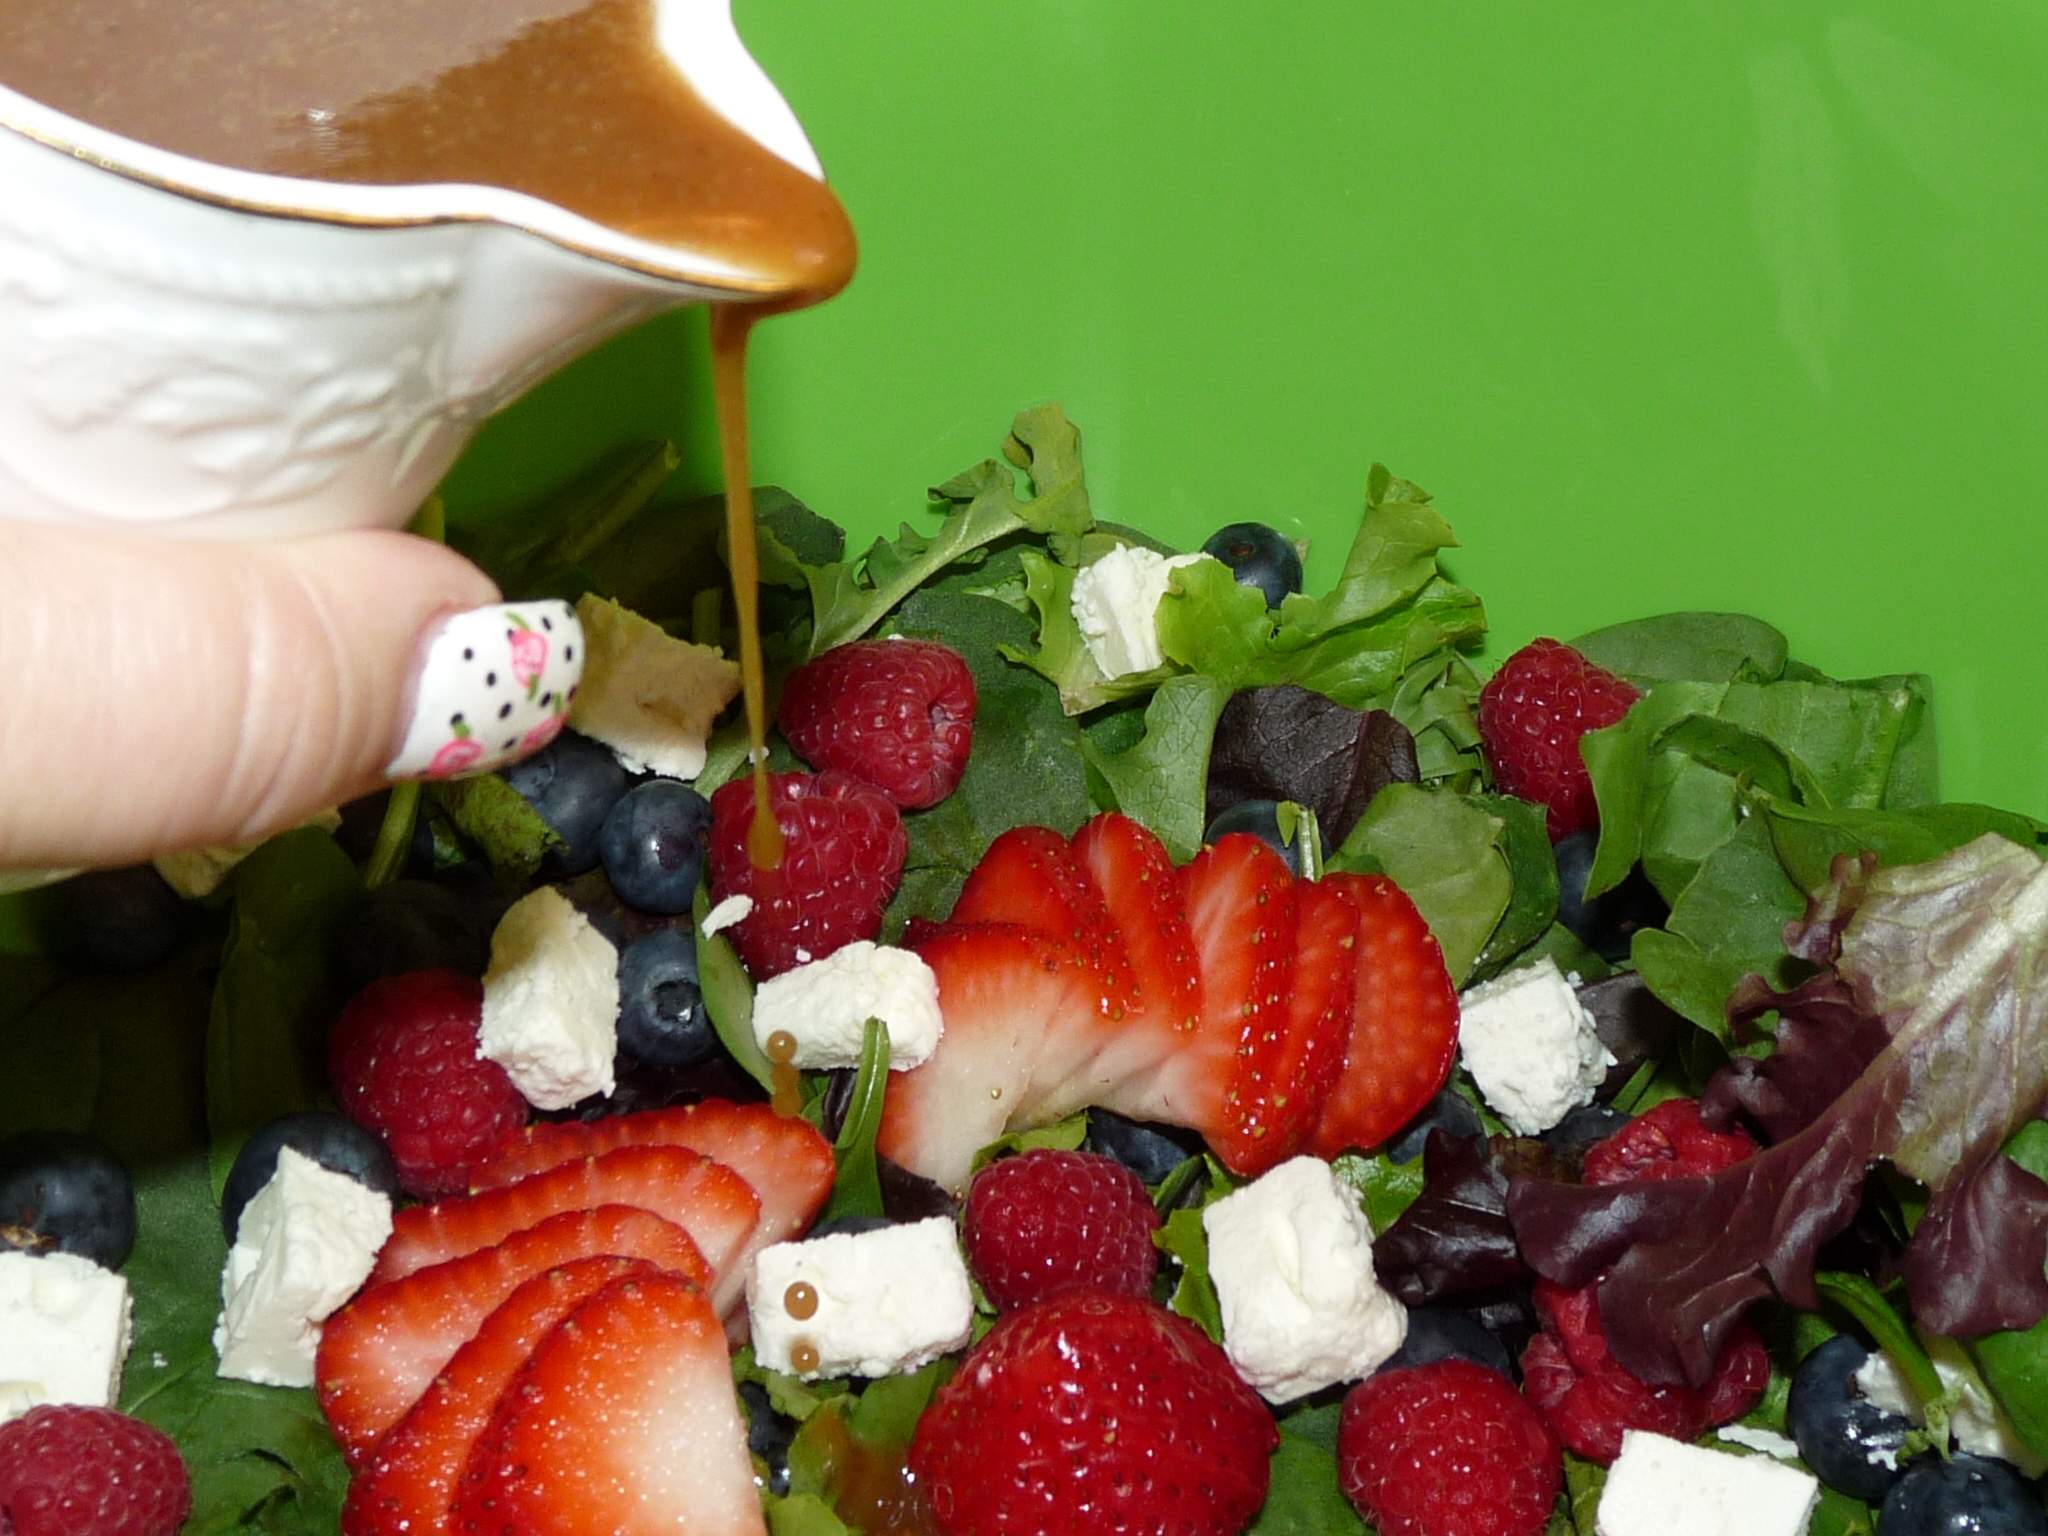
Whisk together raspberry balsamic vinegar, spicy brown mustard, honey, garlic, lemon juice, salt, and pepper. Slowly stream olive oil into vinegar mixture while whisking briskly. Transfer to a container you can close and store in. Shake well before pouring over salad. A little goes a long way with this dressing so pour slowly.
Makes about 8 servings.
Want to win your own 3 Piece Cut Fruit Bowl Set?
Here’s what you need to do to ENTER –
First of all – you must follow my blog – The giveaways I host are for my wonderful readers. To be considered a Cori’s Cozy Corner reader, you must receive my once daily email. This is not considered an entry, but rather a requirement in order to enter any of my giveaways. 🙂
I do verify that you subscribe to my e-mail at the time of the winner drawing. You can sign up for my once daily email easily by entering your e-mail address right here:
Once you are a Cori’s Cozy Corner reader via email you can continue onto the Entry Form Below. Good luck!


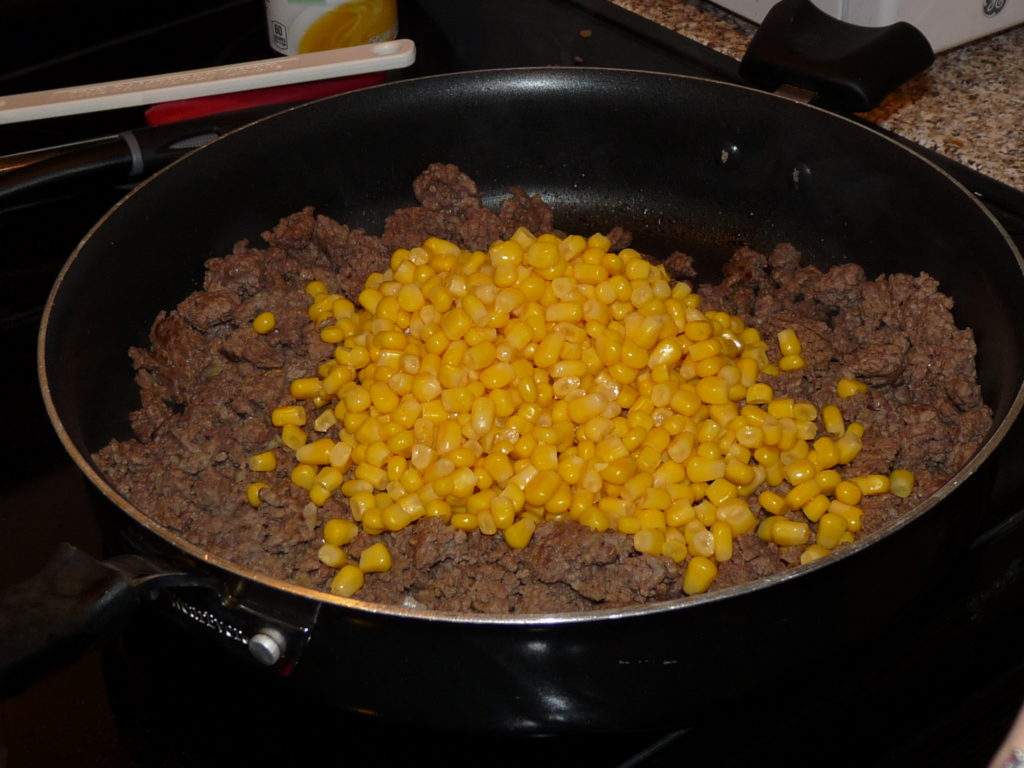
 Easy, Cheese Beef and Noodles
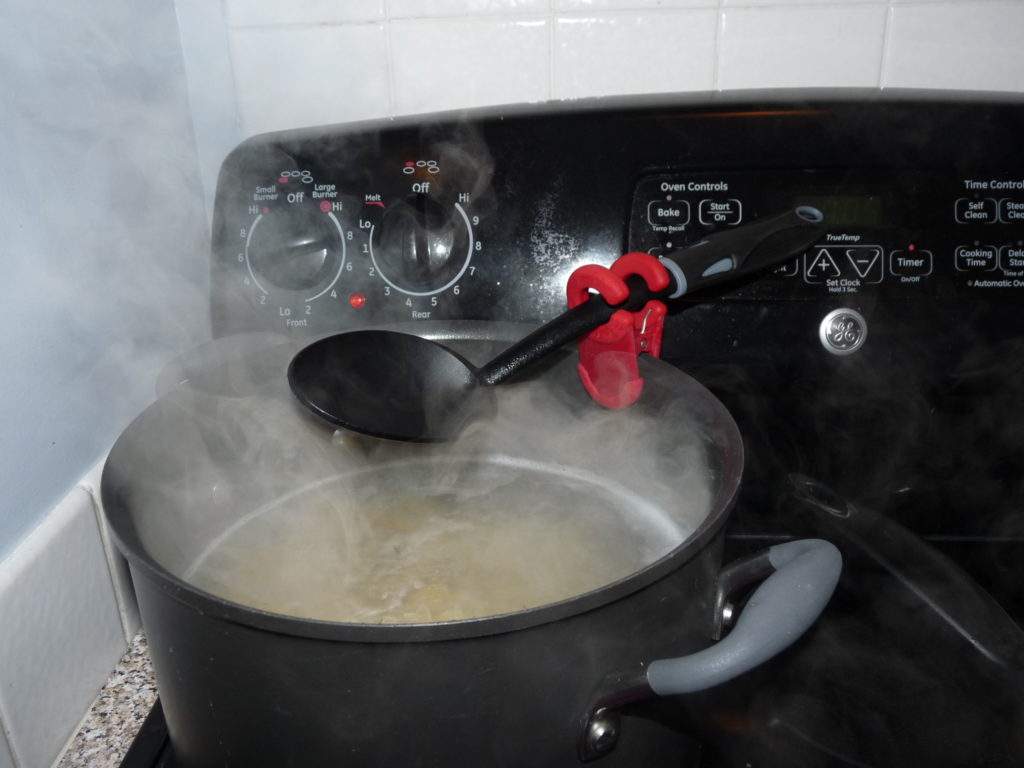
 3. Add cream of mushroom soup and cream of chicken soup.
 4. Add sour cream.
 5. Stir until well incorporated.
 6. Simmer covered for 15 minutes stirring occasionally.
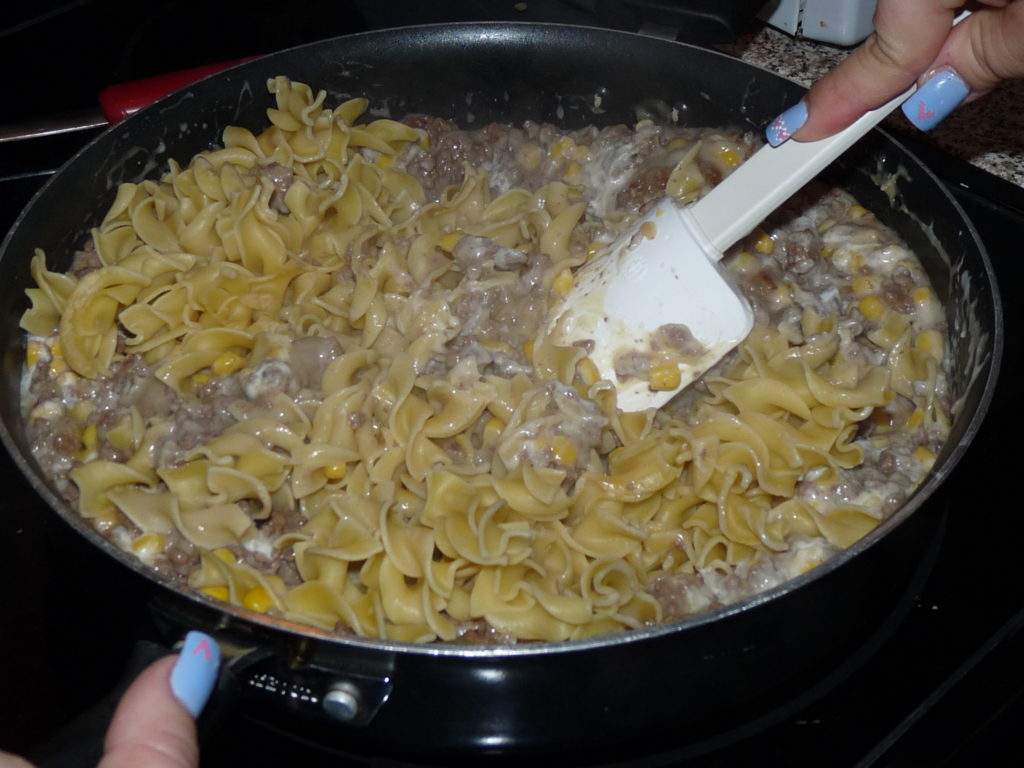 7. Stir in cooked noodles.
 8. Stir in 3/4 cup of shredded cheddar cheese and top with remaining 1/4 cup of cheese.
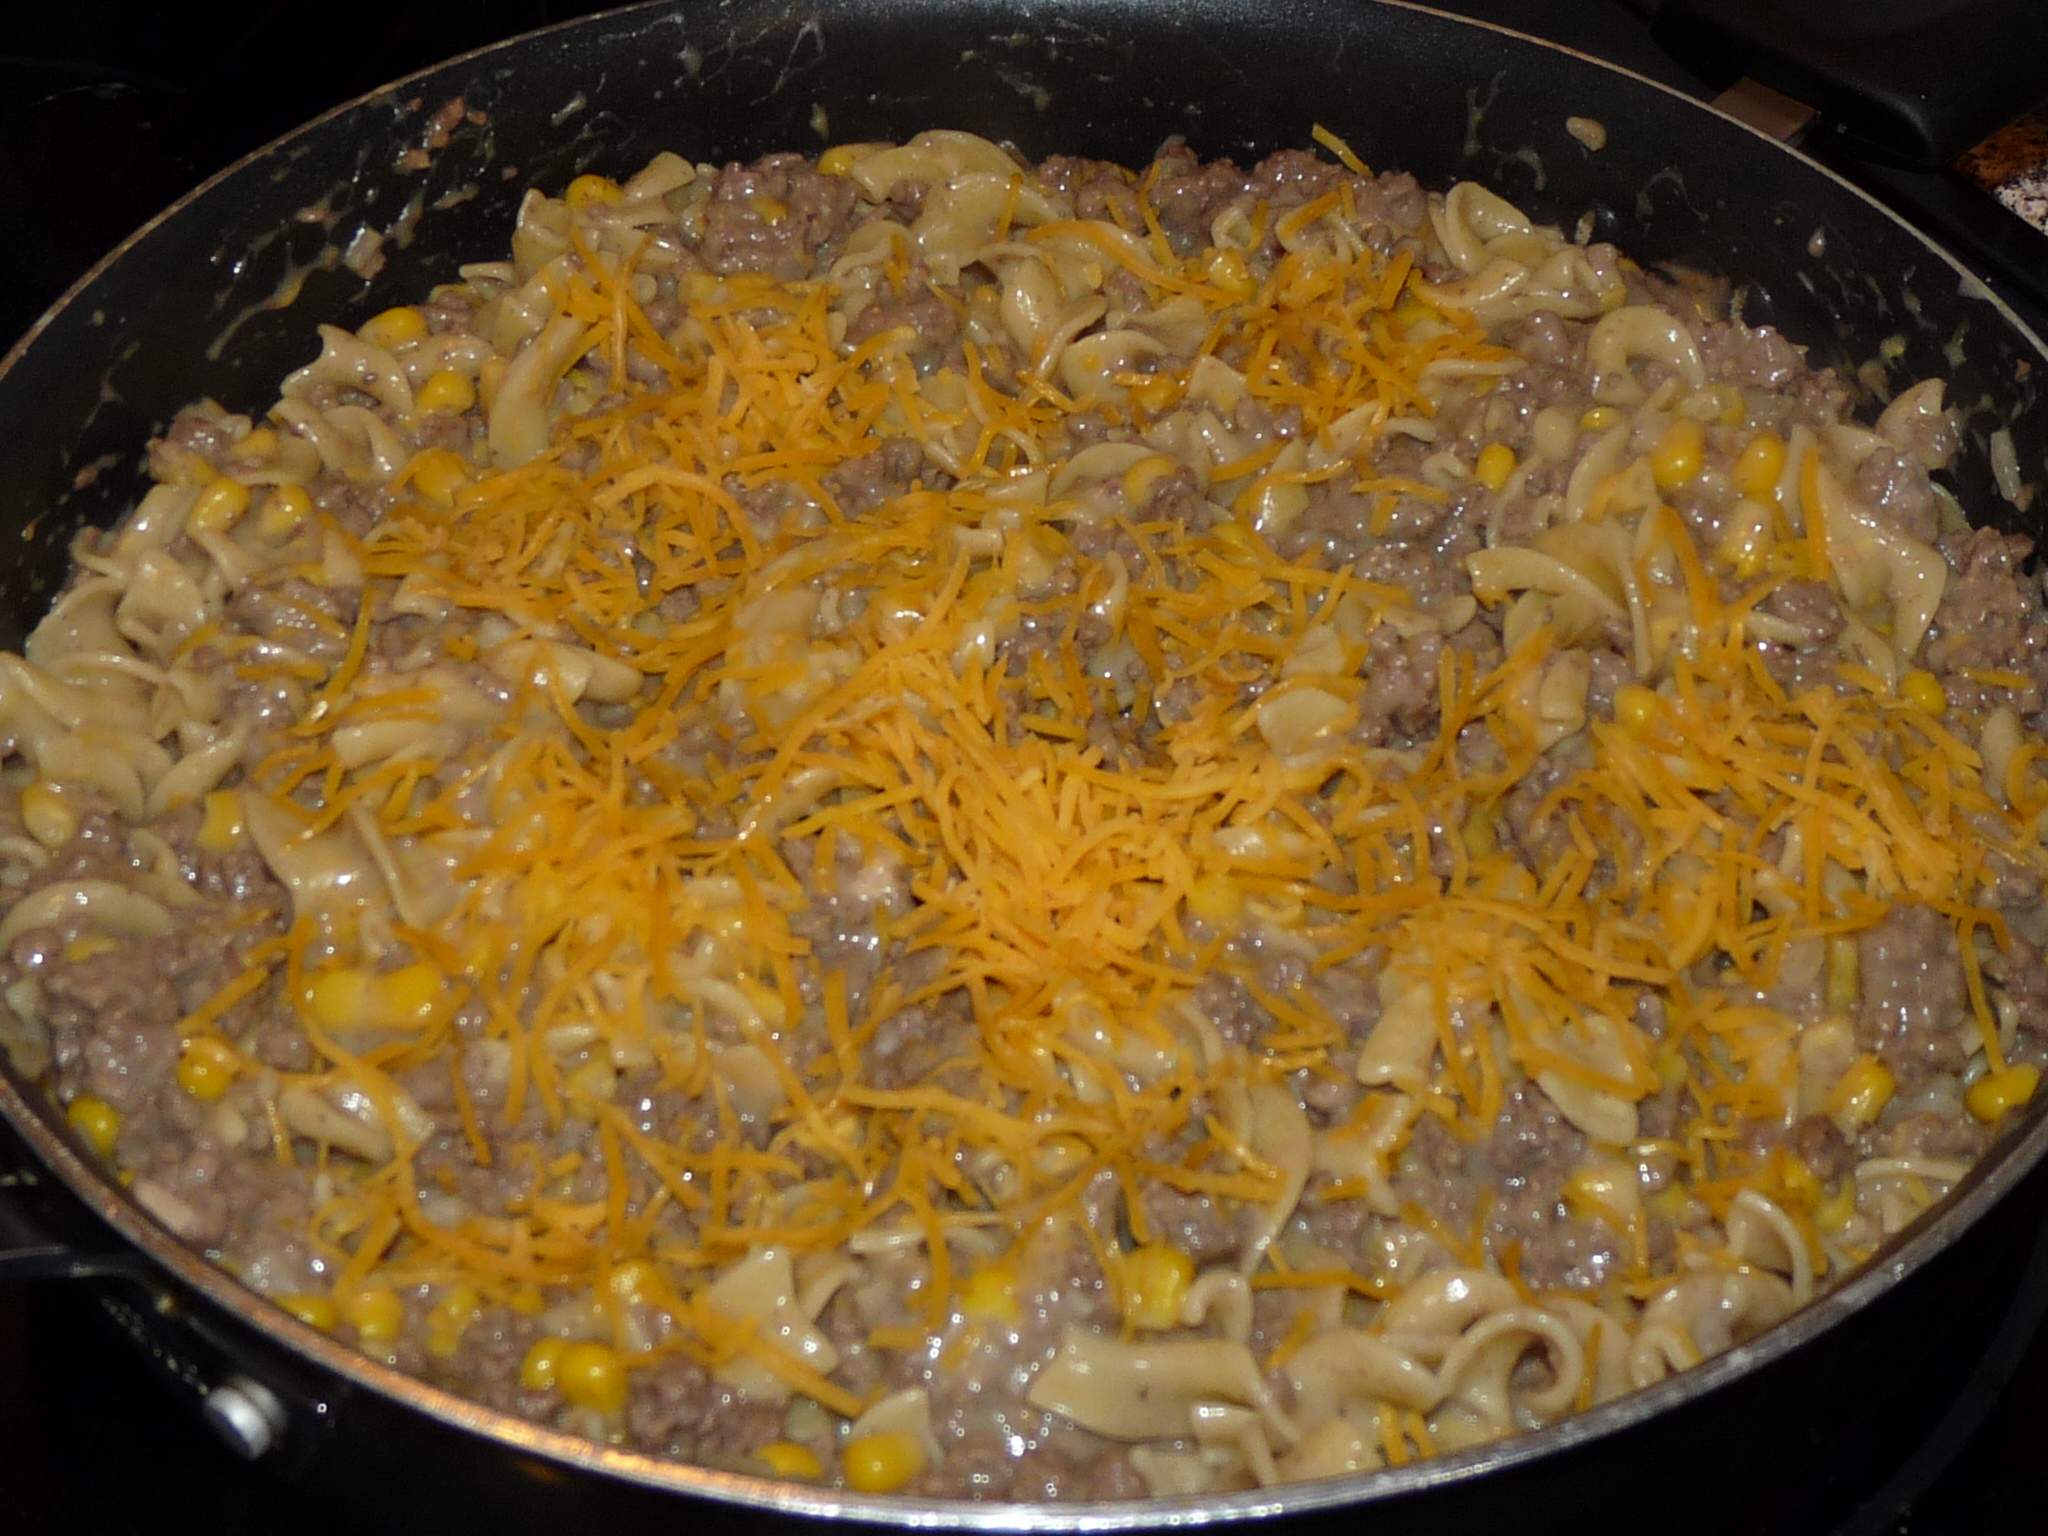


 Mix all the ingredients into the ground beef until it is thoroughly incorporated. I don’t like getting meat and other stuff under my acrylic nails so I like to use
  Fill each bowl with 1/6 of the meatball mixture. It should come up to the line in the center of each bowl on the pan. Use a spoon to make a “well” in the center of each bowl.